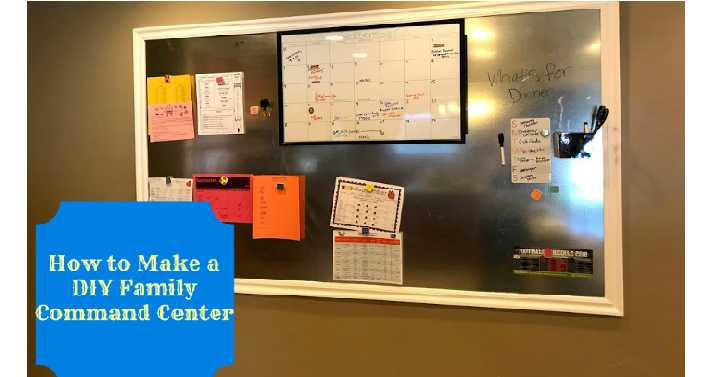
 Staying organized can be quite the task when you have a family. Kids come home with papers, invitations, permission slips and more. I get so frustrated with papers! I’ve decided we need one central location where we can see these important papers and be organized all at once. These family command centers are awesome. You can have your papers, calendars, meal planning and more all in one place and in view. If you were to buy these out right you would pay a TON, so save some money and make your own. Here’s how we made ours:
Materials:
Galvanized Steel Metal Sheet- cut to the dimensions you want.
Moulding/Trim
Picture Hanging System
Construction Adhesive
Paint
Accessories: Calendars, Magnets, Meal Schedules, Markers.
Directions:
- Outline with painters tape where you want your board. Measure and order your metal sheet. We went through Metal Supermarkets.
- Measure lengths for moulding and purchase that at a home improvement store.
- Cut corners of moulding to make a picture frame. You could do this yourself or ask Home Depot or Lowe’s to do it for you.
- Paint your moulding to the color you want- we just did a normal white. Then let dry completely.
- Attach moulding to metal sheet with the constructive adhesive.
- Use clamps or heavy objects to weigh down the moulding so it sticks completely. Follow directions of the adhesive-may require 48 hours to dry.
- Follow directions of the picture hanging system and attach on the back of your sheet metal board.
- Hang board on the wall and add nails into the moulding at the bottom if you want. We added 2 at the bottom to make it completely flat against the wall. Then you can putty and paint over the nail holes.
- Add accessories and enjoy!
**Tips- Be super careful with the sheet metal. It is really sharp, so you’ll want to wear gloves and keep kids away. Be sure to completely cover the metal with the moulding so no sharp edges are showing.
