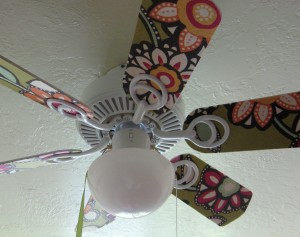
This is the ceiling fan that was in my daughter’s room when we bought our house:
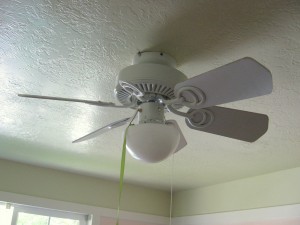
I used the leftover fabric from the roman shade that I made for her room and a bottle of Mod Podge and the whole project took about an hour.
Start by removing the fan blades. They come off easily with a screwdriver. Use this opportunity to give both fan and blades a good scrubbing!
Most fan blades will be reversible with a different color on each side so that you can change them out if you want to. This fan had brown wood grain on the other side, and since I can’t see myself EVER using it that way, that is the side I decided to cover.
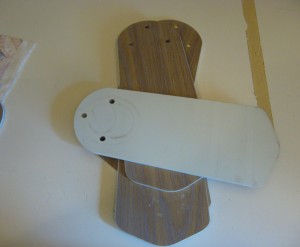
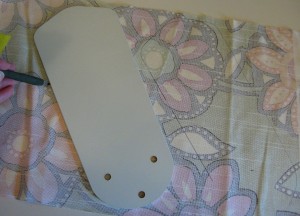
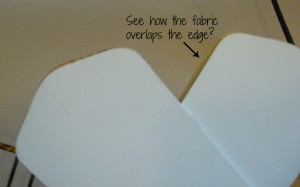
Err on the side of cutting too big and not too small. You don’t have to be too careful about the fabric fitting on exactly – if it hangs over just a touch it will be fine because no one will ever see the tops!
Now put a generous coat of Mod Podge on the fan blade
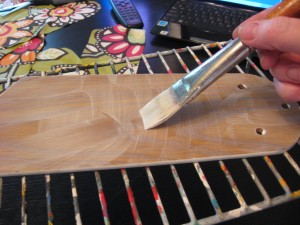 and then put the fabric on it. Smooth it down with your hand as it begins to dry; I didn’t even iron the fabric first. Between the Mod Podge and the smoothing, it will get the wrinkles out!
Let that dry about 15 minutes, then put a coat of Mod Podge on top of the fabric to seal it. Let that sit until it is completely dry,
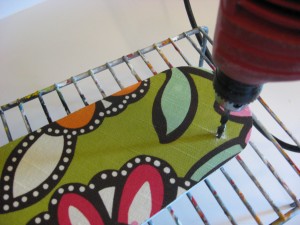
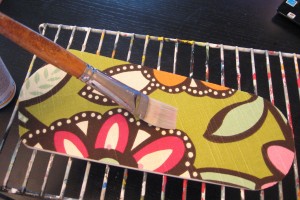 then use a drill bit to drill a hole through the fabric where the screw holes are in the fan blade. Make sure the Mod Podge is totally dry or the fabric will come twisting off when you start to drill through it (uh…you know. I’m IMAGINING that is what would happen anyway…..)
Screw the finished fan blades back into place and enjoy!

