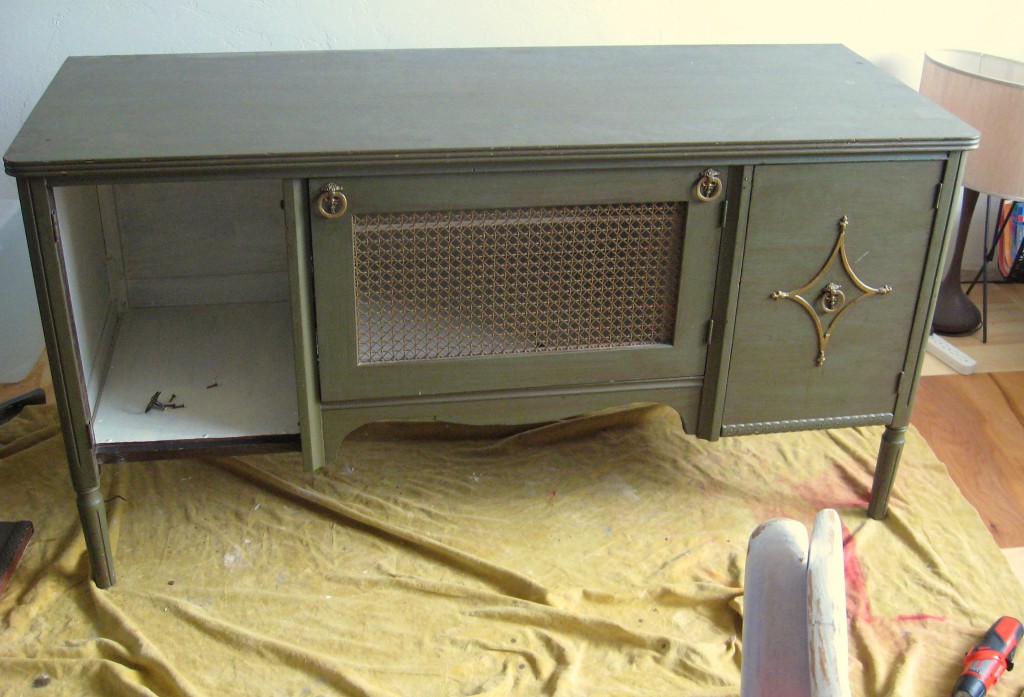
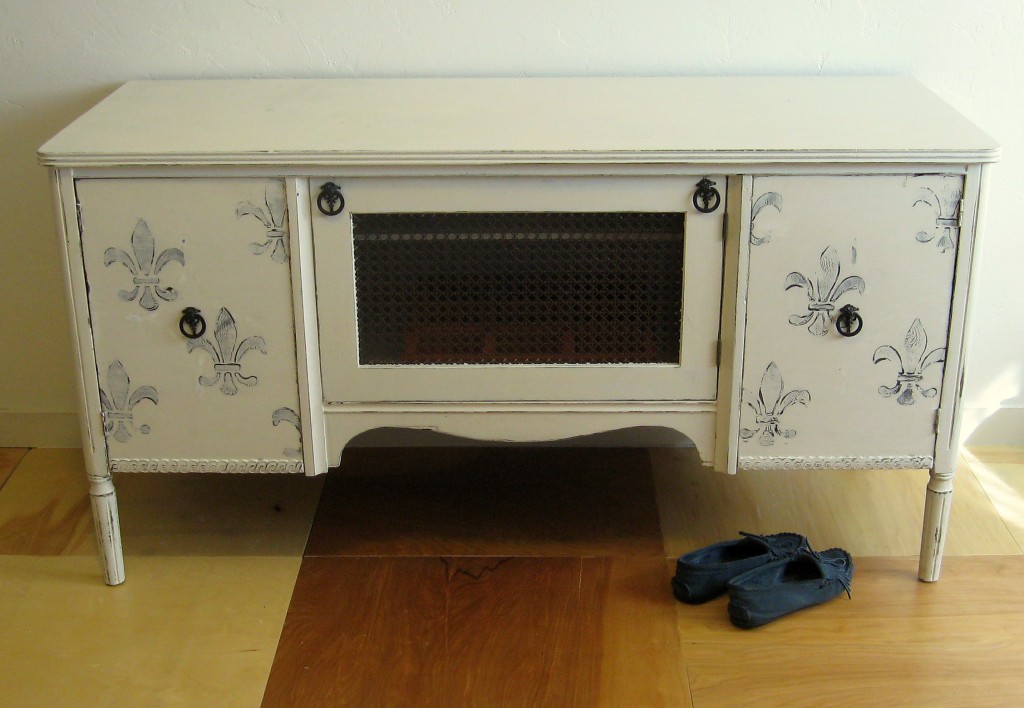
We inherited this credenza from my husband’s grandparents several years ago. I absolutely fell in love with the shape of it, but the color wasn’t so great. I knew I wanted to paint it and finally this week I got around to getting it done.
I need some sort of intervention to help me remember to take a proper before picture!! But, all I had done at this point is remove one of the doors. Note the diamond shape on the remaining door on the right – it was what drove the final finished design.
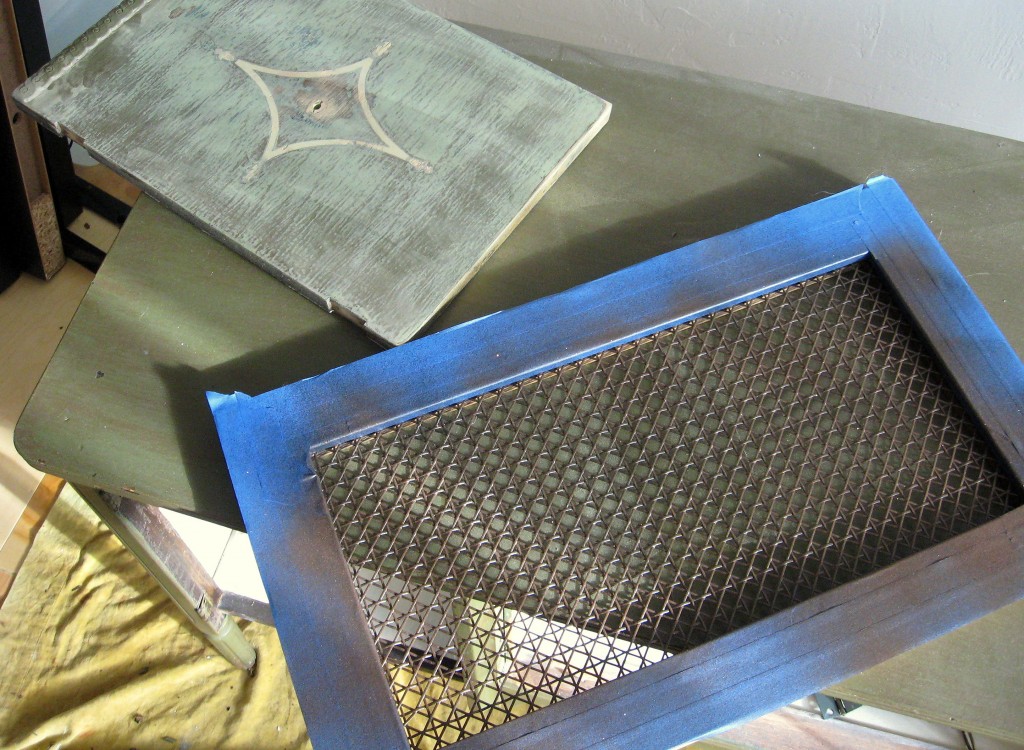
I removed all the doors and went over everything lightly with a sander. I knew I wanted the finished product to be pretty shabby, so I didn’t sand too much-just enough to roughen up the glossy surface. Then, I taped off the wood on the center door and spray painted the metal screen with black and copper. I also spray painted all of the original handles with black spray paint and rubbed them gently with a paper towel while they were still wet – just enough that they looked a little worn.
Next up was to try and figure out what to do with the diamond shape. Originally, I thought I could keep it and just paint around it so that it wasn’t gold. On closer inspection, I found that they had clearly been painted over numerous times and the paint was very thick and messy. There were also a couple of places where the diamond was chipped, so I decided to go ahead and just remove them – thinking that it was probably just a plastic embellishment. Wrong!
I tried to get a screwdriver under the diamond, expecting to pop it right off, but it turned out to be made of wood and VERY well attached to the door. I chipped it all off and sanded, but was still left with an impression of the diamond shape.
My original plan for the credenza was to paint everything white, then to stencil or paint a design on the top. Since I couldn’t get the diamonds to completely disappear, I decided to go for disguise and chose to put the design on the doors instead. I call this a happy accident because I just adore the way it turned out!
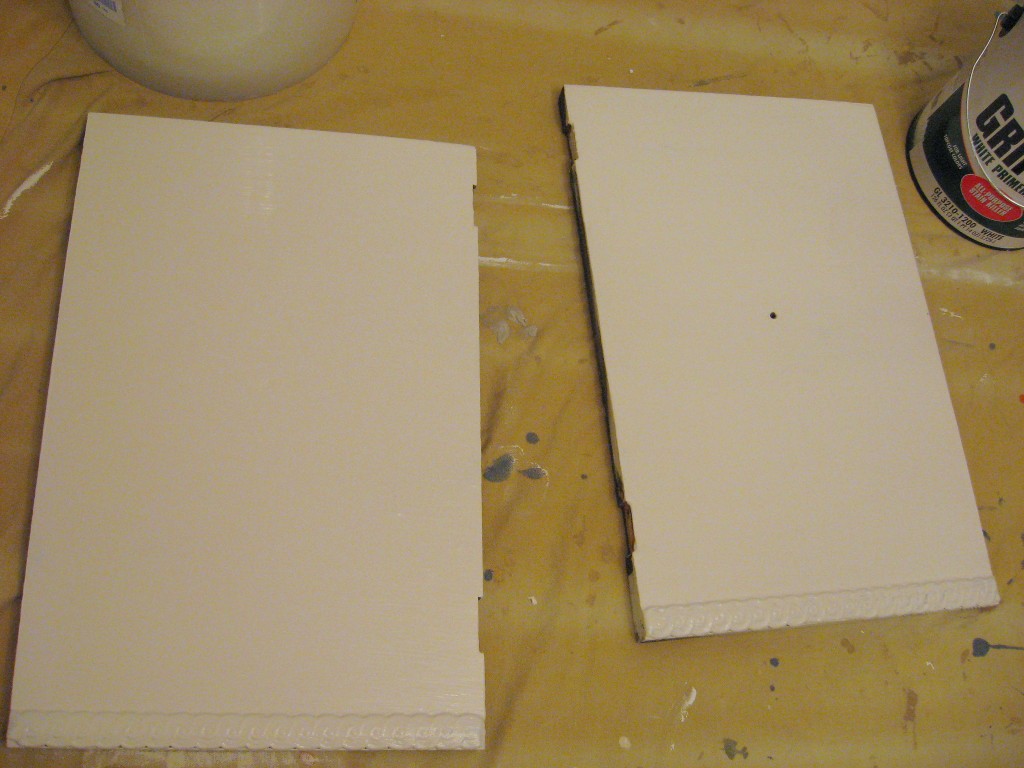
I painted everything with Gripper primer (see this post here if you’re not sure what that’s about). Once that was dry, I painted with two coats of matte white indoor house paint. Since the body of the credenza is pretty straightforward – just painted it with a brush – I’ll focus on what I did differently on the doors.
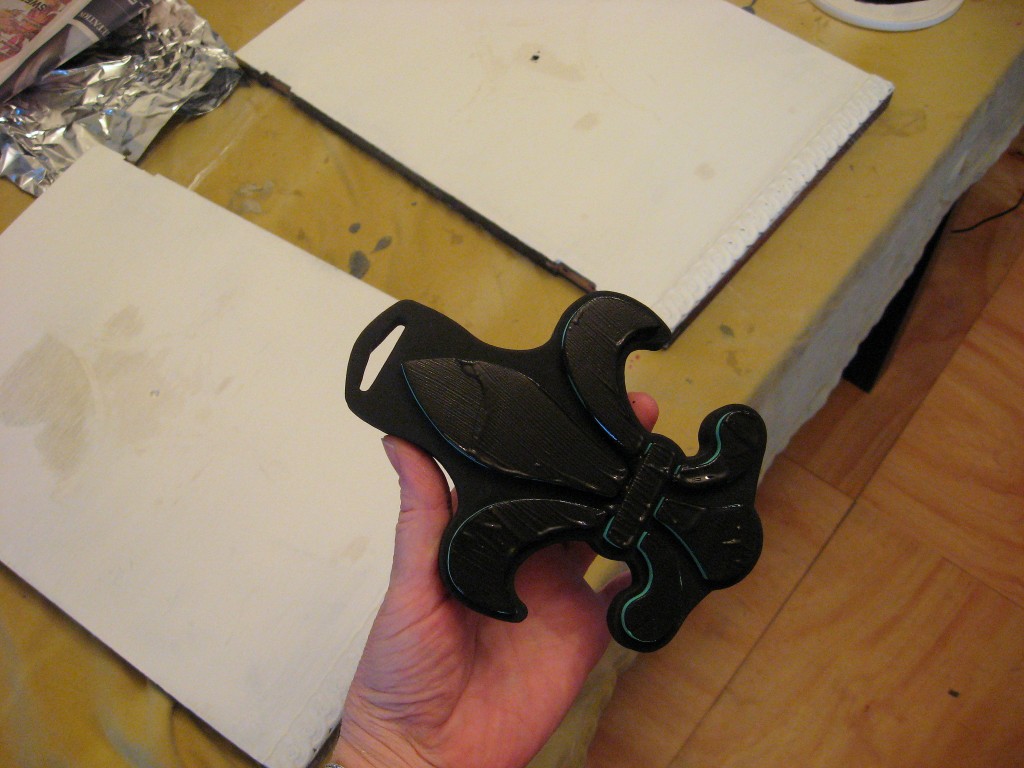
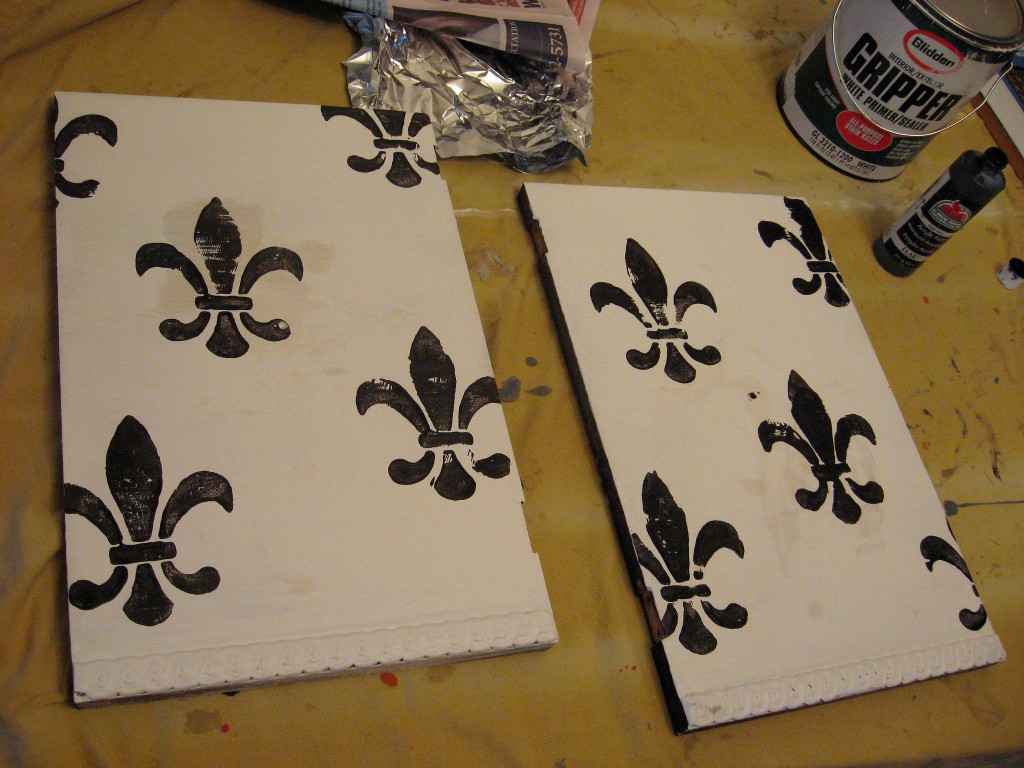
I painted the two outside doors with one coat of primer. Once that was dry, I used an inexpensive foam Fluer De Lis stamp and some black craft paint to stamp a design on the doors.
Let that dry THOROUGHLY, then paint over the whole thing with a coat of white paint.
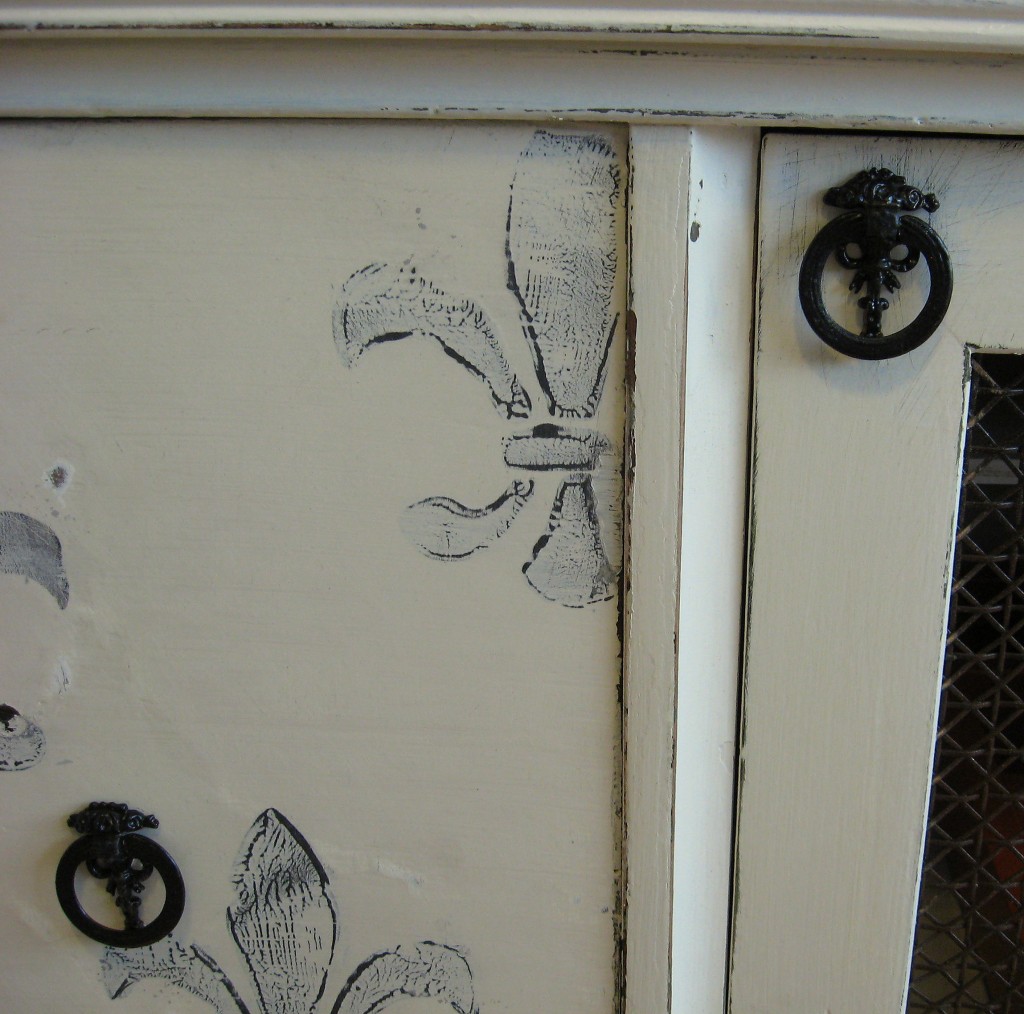
Once that is completely dry, start sanding the white paint back off, especially focusing on the areas where the black design is. I ended up doing this twice – sanded, re-stamped, re-painted with the white then sanded again – before I was happy with how it looked.
Give the rest of the piece a good, rough sanding as well, to make it look shabby and aged. Reassemble the doors.
If you are looking for it, you can still see the faint outline of the diamond on the left; you can’t see it at all on the right. But the fluer de lis design is what you notice first, so you no longer notice the flaw unless you are really trying to see it.

budgetmom
It just looks awesome.