I love a free room makeover! I recently did some remodeling in my basement, and used the opportunity to repaint and freshen my family room. Everything got a fresh coat of paint, and I moved some artwork that had previously been in my upstairs hall down to live above the TV. I loved the colors in that space, but it was much too small; I needed a big statement piece without a big price tag. That’s when I remembered these Ikea mirrors that I had stolen rescued from my sister’s “donate” pile.

And then I remembered that the reason she was getting rid of them was that it was so hard to hang them all straight and that drove her crazy. I really liked the thought of them being one big piece, so I decided to attach them together.
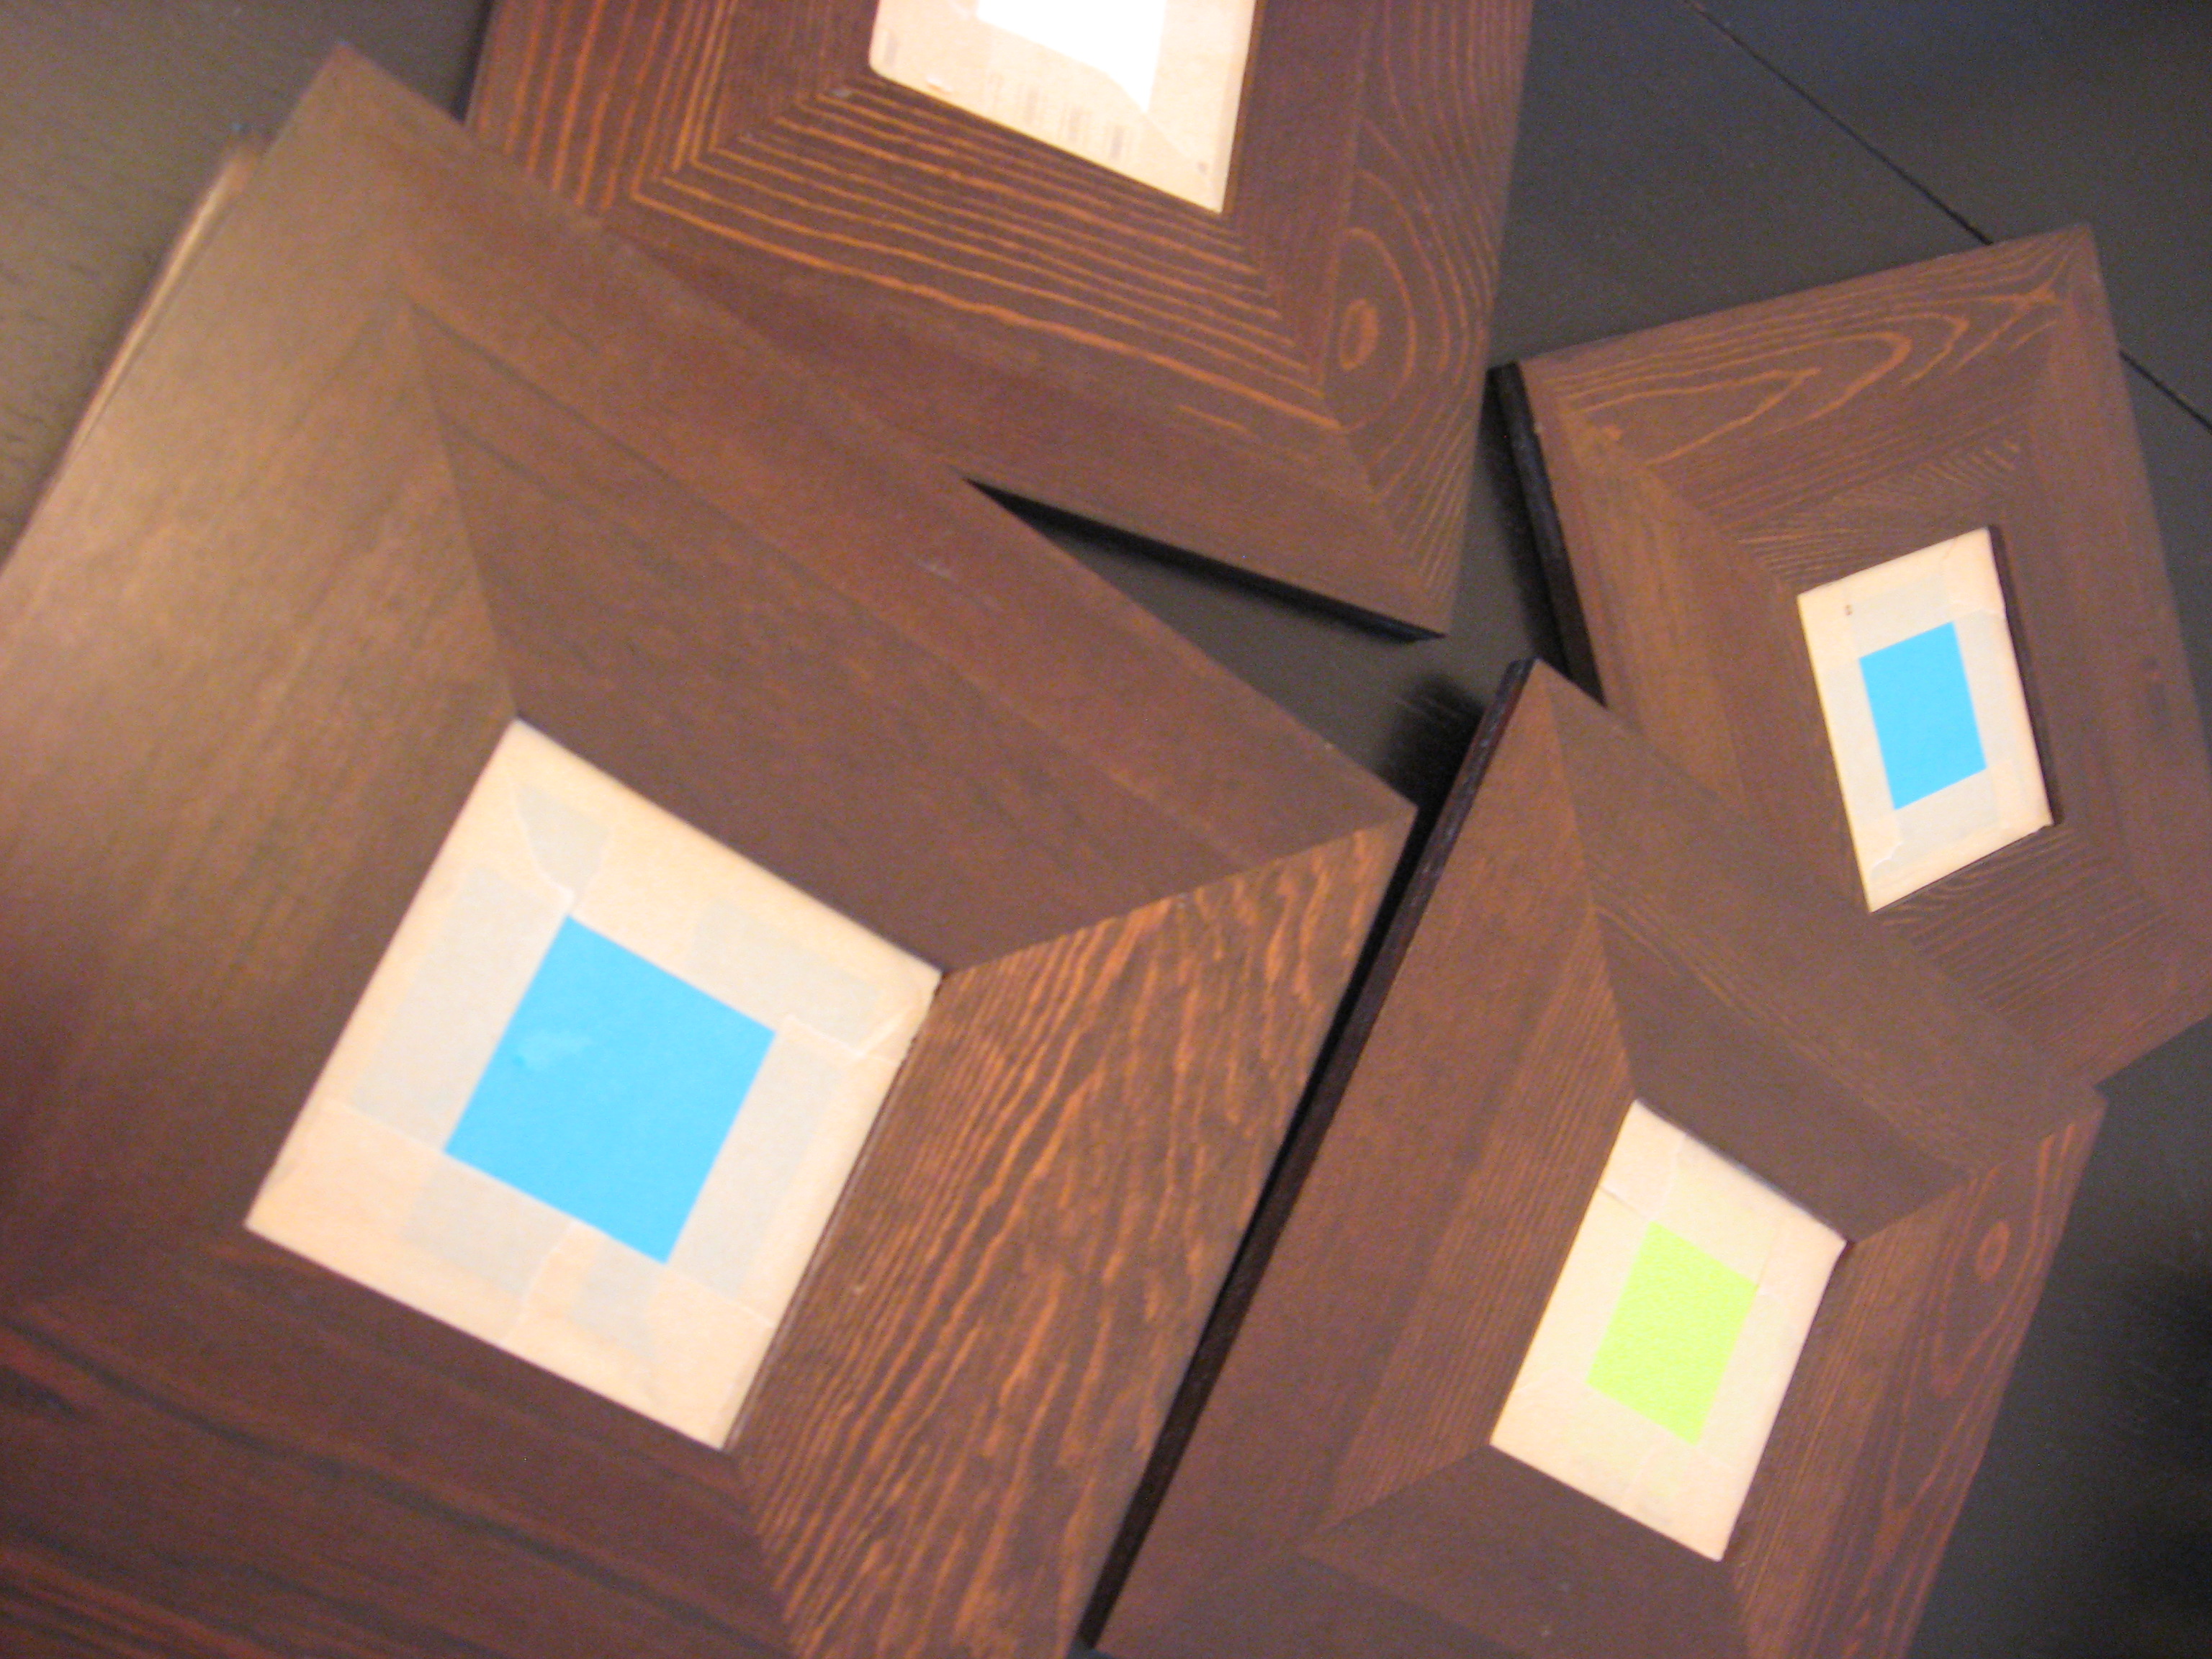
I didn’t want the finished product to be this color, so I started by taping off the mirrors on each piece (I used a post-it in the center, then taped around it.)
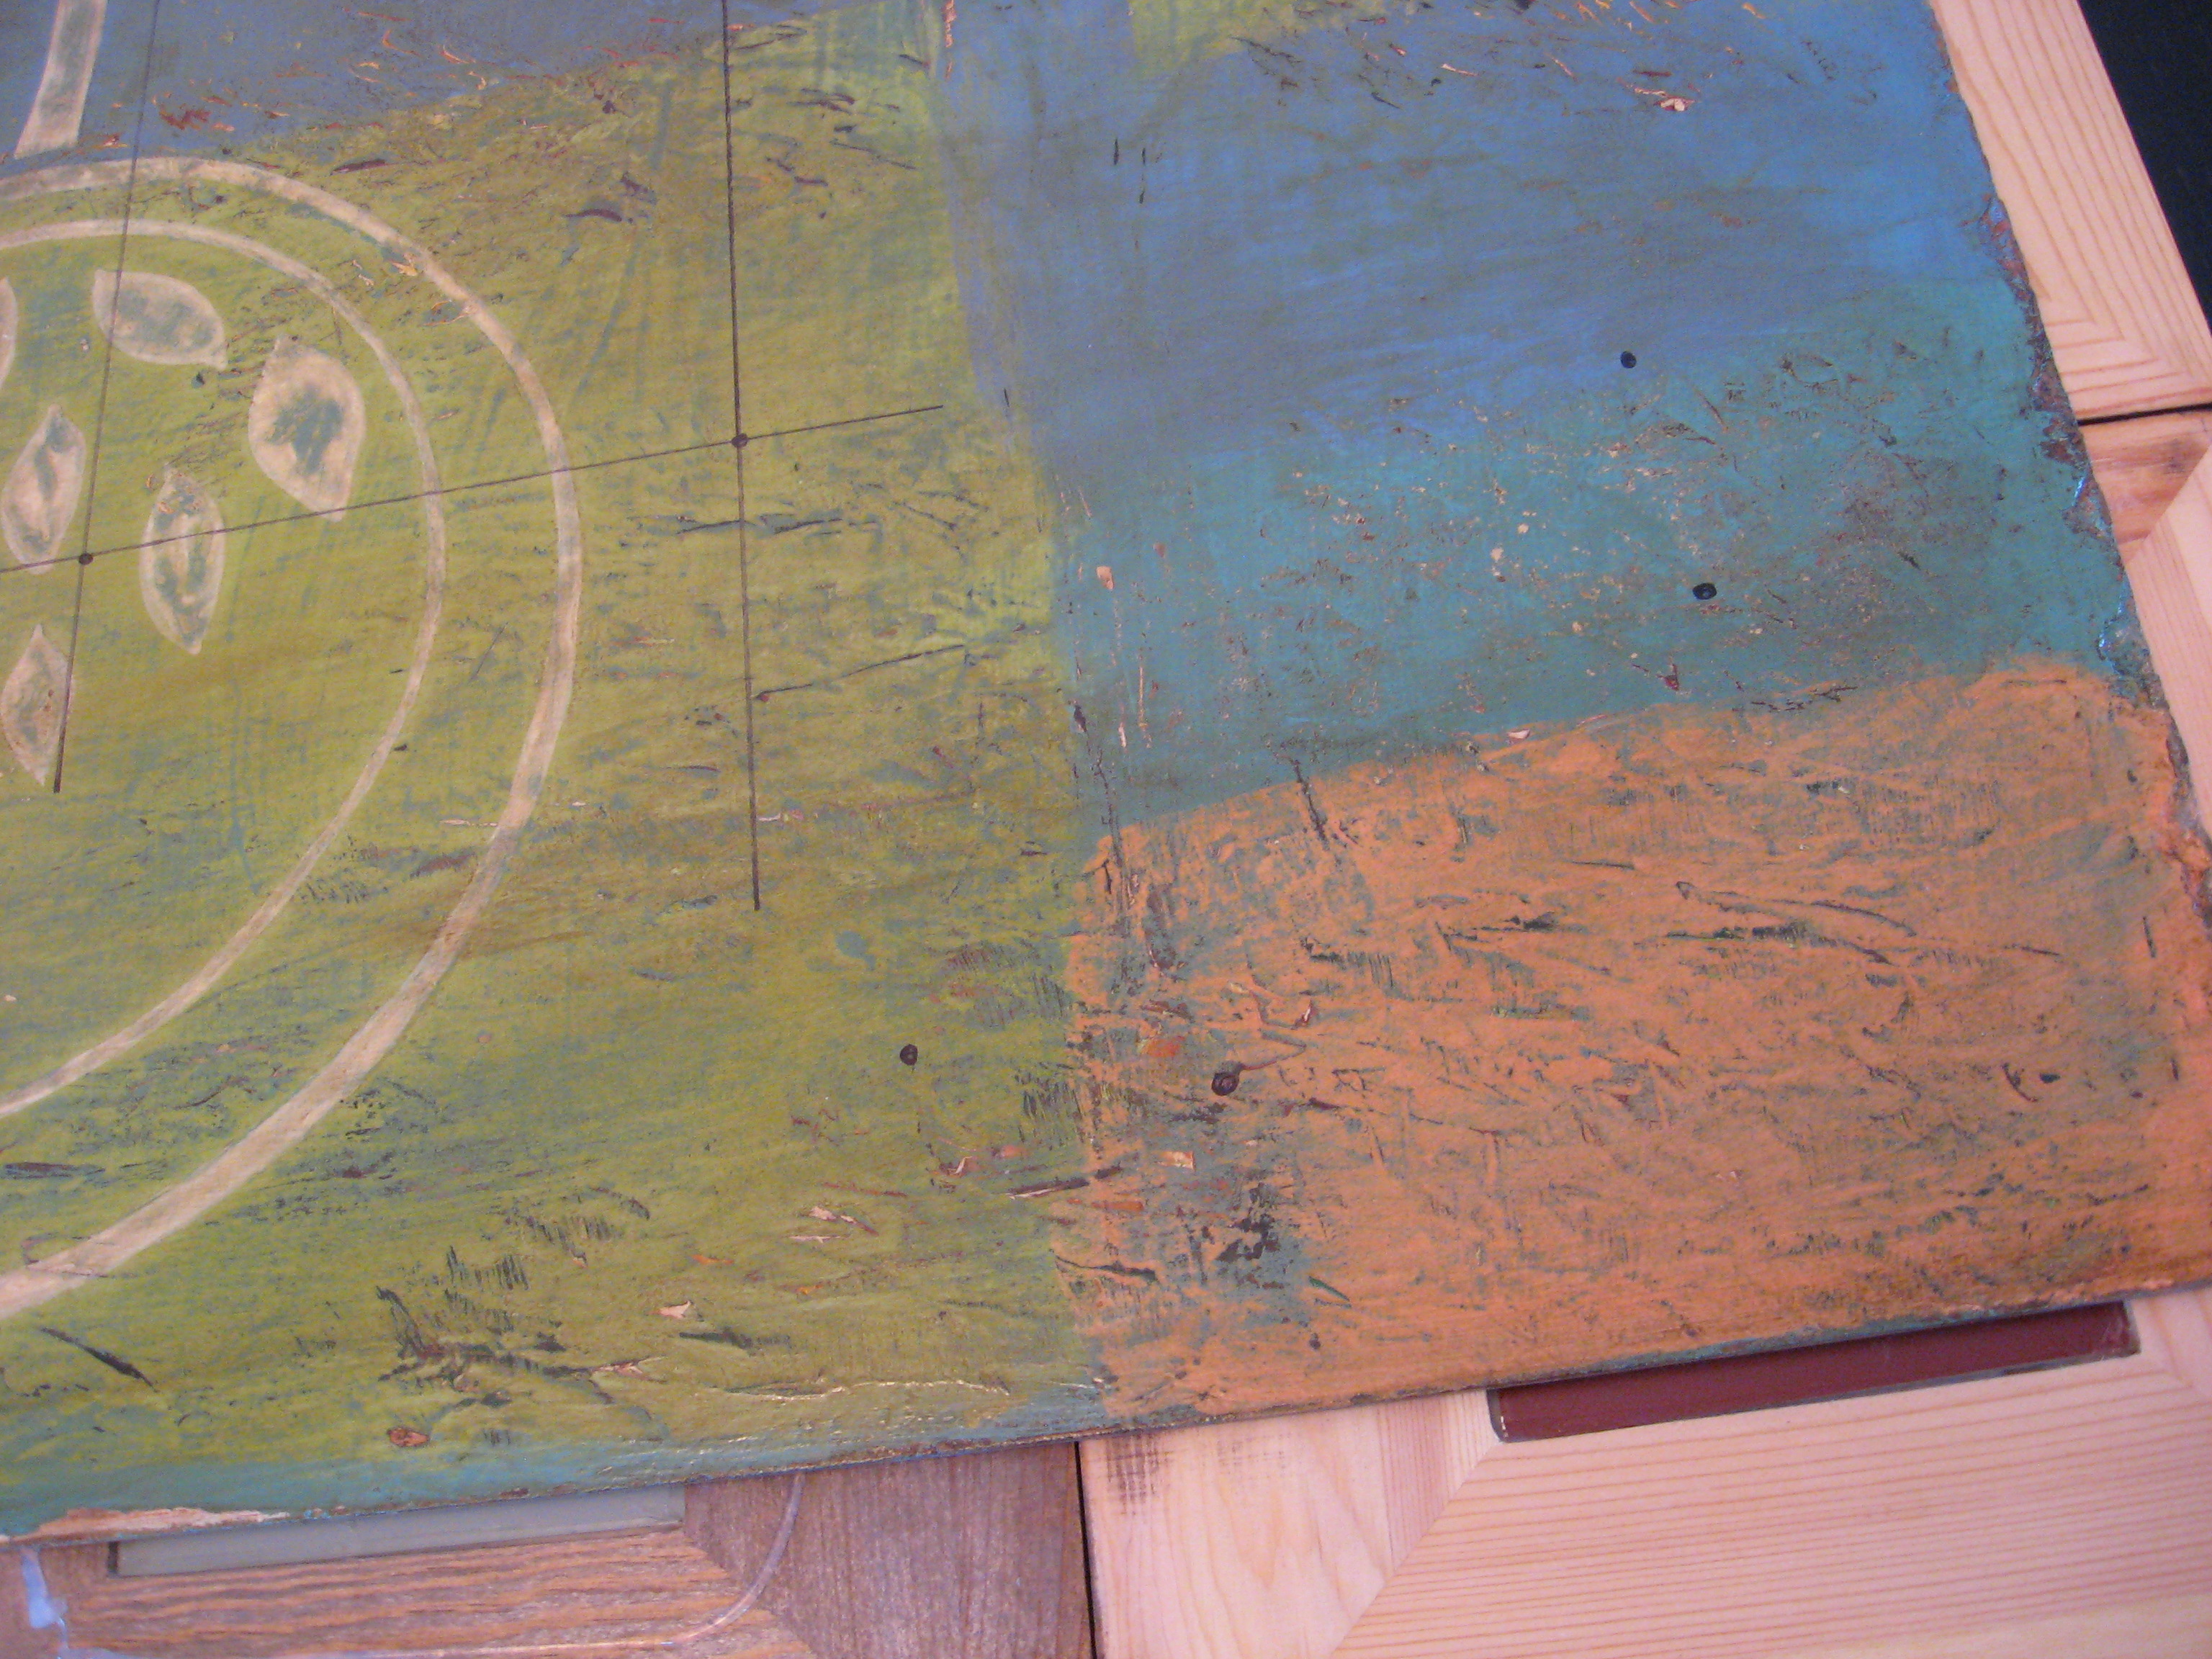
I found a piece of cast-off artwork on a large sheet of masonite in the garage and cut it down to use as the backing. I just cut it so that it was big enough for each mirror to attach to it, but a few inches smaller than the overall finished piece so it wouldn’t show from the front.
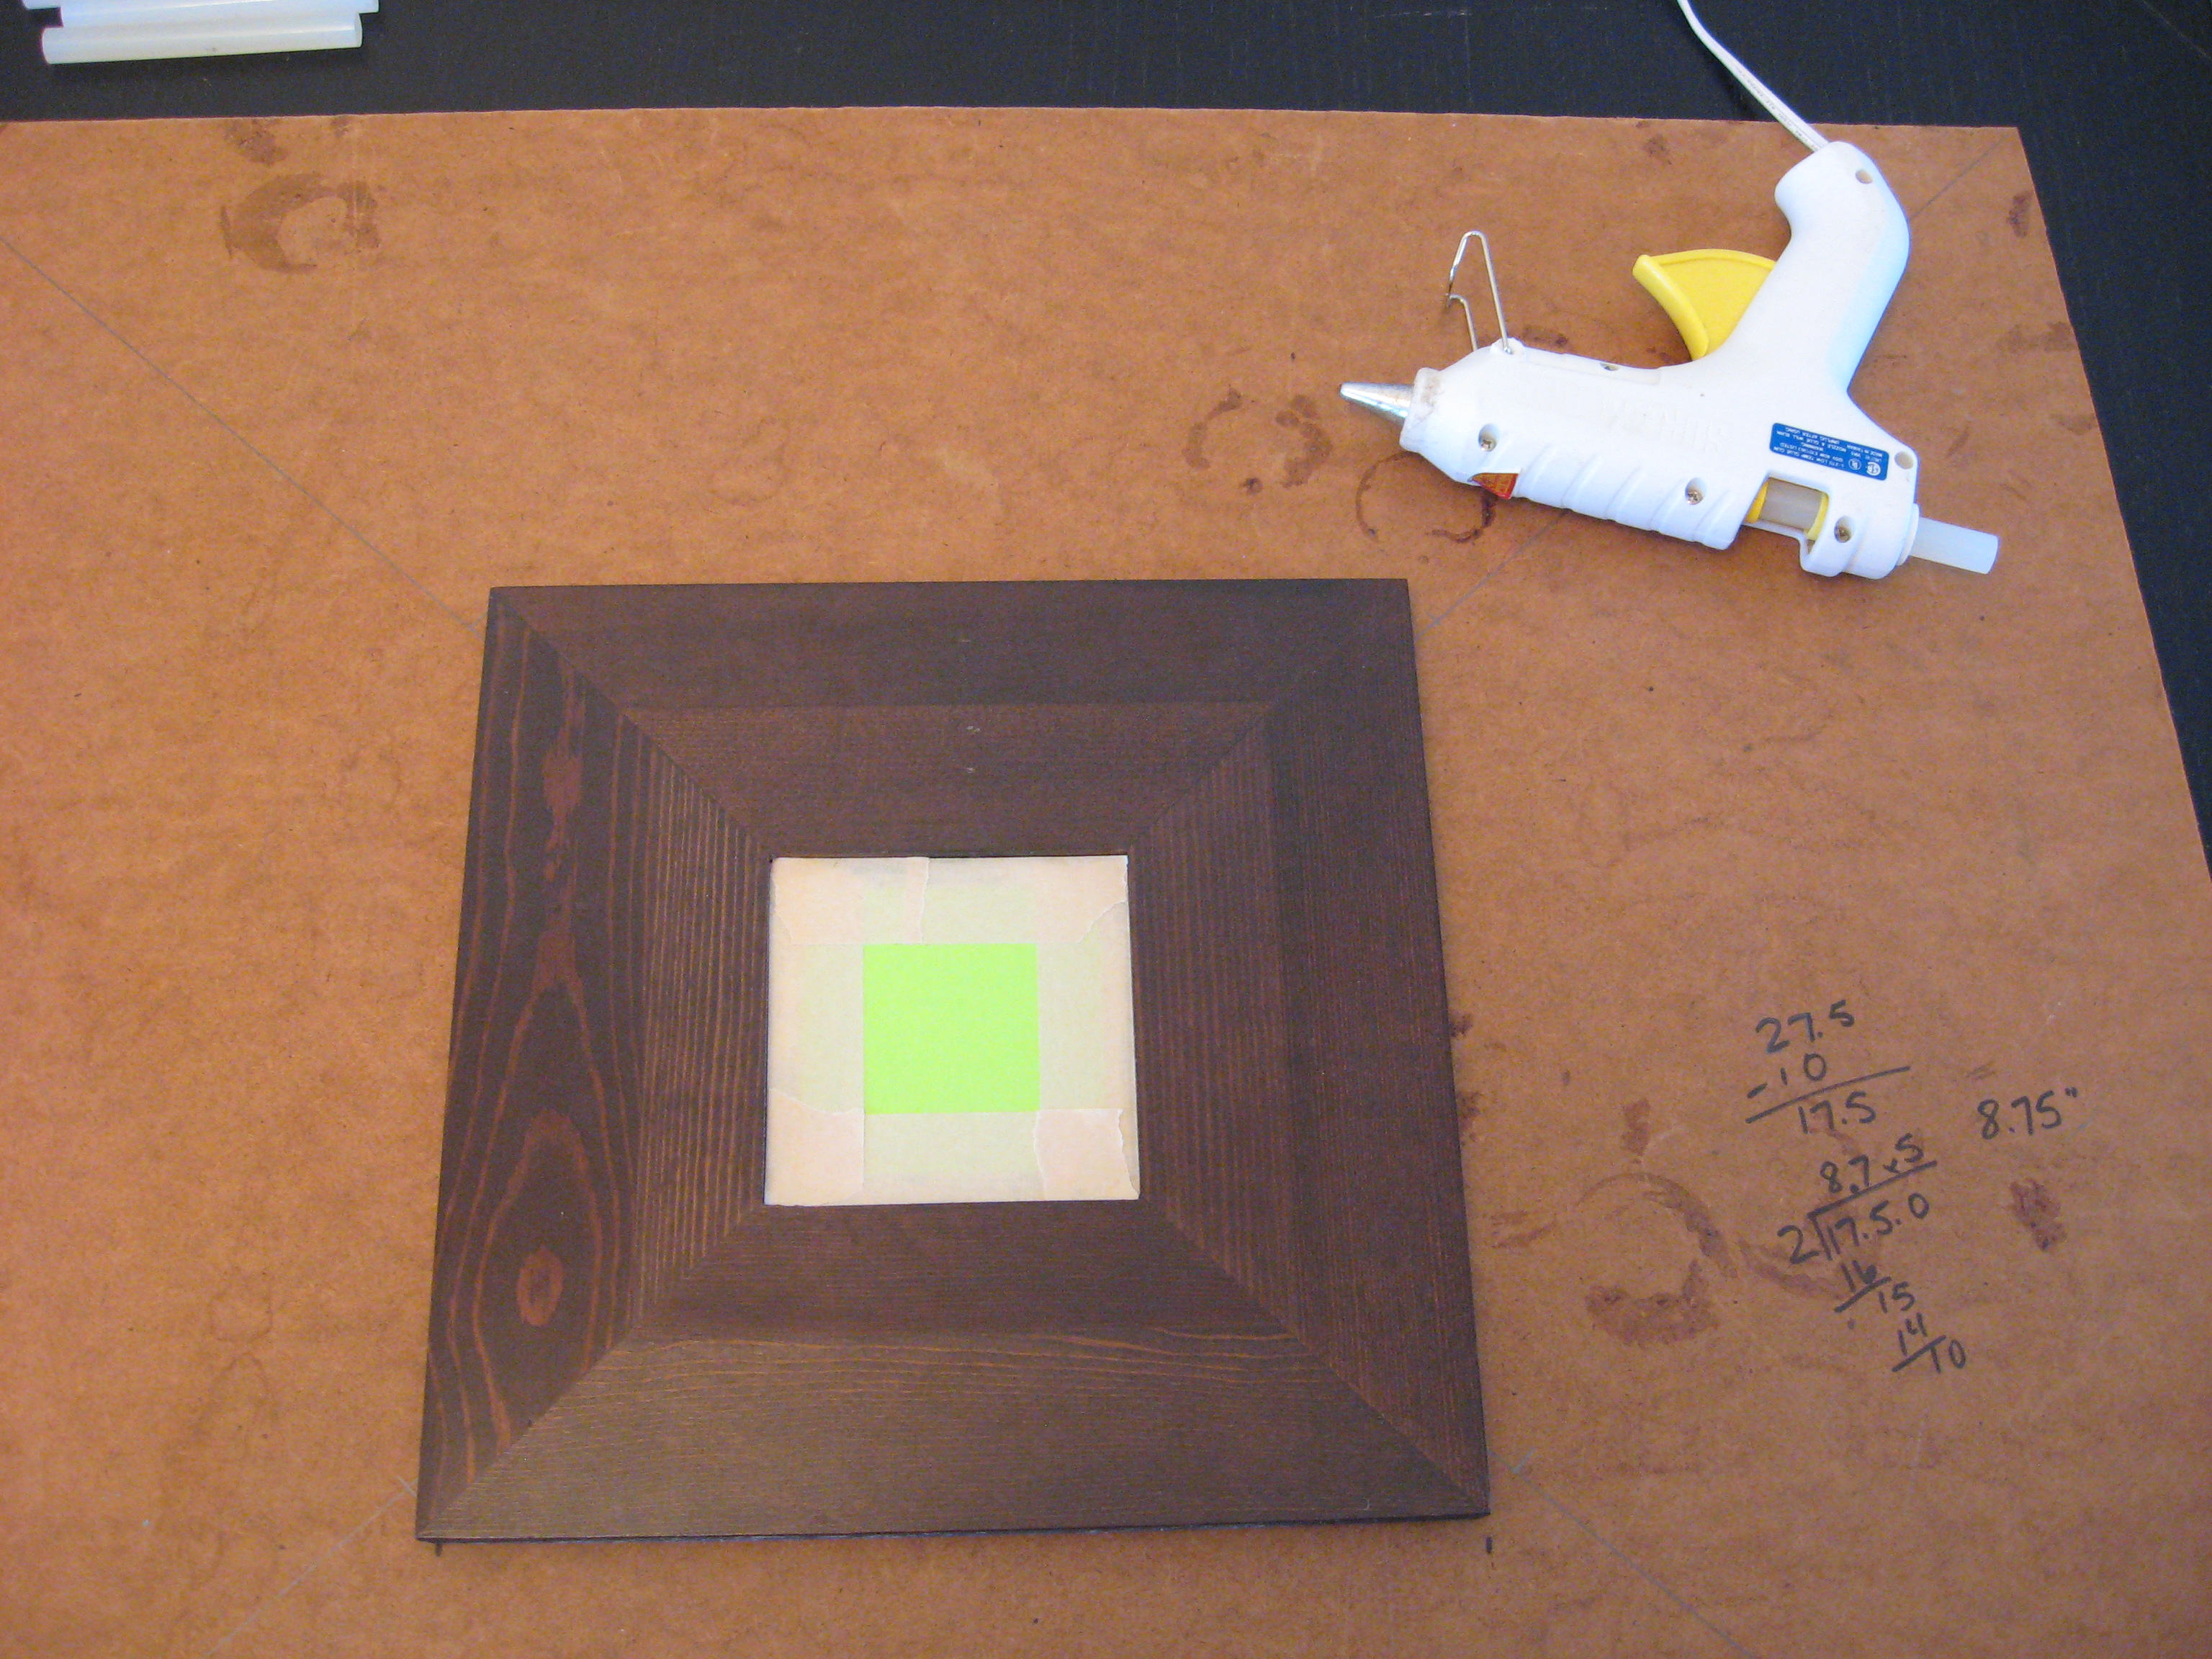
I drew some guide marks to show where the first mirror would go, then hot glued it right in the center. I chose to hot glue them on to hold them in place while I turned the whole thing over to nail it together. You could also just glue them if you wanted to, but I would recommend a very heavy duty adhesive like Gorilla Glue or Liquid Nails.
Once they were all glued on, I turned the whole piece over and used a Sharpie to mark a couple of points on each mirror where I would nail it through.
I would actually recommend using screws for this, but I didn’t have screws short enough – and since we were having a blizzard this day there was no way I was leaving the house! – so I used nails. They were still too long, so I angled them in like this:
and them hammered them flat. If you’re worried about the screw or nail scratching your wall, just dab a little dot of hot glue on each and let dry. Now it will be sturdy enough to move and hang as one piece.

I spray painted the whole piece with Oil Rubbed Bronze Krylon spraypaint, then removed the tape. Once it was dry, I installed a hanger on the back (I forgot to take a picture of this step, but if you look in the framing section of a store like Hobby Lobby or Michael’s, you’ll see that they have lots of choices.)
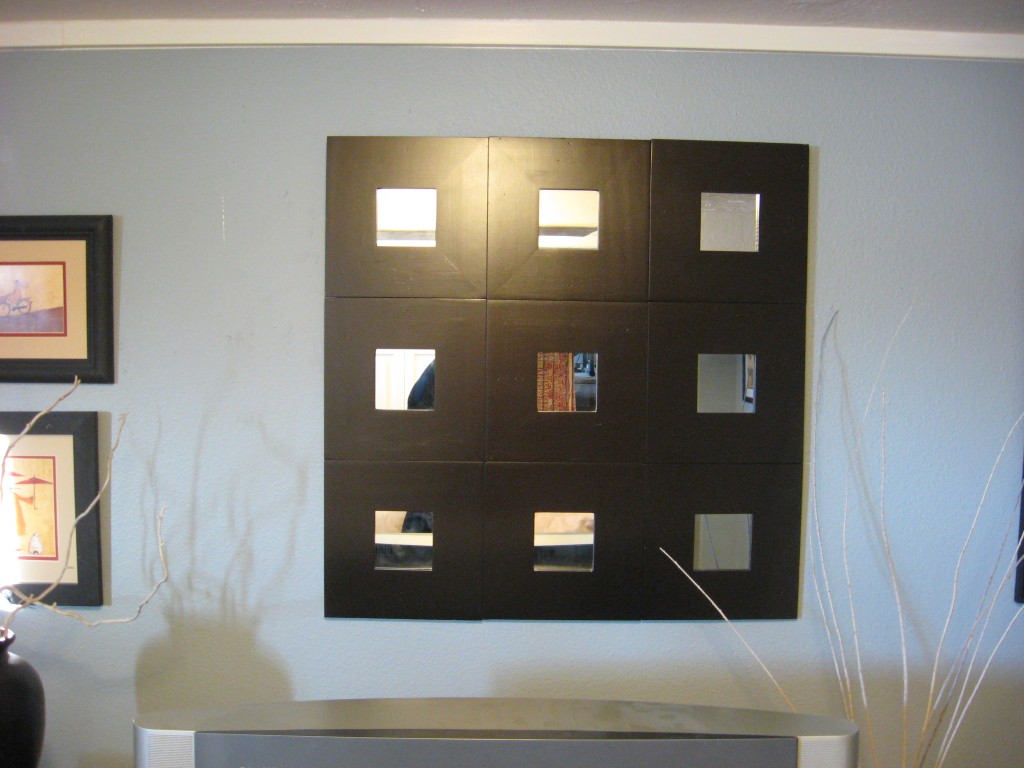
Now it’s the perfect focal point above my TV.