Here is the “before” of my kitchen sink. Clearly, room for improvement!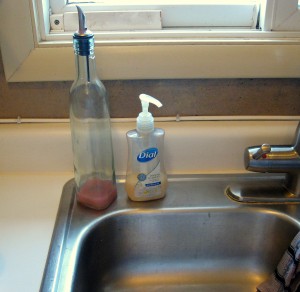
If you spend much time on the internet, you’ve likely the soap dispensers made out of canning jars, and if you’re like me, you’ve imagined them sitting beside your sink, looking just as cute in your home as they do on Pinterest. Soap pump and lid kits are available and ready to screw onto any jar. They’re adorable and not too expensive; if you want to go with that option, I recommend Etsy.com.
But, being both impatient (shipping takes too long!) and cheap (free is always better!) I decided to see if I could make my own, using materials I already had around my house.
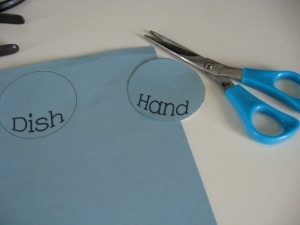
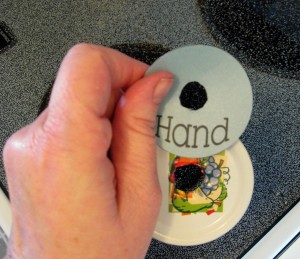
I wanted two finished jars; one for hand soap and one for dish soap. I started by using a word document to make 2 circles and then added the words “hand” to one and “dish” to the other (the circles should match up with the size of the jar lid; mine were just over 2″). Make sure the words don’t go through the middle or they will be covered by the pump.
Cut the circles out. It’s ok if they’re not perfect; the edges will be covered by the ring that screws onto the jar. Set them aside; we’ll come back to them in a minute.
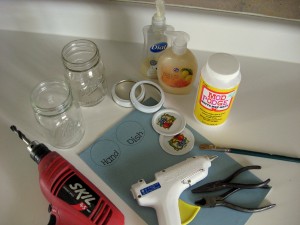
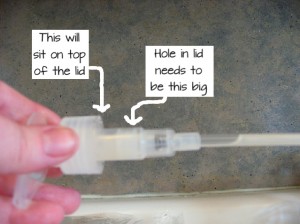
Take the pumps out of soap bottles and give them a good rinse and dry. I found that the pump in the smaller bottle (like regular softsoap) is too short for the canning jar, so you’ll need to use the taller bottle (like the Dial in the picture above).
You are going to drill a hole in the jar lid to allow this pump to go through and sit on top of it.
If you have a drill bit that matches the finished size you’re going for, great! I didn’t, so I just used the biggest one I had. 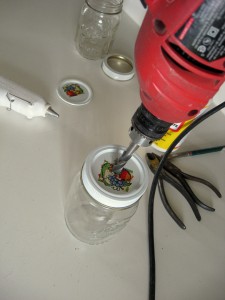
A couple of notes on drilling through the metal: I used the jar to hold the lid while I drilled. Once you get through the metal, the drill just drops so go slow and be careful not to break your jar. Also, I will admit that I’m not huge on wearing safety gear when I work with power tools, but in this case I would recommend glasses. Tiny bits of the metal can fly off and a few of them stung as they hit my hand, so I would imagine you wouldn’t want them hitting your eye!
Once you’re done drilling the hole, you will now want to make it big enough for the pump to go through. I tried using wire cutters, but found I had better luck with a sturdy pair of kitchen shears. Snip small snips (4 or so) around the perimeter of the hole, then use a pair of needle nose pliers to bend the metal back to the underside of the lid.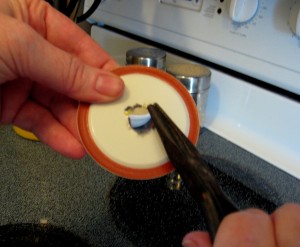
Keep bending and checking until the hole is JUST big enough for the pump to go through and sit on top. Don’t bend too much; you want it to be a snug fit. 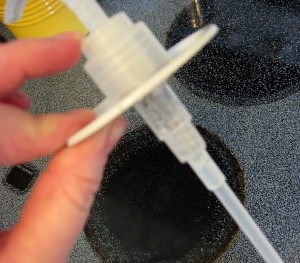
Take the pump back out and cut off any long pieces of metal, then use the pliers to pinch down the ragged edges so they are flush with the lid. They will be covered in a minute so you won’t get cut on them, and it’s ok if it’s messy because no one is ever going to see it.
Now use the metal lid to trace a circle on the paper circle from before. Cut it out so that the holes match up; again, if it’s messy, it won’t show when you’re finished.
Use Mod Podge to attach the paper circle to the top of the lid, making sure to smooth it firmly with your fingers as it starts to dry. Let it dry for 20 minutes, then apply a coat on top of the paper to seal it, being sure to cover the whole top of the lid very well. Let dry 20 minutes, and apply another coat. I ended up doing 3 coats on top since this is going to be around water. While those are drying, start heating up your glue gun.
Note: When you attach the paper to the lid, be sure to 1) make sure the entire lid is covered with Mod Podge and 2) let it dry thoroughly before you top coat. Otherwise, you will get bumps and bubbles like on the “dish” lid below. If you are impatient like me and end up with this, let it dry and work it smooth with your fingers before doing a second coat. Sometimes that will work without having to start over. 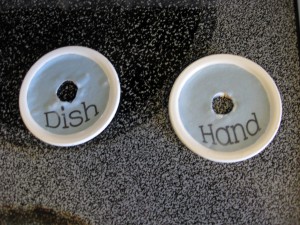
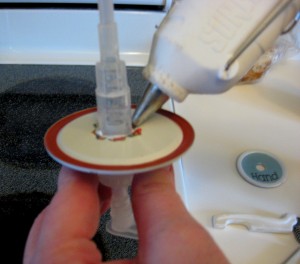
Once those are dry, put the pump through and hold it carefully together-upside down-with one hand. You are going to apply a ring of hot glue around the hole, right up against the pump where it comes through. Work quickly because you want to do the next step before it hardens.
Wet your finger and quickly run it around the circle, kind of smooshing the glue flat and smooth. 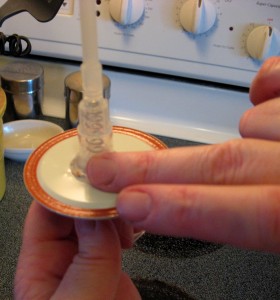
Doing this attaches the lid to the pump, forms a waterproof seal and covers all those jagged edges of metal. Awesome.
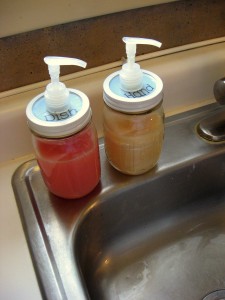
Now, put the ring on the lid and screw it onto your jar. I found that my pumps were about a 1/4 of an inch too long, so I snipped the bottom off (make sure to snip at an angle). Once it is the right length, fill your jar and screw the top on.
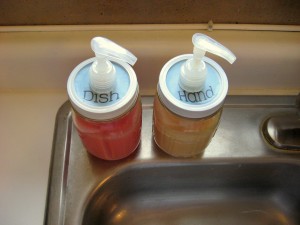
Better, no?

sherriwj
Cute!!
budgetmom
Adorable. And perfect!