
A PYP Best Blog! Cooking From Scratch!
Just in case you missed this article on cooking from scratch the first time we shared it a couple of years ago, we are republishing it. After Marne wrote this blog originally, we got an awesome response. This is one of the PYP Best Blogs!
I grew up with a mother who was always cooking from scratch. That is all I knew. Our home was consistently blessed with homemade whole wheat bread, granola, yummy casseroles, and what have you. My mom was ‘famous’ in our small town for her bread and rolls. Even things like maple syrup and other delicious syrups were homemade. Our family did a lot of canning and preserving too. I was jealous of some friends and kids that I babysat because they got to have store-bought macaroni and cheese, store-bought white bread, and other convenience foods. They were so lucky, I thought at the time.
I know differently now. I am so thankful my mother instilled in me the desire for cooking from scratch. Not that I do it all the time, mind you. I have to fight that desire to do the quick and easy thing. Cooking from scratch takes more time usually, but it is healthier for you and much cheaper. Nowadays with all the great nutrition information out there cooking from scratch is having a comeback. Everyone is realizing how great and simple and cost effective it really is!
When you are cooking from scratch it is important to make sure you have a well-stocked pantry with basic ingredients and spices. Then you are able to throw things together quickly and easily. Things that I always have in my cupboards or freezer are: oats, sugar, wheat, rice, butter, sour cream, spaghetti sauce, cream cheese, peanut butter, taco sauce, pasta, chicken & ground beef, eggs, onions, potatoes, cheese, and lots of various spices..just to name a few things.
I wanted to share with you today a few of my favorite recipes when I am cooking from scratch. If you have a few favorites, please comment and share what you do! We can all learn and benefit from each other.
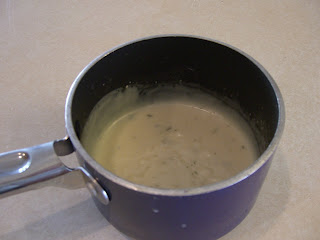
Homemade Cream of Chicken Soup
1 c. Magic Mix
3/4 c. Chicken Broth (either from a can, bouillon, or liquid from canned chicken)
1 t. Dry Parsley
Dash of Onion Salt
Mix together with wire whisk over medium heat, stirring constantly. Bring to a boil and remove from heat.
Magic Mix
2 1/3 c. powdered milk
1 c. all purpose flour
1 c. (2 sticks) butter, room temperature (NO margarine!)
Combine together in a mixer bowl. I use my Bosch. Whip up nice and thoroughly until the mixture resembles cornmeal. Put in the fridge and use for a variety of recipes, including condensed soups. (Using it for chocolate pudding is really good!) Will keep in the fridge for several months.
Banana Muffins
1 3/4 cups flour
1/2 c. white sugar + 1/4 c. brown sugar
1 teaspoon baking powder
1 teaspoon baking soda
1/2 teaspoon salt
1 egg
1/2 cup vegetable oil
1/2 cup plain yogurt or sour cream (I use sour cream)
1 teaspoon vanilla extract
1 cup mashed ripe bananas (about 2 large or 3 small)
*In a large bowl combine flour, sugars, baking powder, baking soda and salt. In another bowl, combine and stir the egg, oil, yogurt (or sour cream) and vanilla. Stir into dry ingredients just until moistened. Fold in mashed bananas. Try not to overstir. Just moisten all ingredients. Can add chocolate chips. (We like them better without chocolate chips.) Fill greased or paper-lined muffin cups two-thirds full. Bake at 350 degrees F for 22-25 minutes or until a toothpick comes out clean. Cool for 5 minutes before removing from pans to wire racks.
Here are some other recipes that I make from scratch that I LOVE and make all the time. Some I have posted here on PYP before.
Drop Biscuits
Whole Wheat Banana Chocolate Chip Muffins
Whole Wheat Bread
Oatmeal Chocolate Chip Cookies
Oatmeal Pancake Mix
Chicken Ranch Pizza
Homemade Granola Bars
Homemade Crunchy Granola
Bonus Deal of the Day – Rachael Ray Hard-Anodized 10-Piece Set – $99.99!

Bonus Deal of the Day – Rachael Ray Hard-Anodized 10-Piece Set
List Price: $255.00
You Save: $155.01 (61%)
Deal of the Day: $99.99
LINK to Gold Box Deals at Amazon
Eligible for free shipping on $35+ orders or on ANY order with Amazon Prime.
Don’t have a Prime membership? Get a one month free trial! Click here for details!
Nostalgia Electrics – 4 Fun Machines to Choose From – Just $14.99!


Nostalgia Electrics – Caramel and Candy Apple Maker – Red/Brown or
Nostalgia Electrics – Hollow Chocolate Candy Maker – Brown or
Nostalgia Electrics – Mix ‘n Twist Ice Cream & Toppings Mixer – White or
Nostalgia Electrics – Vintage Collection 12-Cup Kettle Corn Maker – White
Regular Price: $24.99
You Save: $10.00
$14.99
Free shipping on $35 orders! Free in store pick up!
JeBouffe Home Canning Step by Step Guide Revised and Expanded – FREE!
This guide is intended to provide you with the essential information to make your first small jars in a safe and enjoyable way. It will guide you through all stages from preparation to storage of your products.
 JeBouffe Home Canning Step by Step Guide Revised and Expanded
Kindle Edition
FREE!
Eligible for free shipping on $35+ orders or on ANY order with Amazon Prime.
Don’t have a Prime membership? Get a one month free trial! Click here for details!
A PYP Best Blog! DIY Recipes: Homemade Meatballs!
Just in case you missed this DIY article on making homemade meatballs the first time we shared it a couple of years ago, we are republishing it. After Marne wrote this blog originally, we got an awesome response. This is one of the PYP Best Blogs!
Tuesday I picked up my 40 lb box of ground beef from Zaycon and needed to prep it. One of my favorite things to have ready in the freezer are homemade meatballs. I don’t particularly like making them, but I love having them all ready for meals. So I just remind myself of that. I made and froze 208 meatballs!! Holy cow.
Here is how I like to do homemade meatballs!
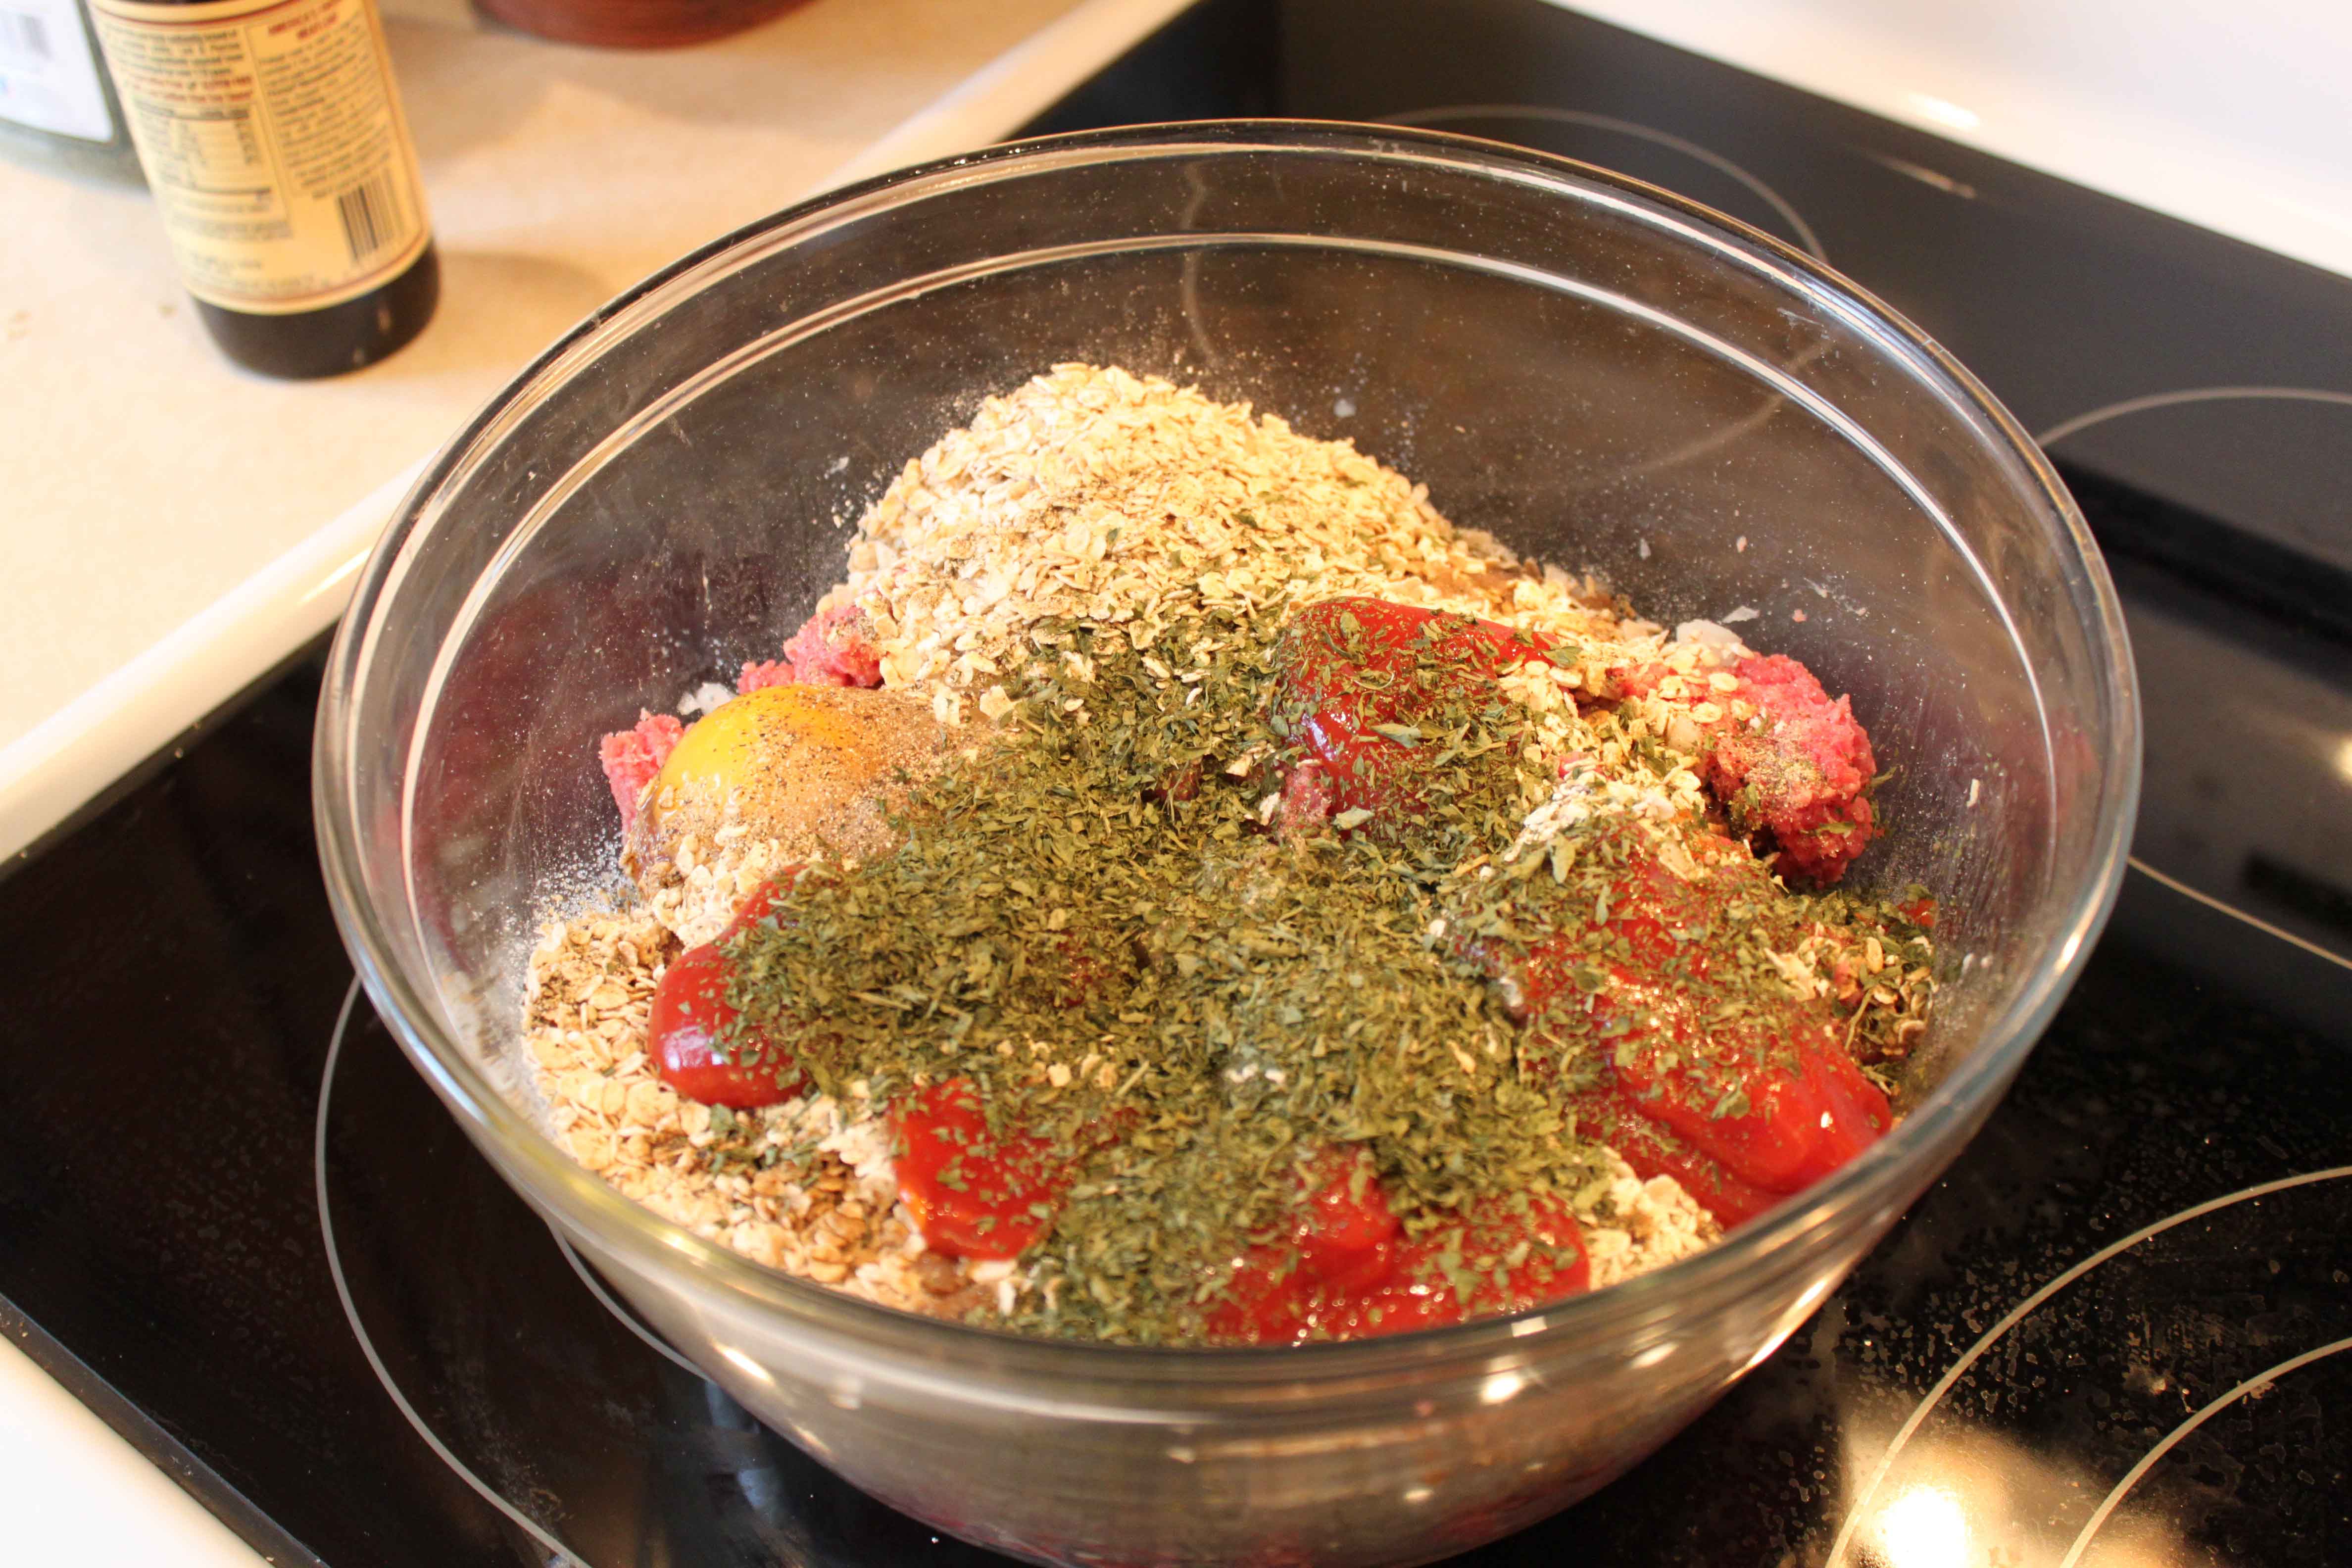
HOMEMADE MEATBALLS
1 1/2 lbs lean hamburger
3/4 cup quick oats
1 egg
1/4 cup finely diced onion
1/4 cup milk
1 tsp salt
1 tsp ground pepper (use another teaspoon of pepper if you love pepper flavor)
1 tsp Worcestershire sauce
2 Tbsp ketchup
1 Tbsp dry parsley
Put all ingredients into a large bowl (I love using glass bowls as they clean easily from all the germs from raw meat).
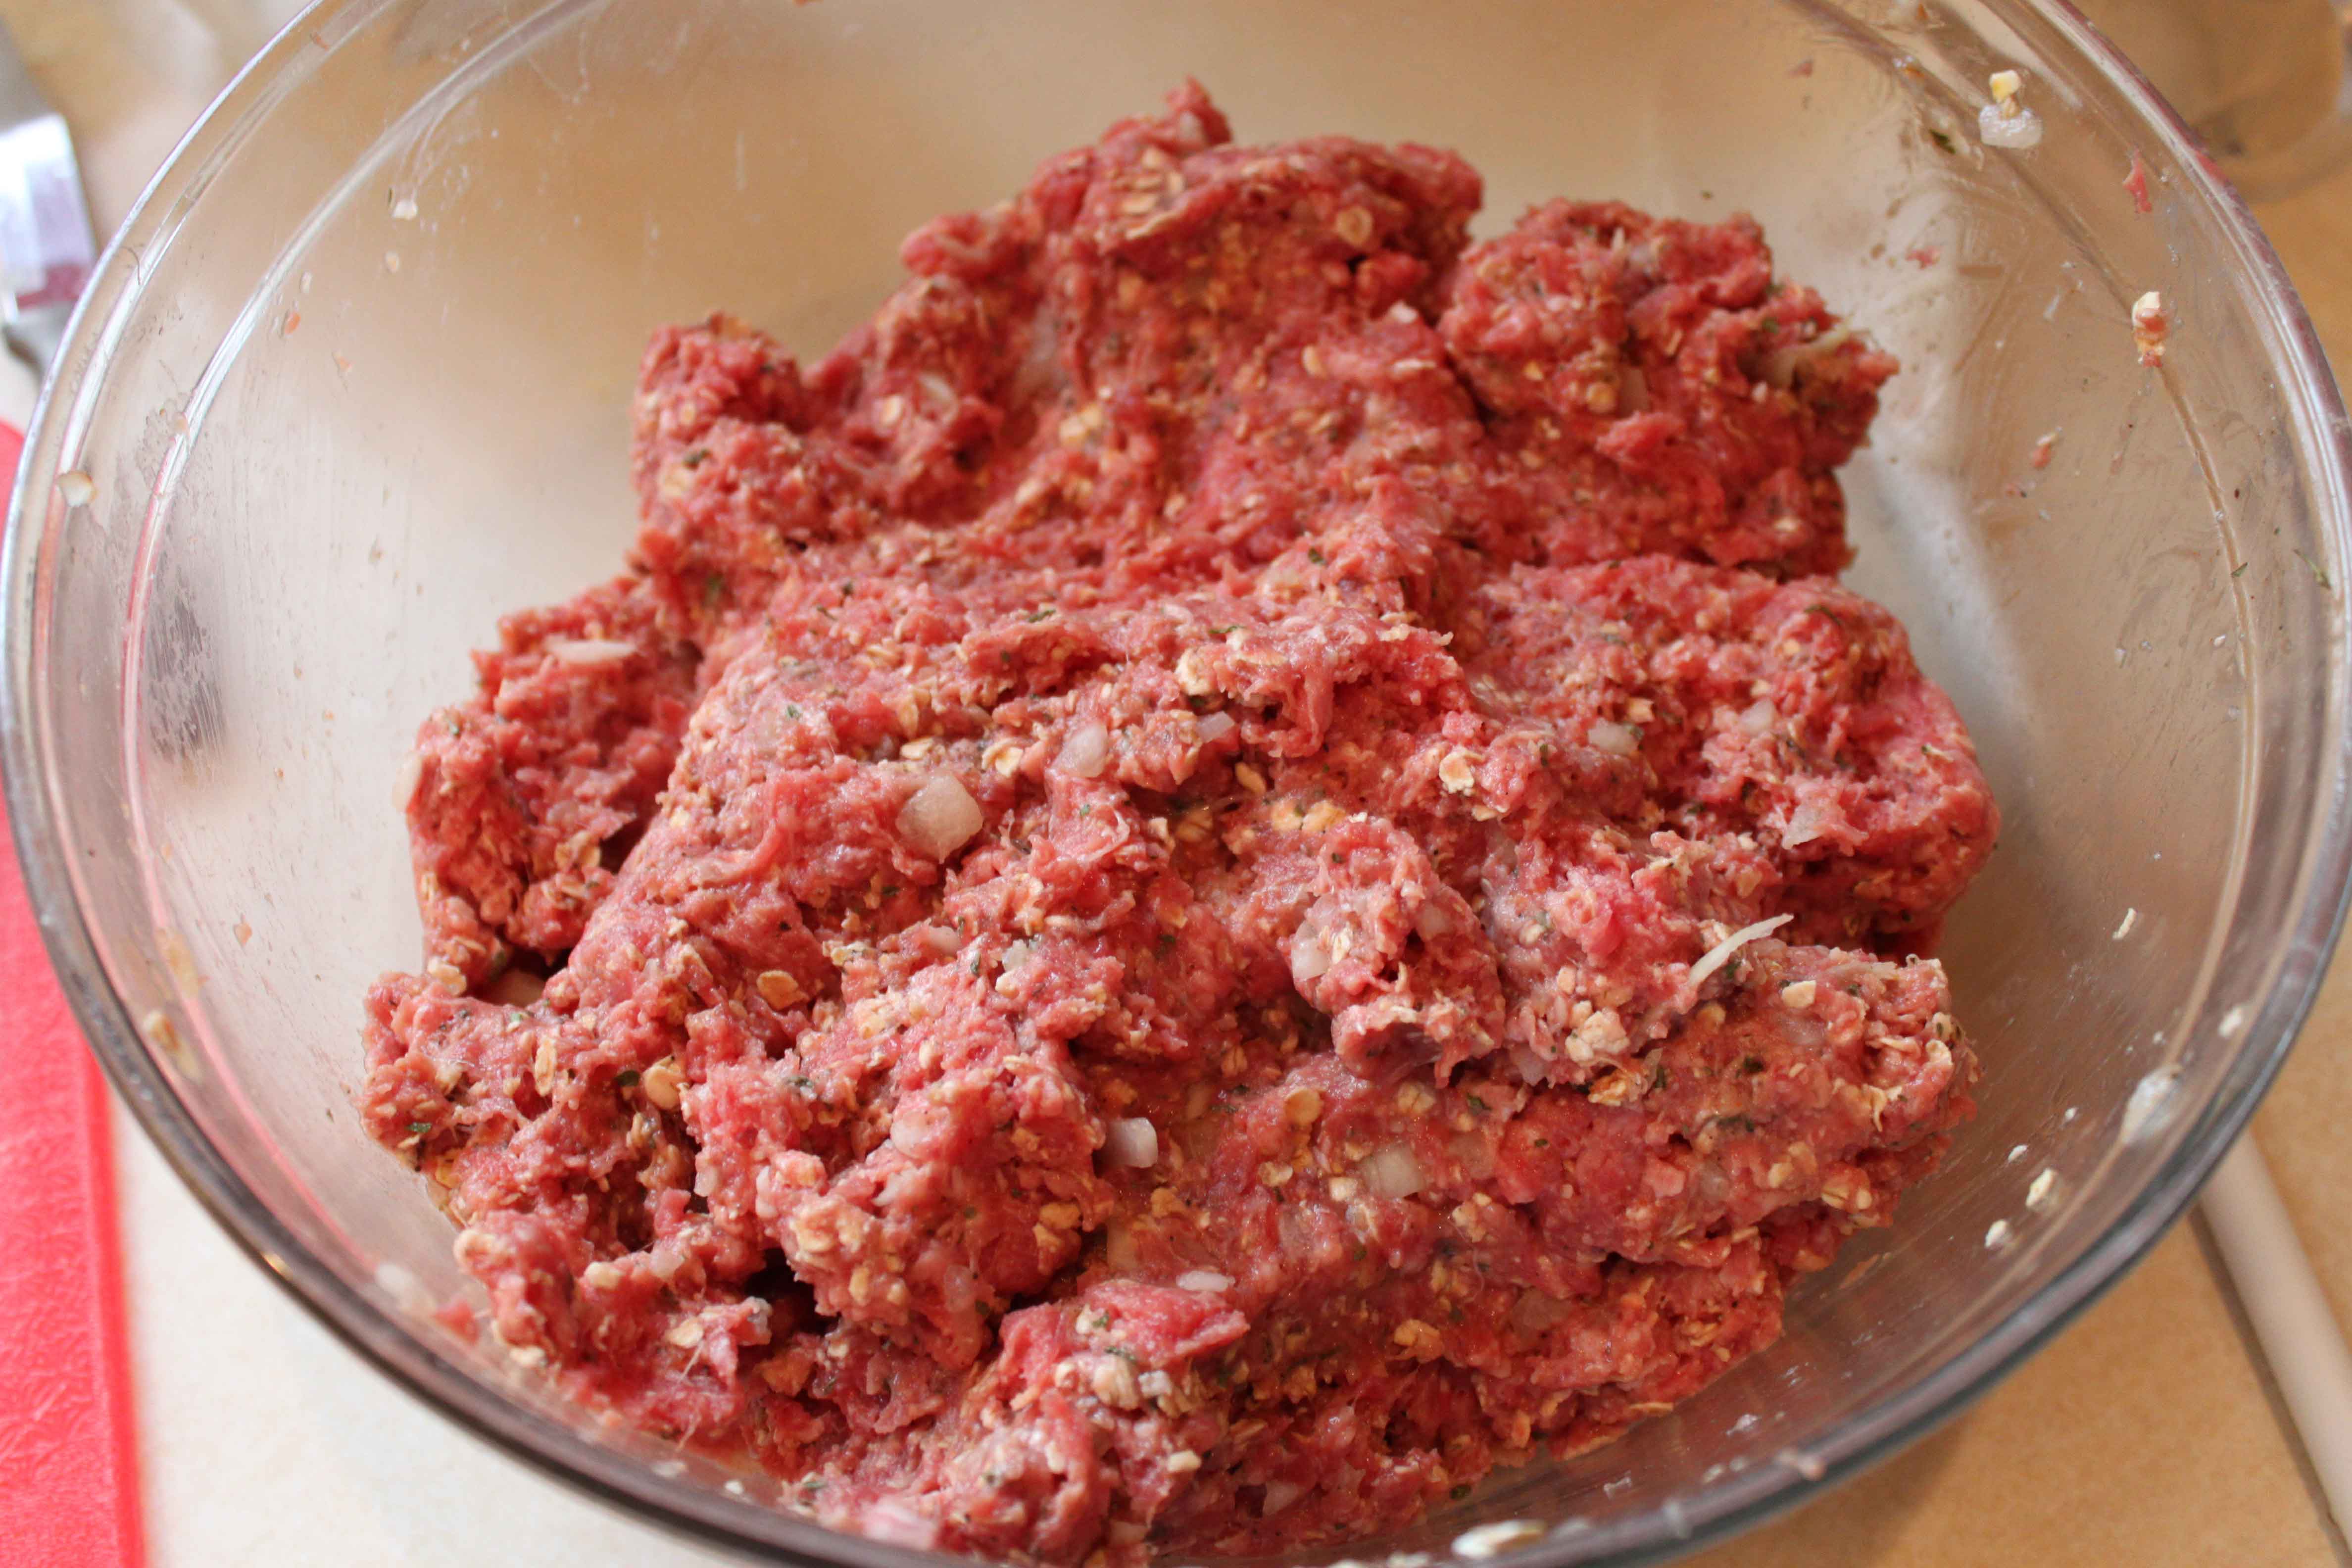
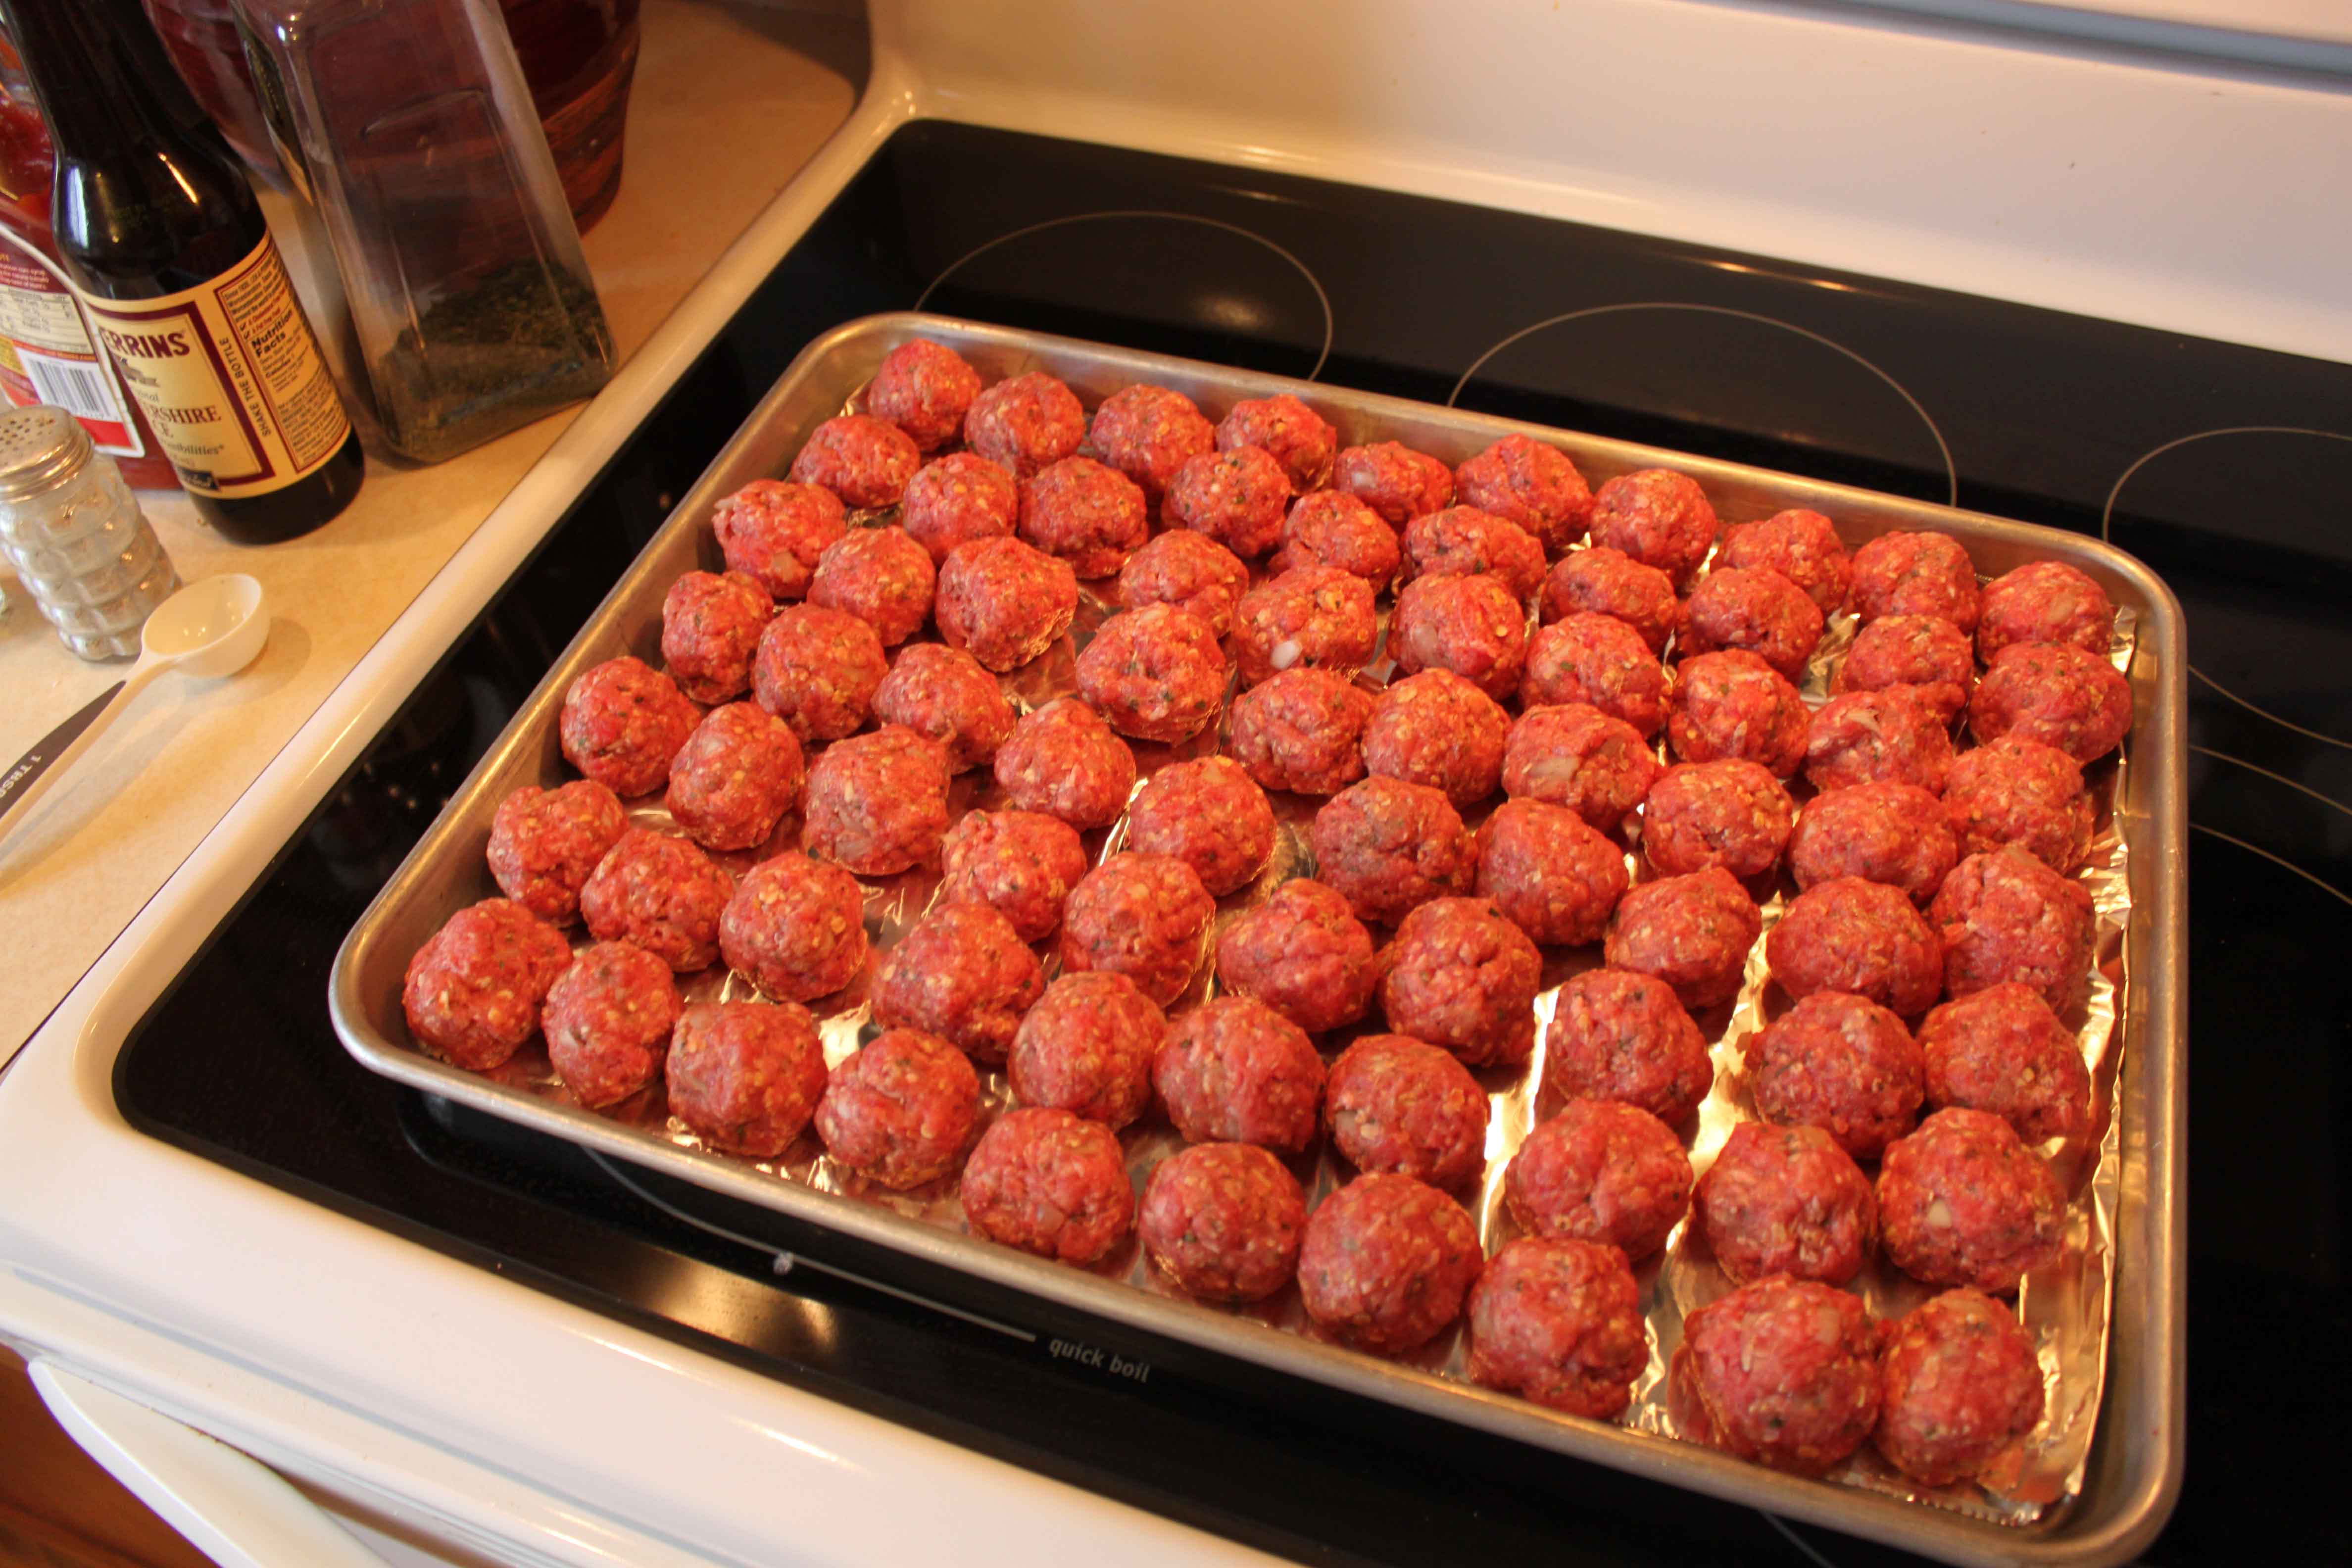
Mix all together WELL. Use your hands to make sure it is well-incorporated. Make sure you take any rings off. 🙂 It will look like this:
Now, form the meat mixture into balls and place on a cookie sheet lined with foil (it makes clean up a breeze! Bake at 400 for about 18 minutes, shaking or stirring occasionally.
When they are done cooking, they look like this, and smell soooo good!

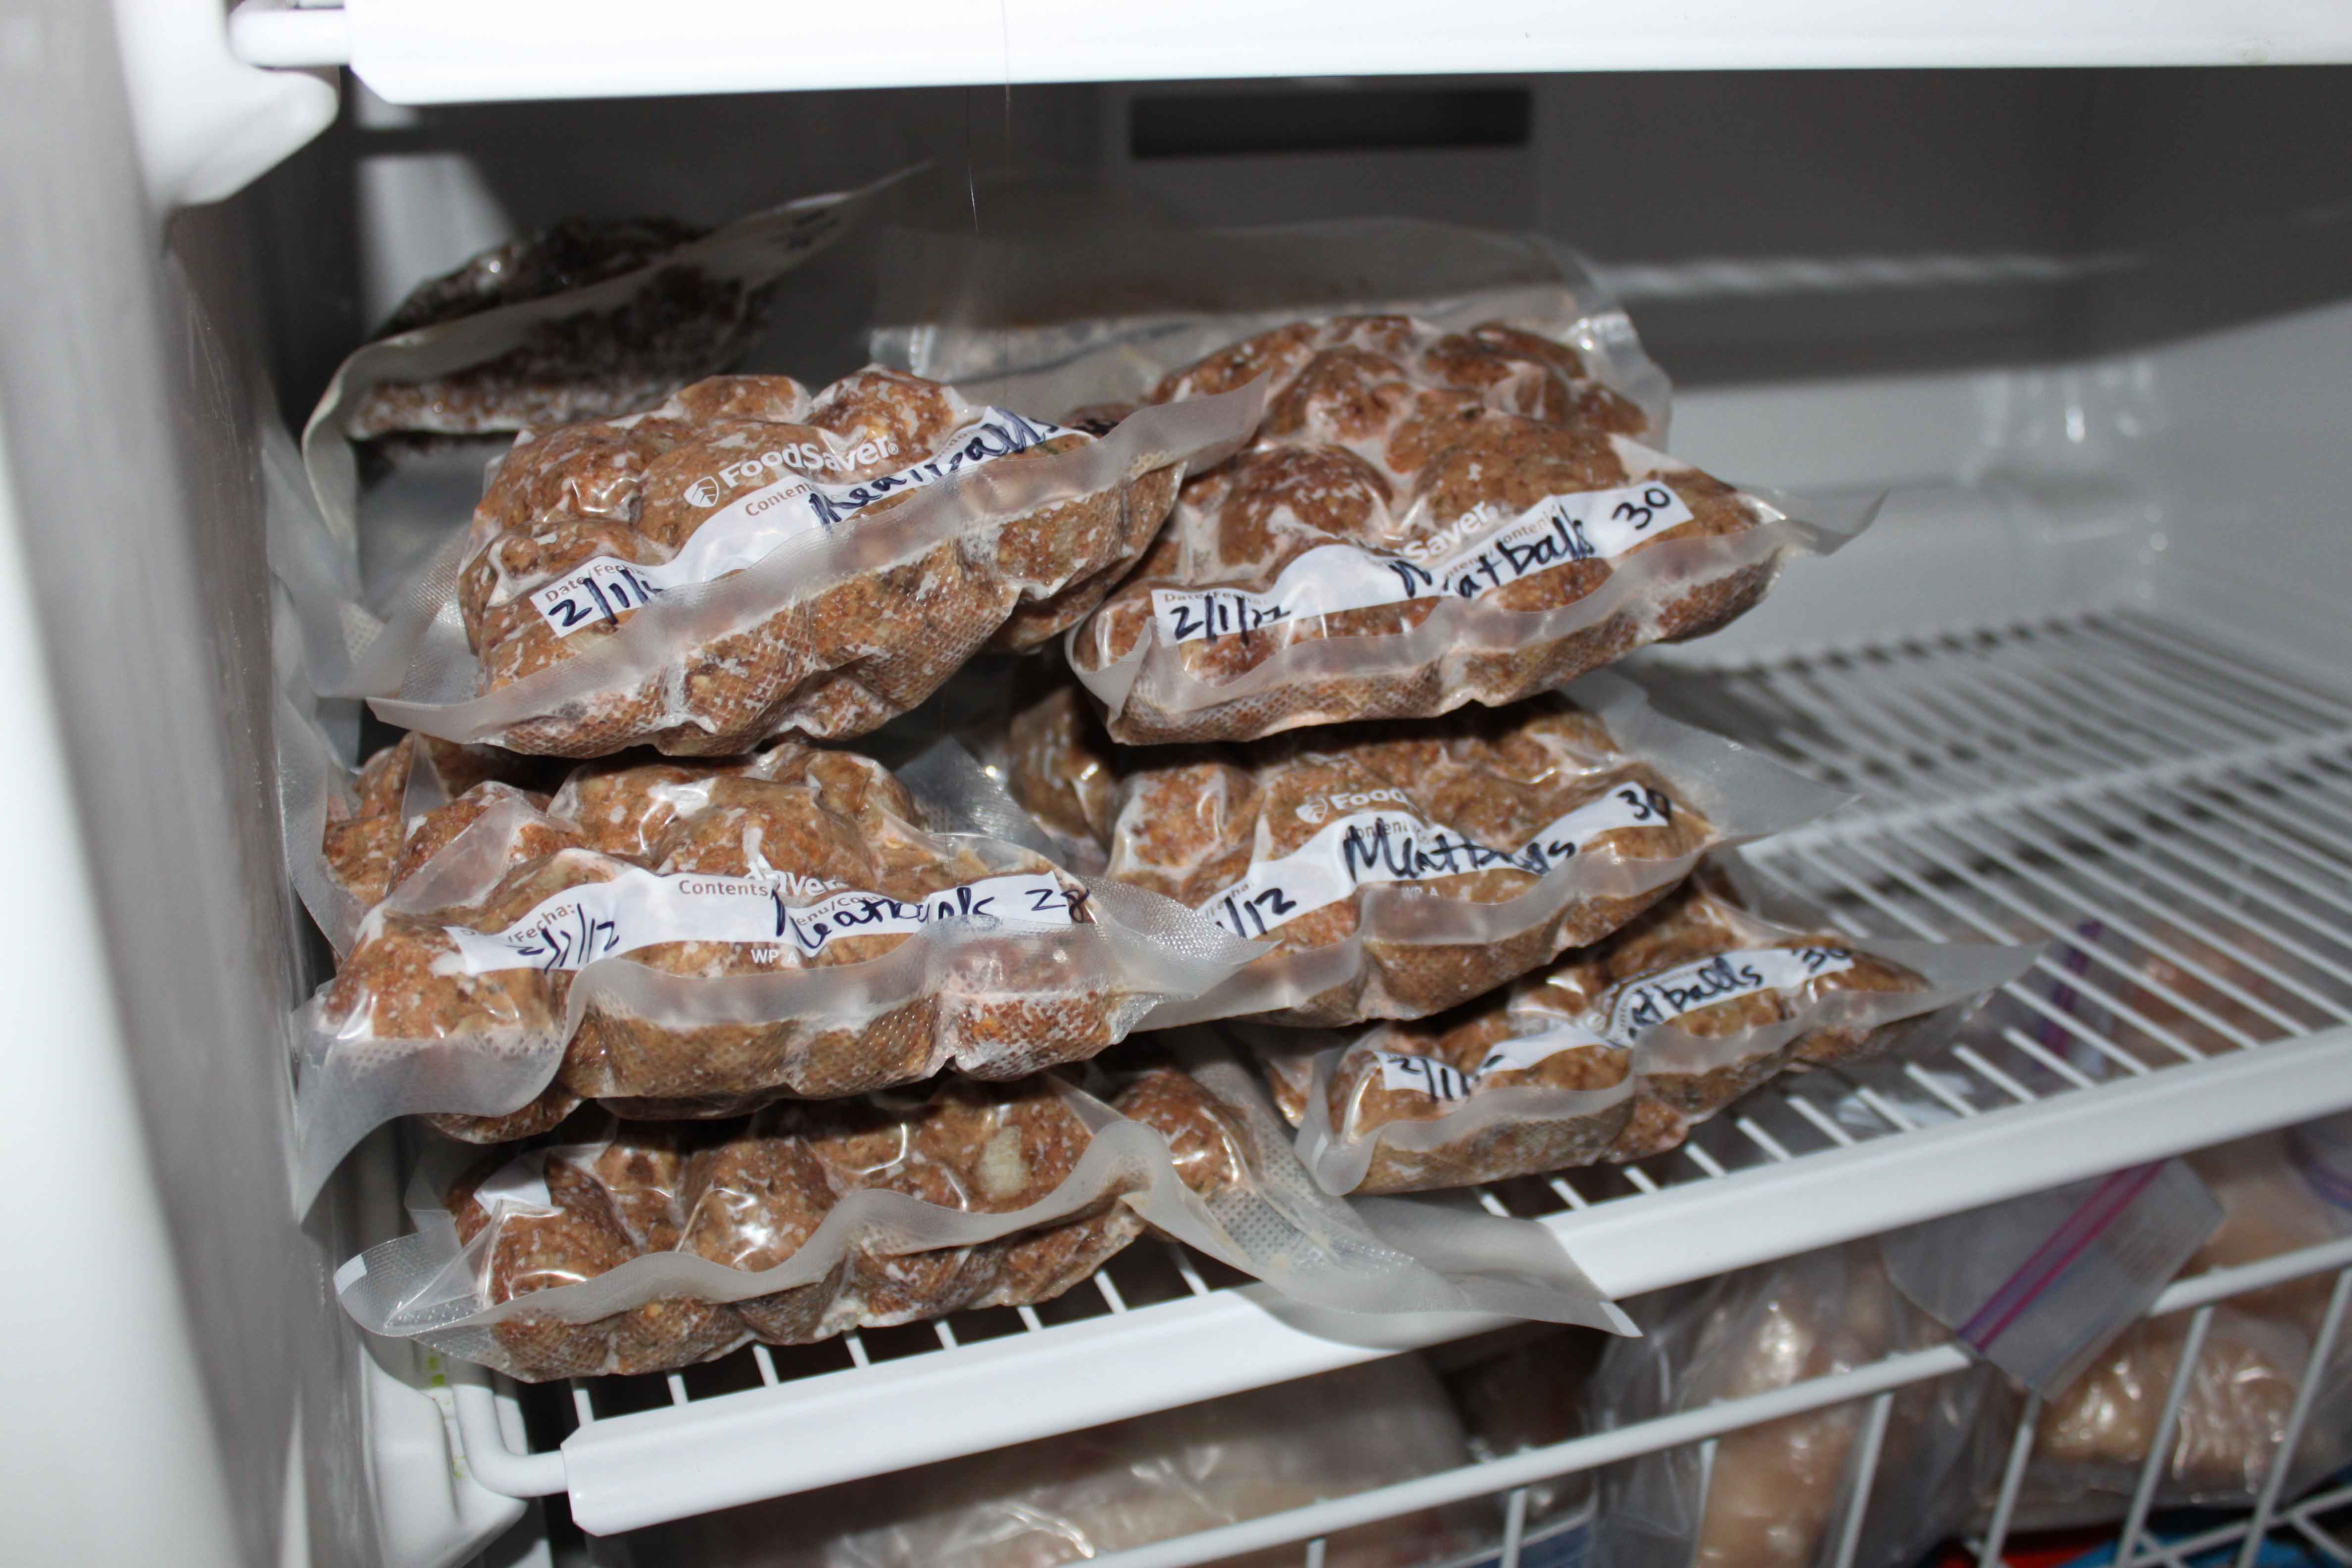
Then what I like to do is freeze them. I have a Foodsaver which is fantastic. It is totally worth the investment if you like to freeze foods. It really does help keep foods fresher longer! All the air is sucked out so there will be no freezer burn. Here are all the meatballs I froze yesterday.
I also cooked about 10 lbs into regular ground beef to use later in recipes. I froze that in Foodsaver bags too. After cooking 20 pounds of meat today, I still have 20 more pounds to cook up. Wish me luck!
Up to 75% Off Select Cuisinart Cookware Sets!

Up to 75% Off Select Cuisinart Cookware Sets
Special guest deal presented by our colleagues at Woot.com: “Need a child’s drum set that you can also use to cook food? Look no further! This Cuisinart cookware is great for beginner and pro-jammers alike! Make stew in the kick drum. Blacken a steak in the high hat. Boil macaroni in the snare. Just don’t go cookin’ up any hot new jams after 9 pm. The neighbors get snitty.”
LINK to Gold Box Deals at Amazon
Eligible for free shipping on $35+ orders or on ANY order with Amazon Prime.
Don’t have a Prime membership? Get a one month free trial! Click here for details!
Wilton Excelle Elite 3-Tier Cooling Rack – Just $10.19!
List Price: $19.99
You Save: $9.80 (49%)
Price: $10.19
Eligible for free shipping on $35+ orders or on ANY order with Amazon Prime.
Don’t have a Prime membership? Get a one month free trial! Click here for details!
Hamilton Beach Stay-or-Go 6-Quart Slow Cooker – $19.88!

Hamilton Beach Stay-or-Go 6-Quart Slow Cooker
Was: $34.88
$19.88
Shop the Value of the Day and Grab It Before It’s Gone at Walmart.com!
Free in store pick up!
A PYP Best Blog: Recipe – Pumpkin Muffins from scratch!
Just in case you missed this article on making pumpkin muffins from scratch the first time we shared it a couple of years ago, we are republishing it. After Marne wrote this blog originally, we got an awesome response. This is one of the PYP Best Blogs!
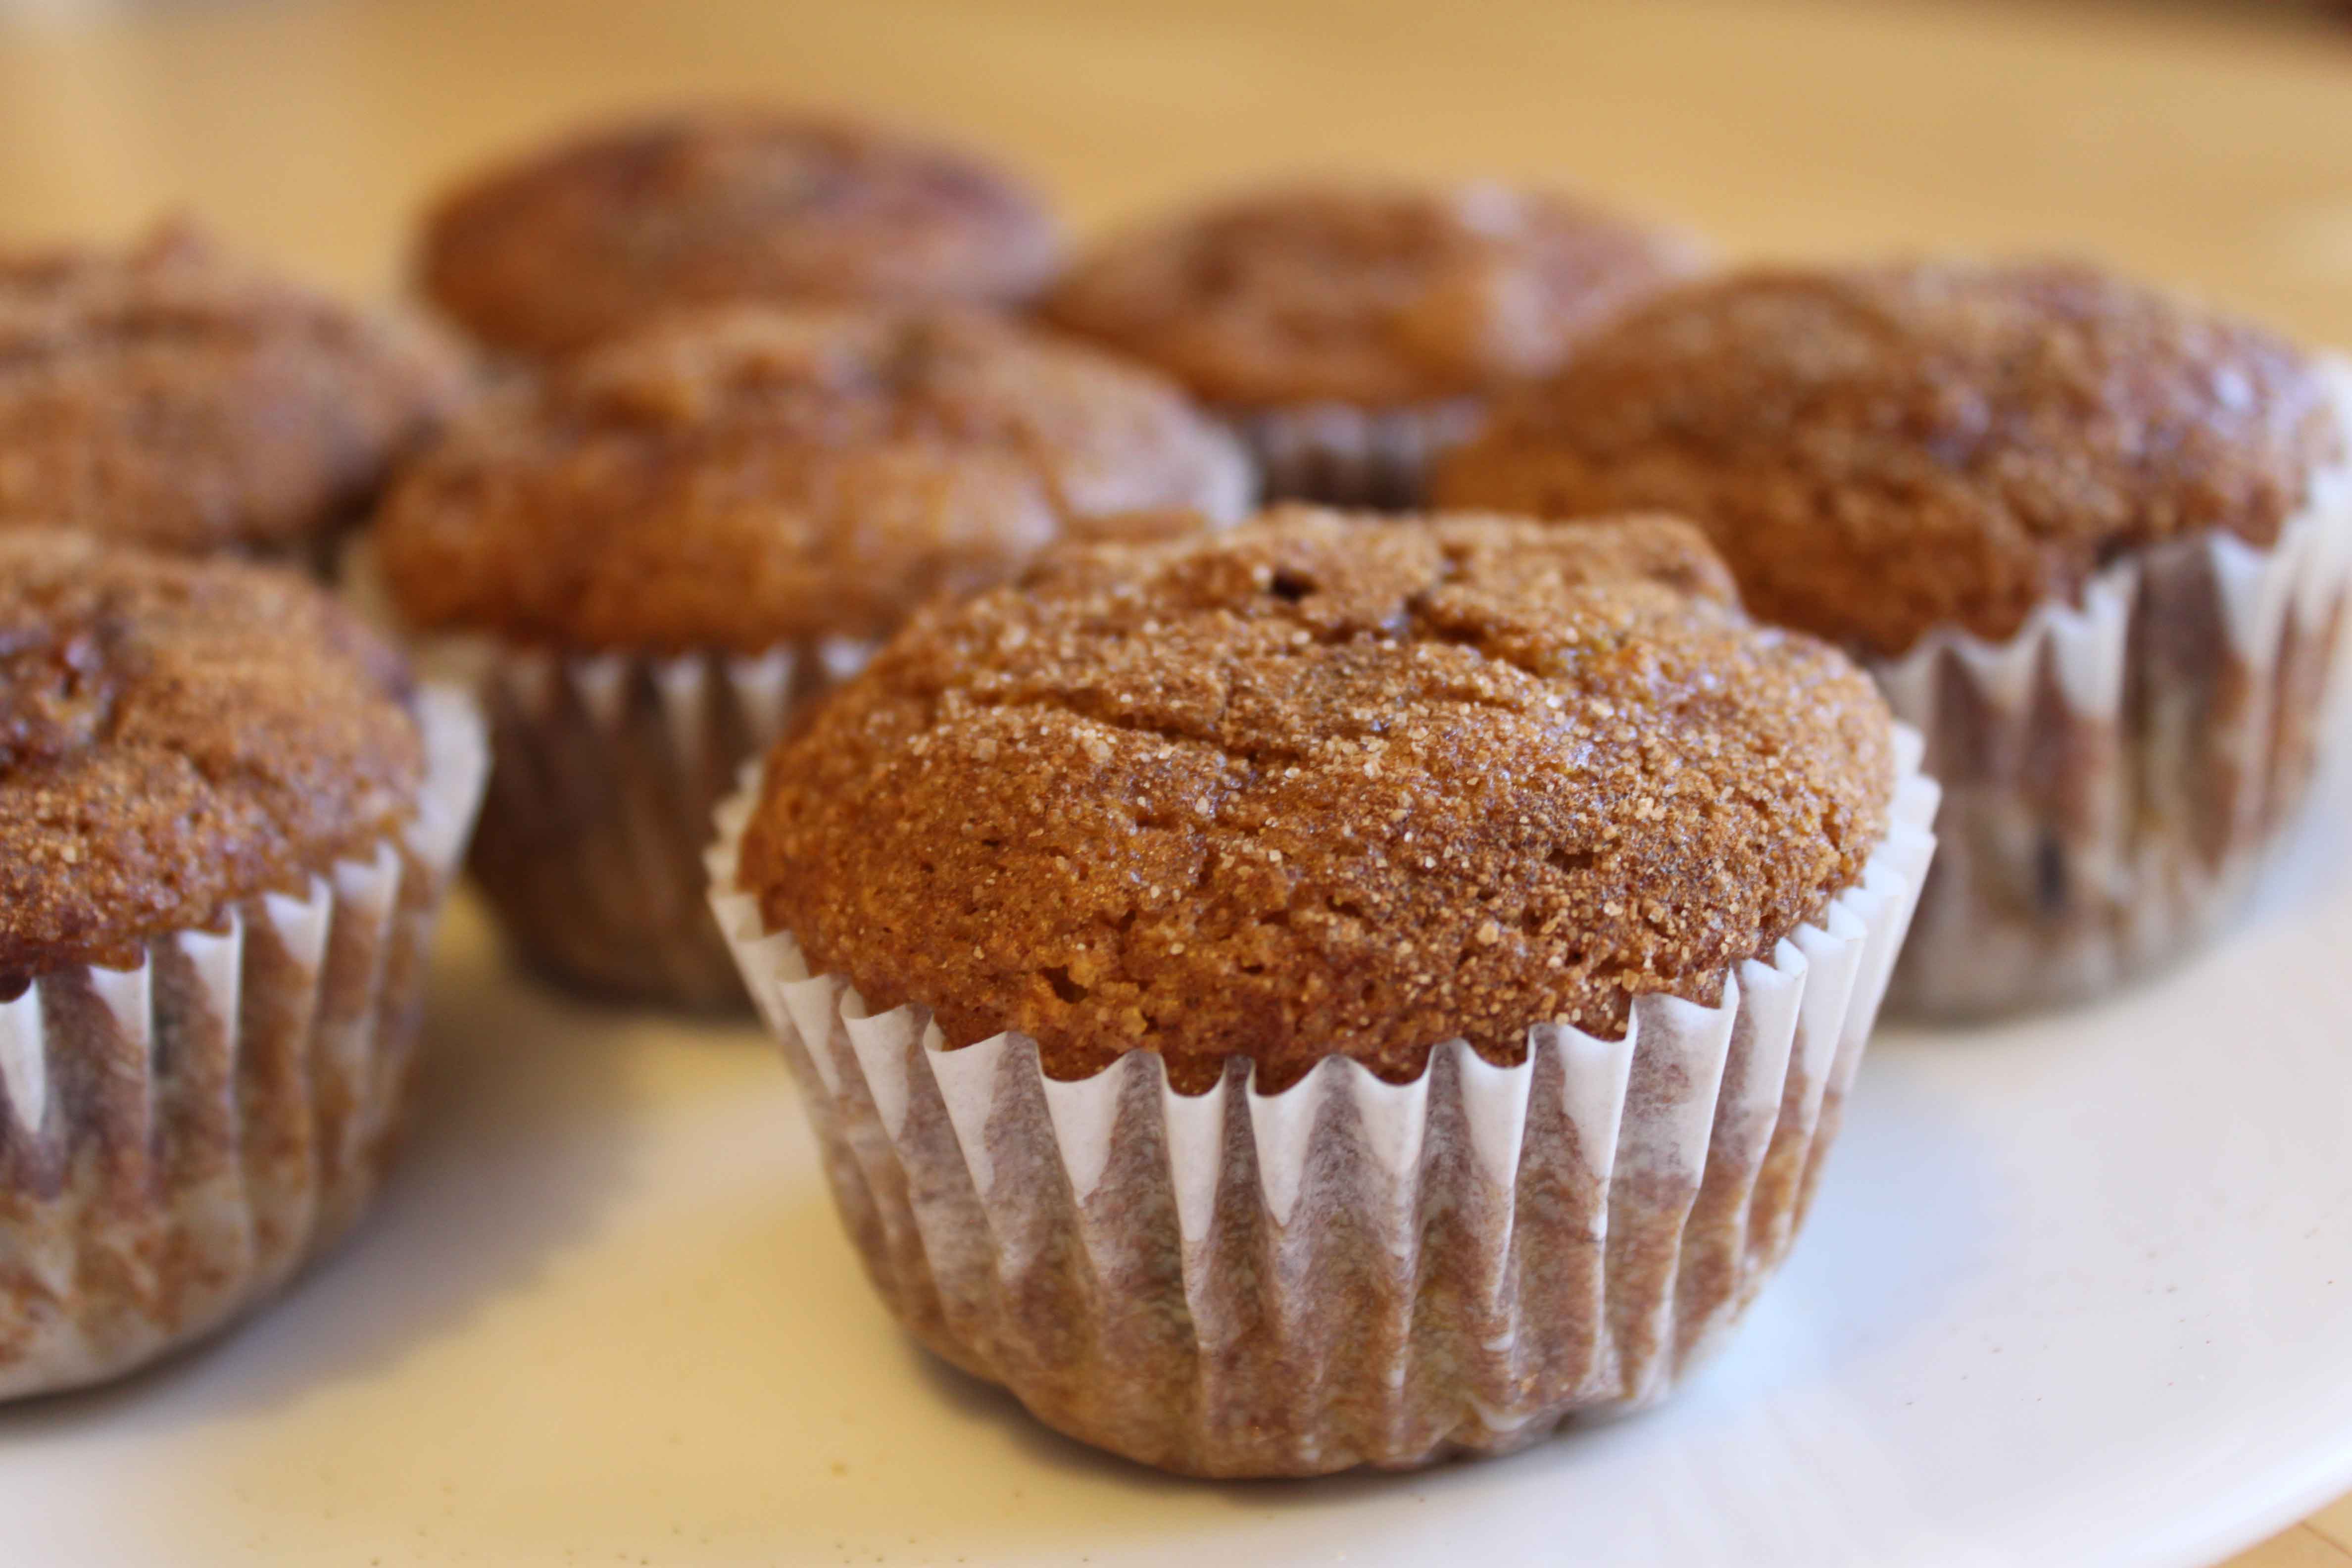
For quite awhile I have been trying to do all my baking with NO store-bought mixes. I make muffins several times a month for breakfast and school lunches so I am always on the lookout for a good muffin recipe. This one is fantastic! I haven’t found a good pumpkin muffins from scratch recipe until this one. Try it! It is easy and delicious. I make a double batch and freeze a bunch for school lunches. Plus, I use whole wheat flour instead of white and the pumpkin muffins turn out great. It’s an easy way to increase the nutrition.
PUMPKIN MUFFINS
original recipe source
1½ cups all-purpose flour (I use whole wheat flour and they turn out great!)
1 teaspoon baking powder
1 cup canned solid-pack pumpkin
1/3 cup vegetable oil
2 large eggs
1 teaspoon pumpkin-pie spice
1¼ cups (plus 1 tablespoon) sugar
½ teaspoon baking soda
½ teaspoon salt
1 teaspoon cinnamon
1/2 cup chocolate chips (optional)
Preheat oven to 350°. Put liners in muffin cups.
Whisk together pumpkin, oil, eggs, pumpkin-pie spice, 1¼ cups sugar, baking soda, and salt in a large bowl until smooth, then whisk in flour and baking powder until just combined.
Stir together cinnamon and remaining 1 tablespoon sugar in another bowl.
Divide batter among muffin cups (each should be about three-fourths full), then sprinkle tops with cinnamon-sugar mixture. Bake until puffed and golden brown and wooden pick or skewer inserted into the center of a muffin comes out clean, 25 to 30 minutes.
Cool in pan on a rack 5 minutes, then transfer muffins from pan to rack and cool to warm or room temperature.
Building Bricks and Minifigure Ice Cube Tray or Candy Mold for Lego Lovers – $7.40!
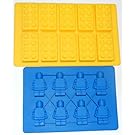 Building Bricks and Minifigure Ice Cube Tray or Candy Mold for Lego Lovers
Price: $7.40
TWO PYP Best Blogs! Making crinkly fries and using leftover uncooked pasta! Dinner saving ideas!
Just in case you missed these articles on making crinkly fries and using leftover pasta the first time we shared them a couple of years ago, we are republishing it. After Marne wrote these blogs originally, we got an awesome response. These are two of the PYP Best Blogs!
Making crinkly fries!
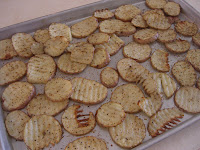
My kids like making snacks every now and then. These crinkly fries are easy and fun to make, and much better than potato chips from the store!
Crinkly Fries
3 baking potatoes
3 Tbl butter
any type of seasoning salt, for example: Mrs. Dash, lemon pepper seasoning, herb seasoning, etc.
Preheat oven to 450 degrees. After scrubbing potatoes with a vegetable brush, cut with a crinkle cutter or a sharp knife leaving the peel on. Put the potato slices into a large Ziploc bag. Melt the butter and add seasoning to it, mix together. Pour into the bag and mix with the potatoes to coat. Add as much or as little seasoning as you want. Shake well.
Layer the potatoes on a shallow pan or cookie sheet in a single layer. Put in oven and bake for about 25 minutes or until lightly brown and tender. Longer if you want them crispy. Turn the potatoes halfway through the baking process. End result = yummy crinkly fries.
Nutrition Facts per serving: 144 calories, 7 g total fat (1 g sat. fat), 0 mg col., 153 mg sodium, 19 g carbs, 2 g fiber, 3 g protein
Use up that leftover uncooked pasta!
If you you like me, then periodically you find yourself with several boxes of pasta with only about 2/3 or less in the box. Lots of different varieties. None is enough to make for a meal. Here is what I do to make sure I still use up what I have and not waste anything.
On Tuesday night I had these 3 boxes of pasta in my cupboard needing to be used:
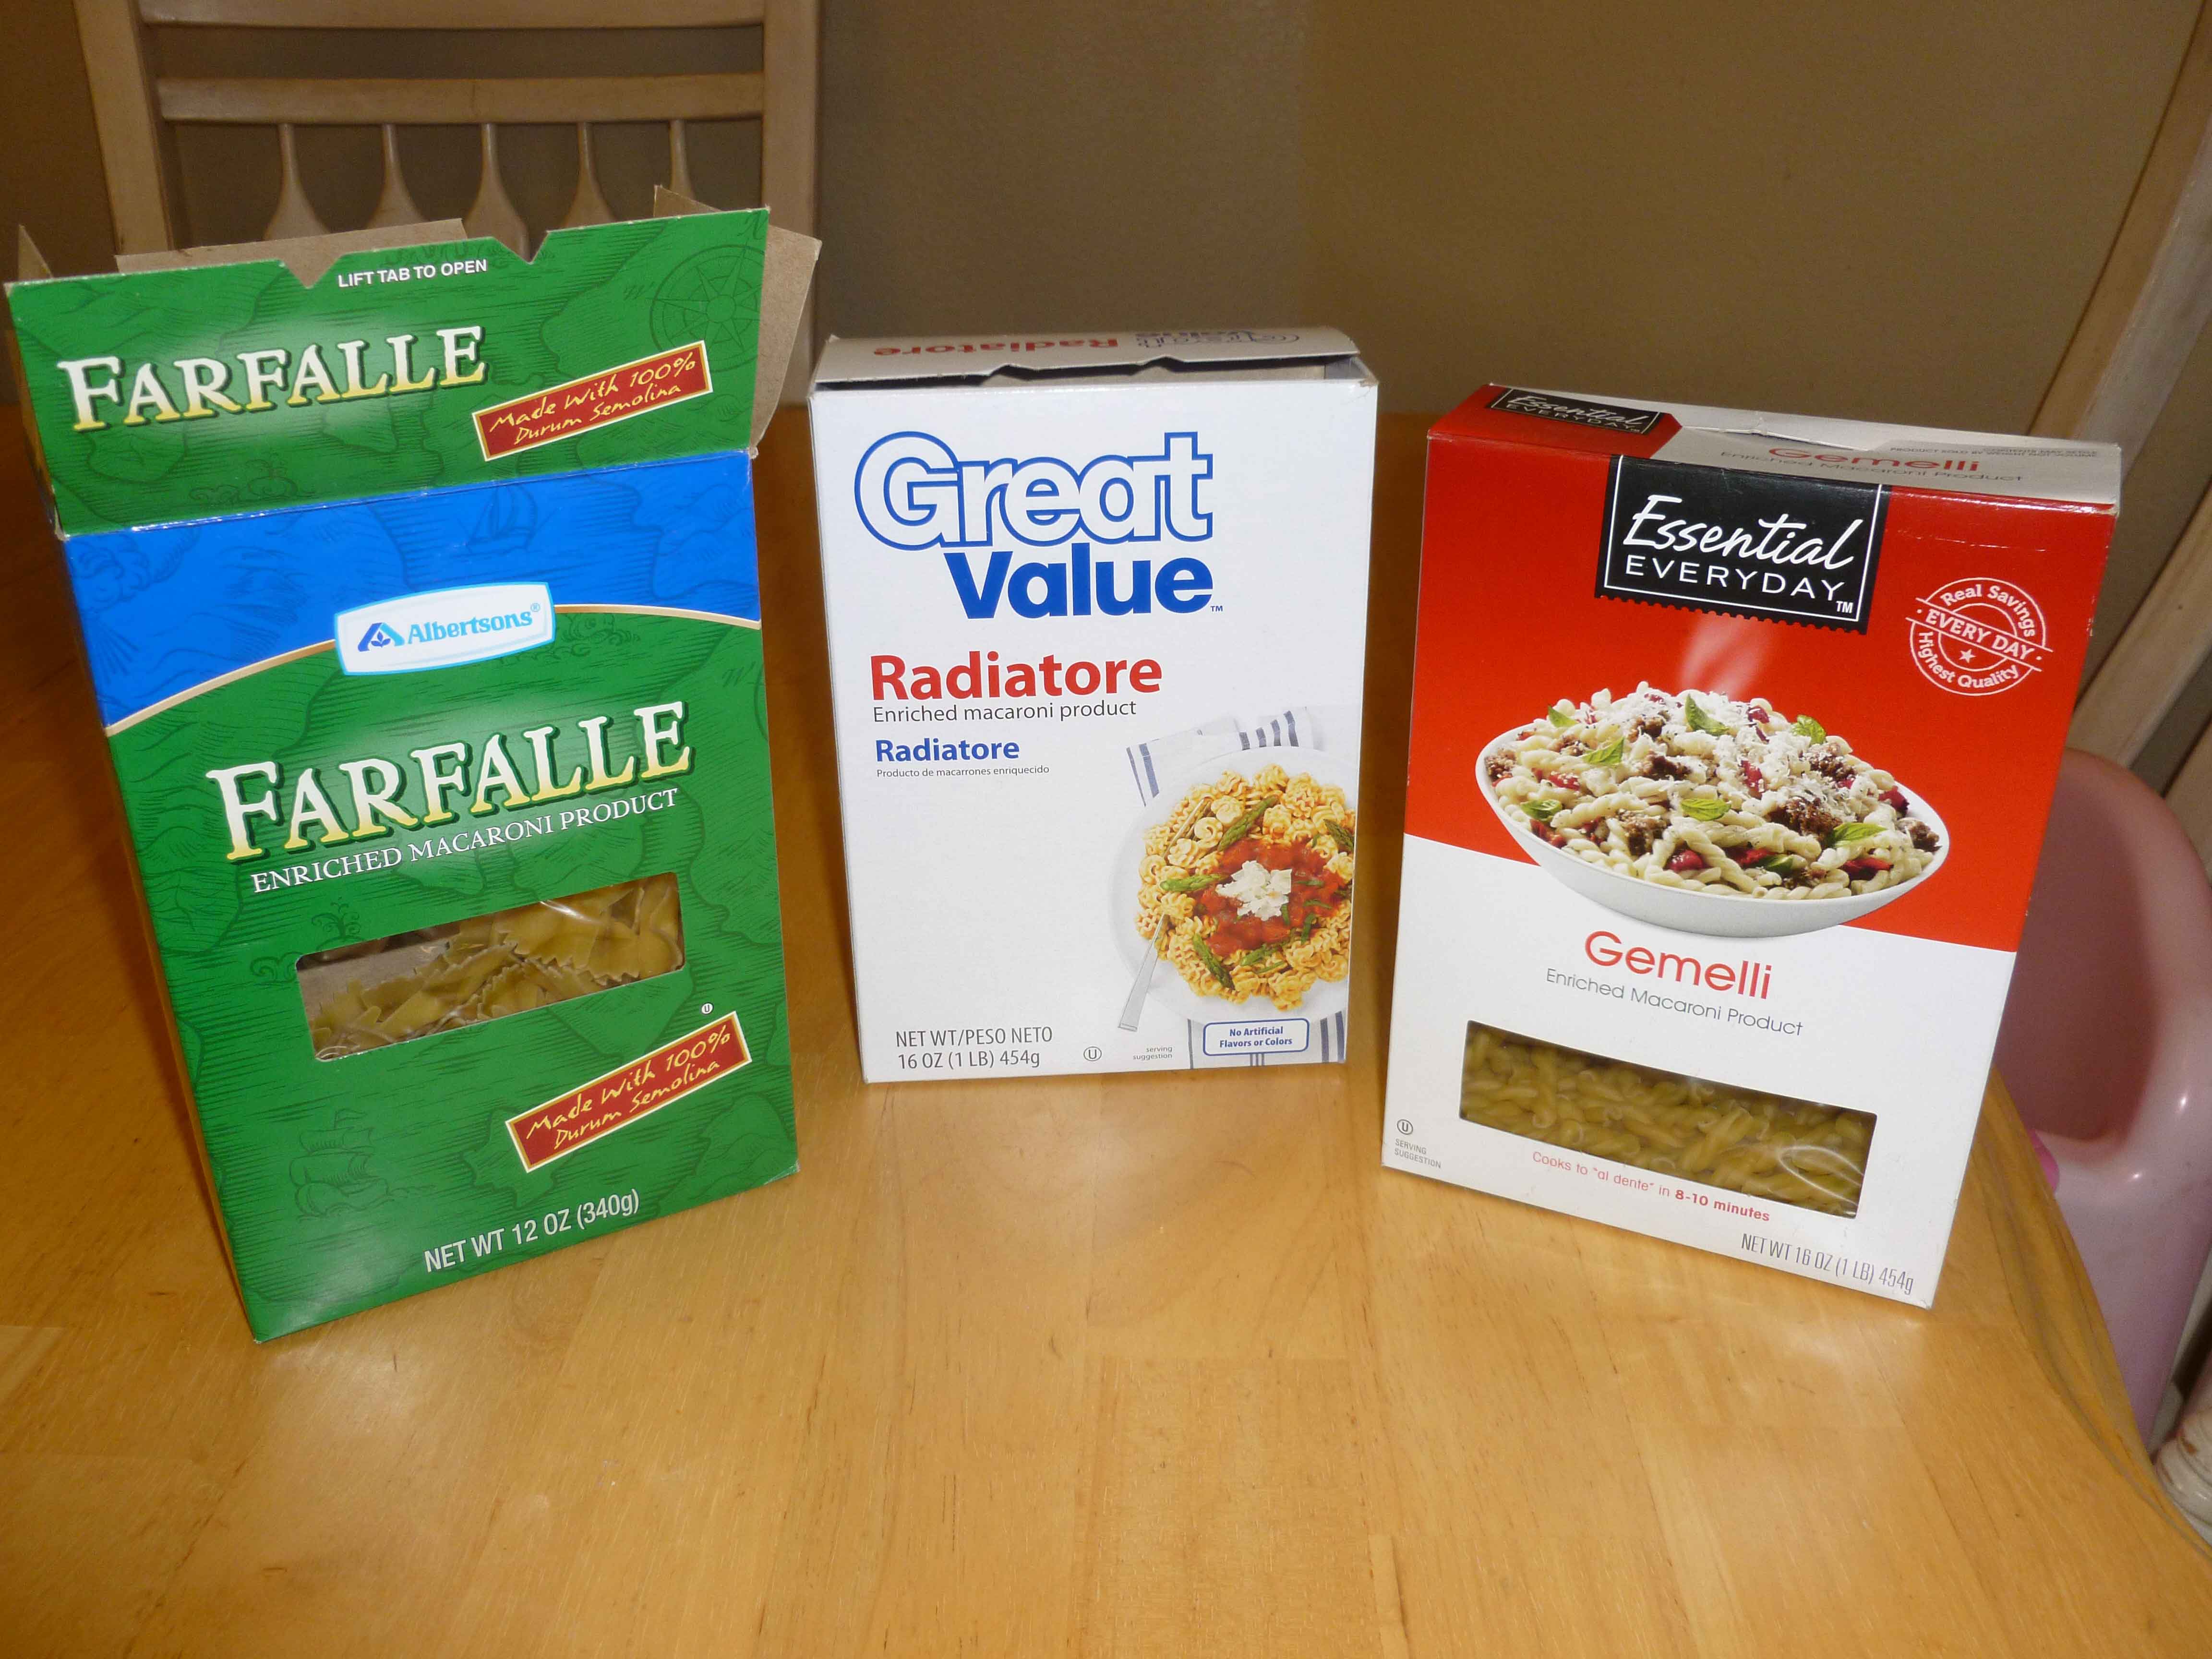
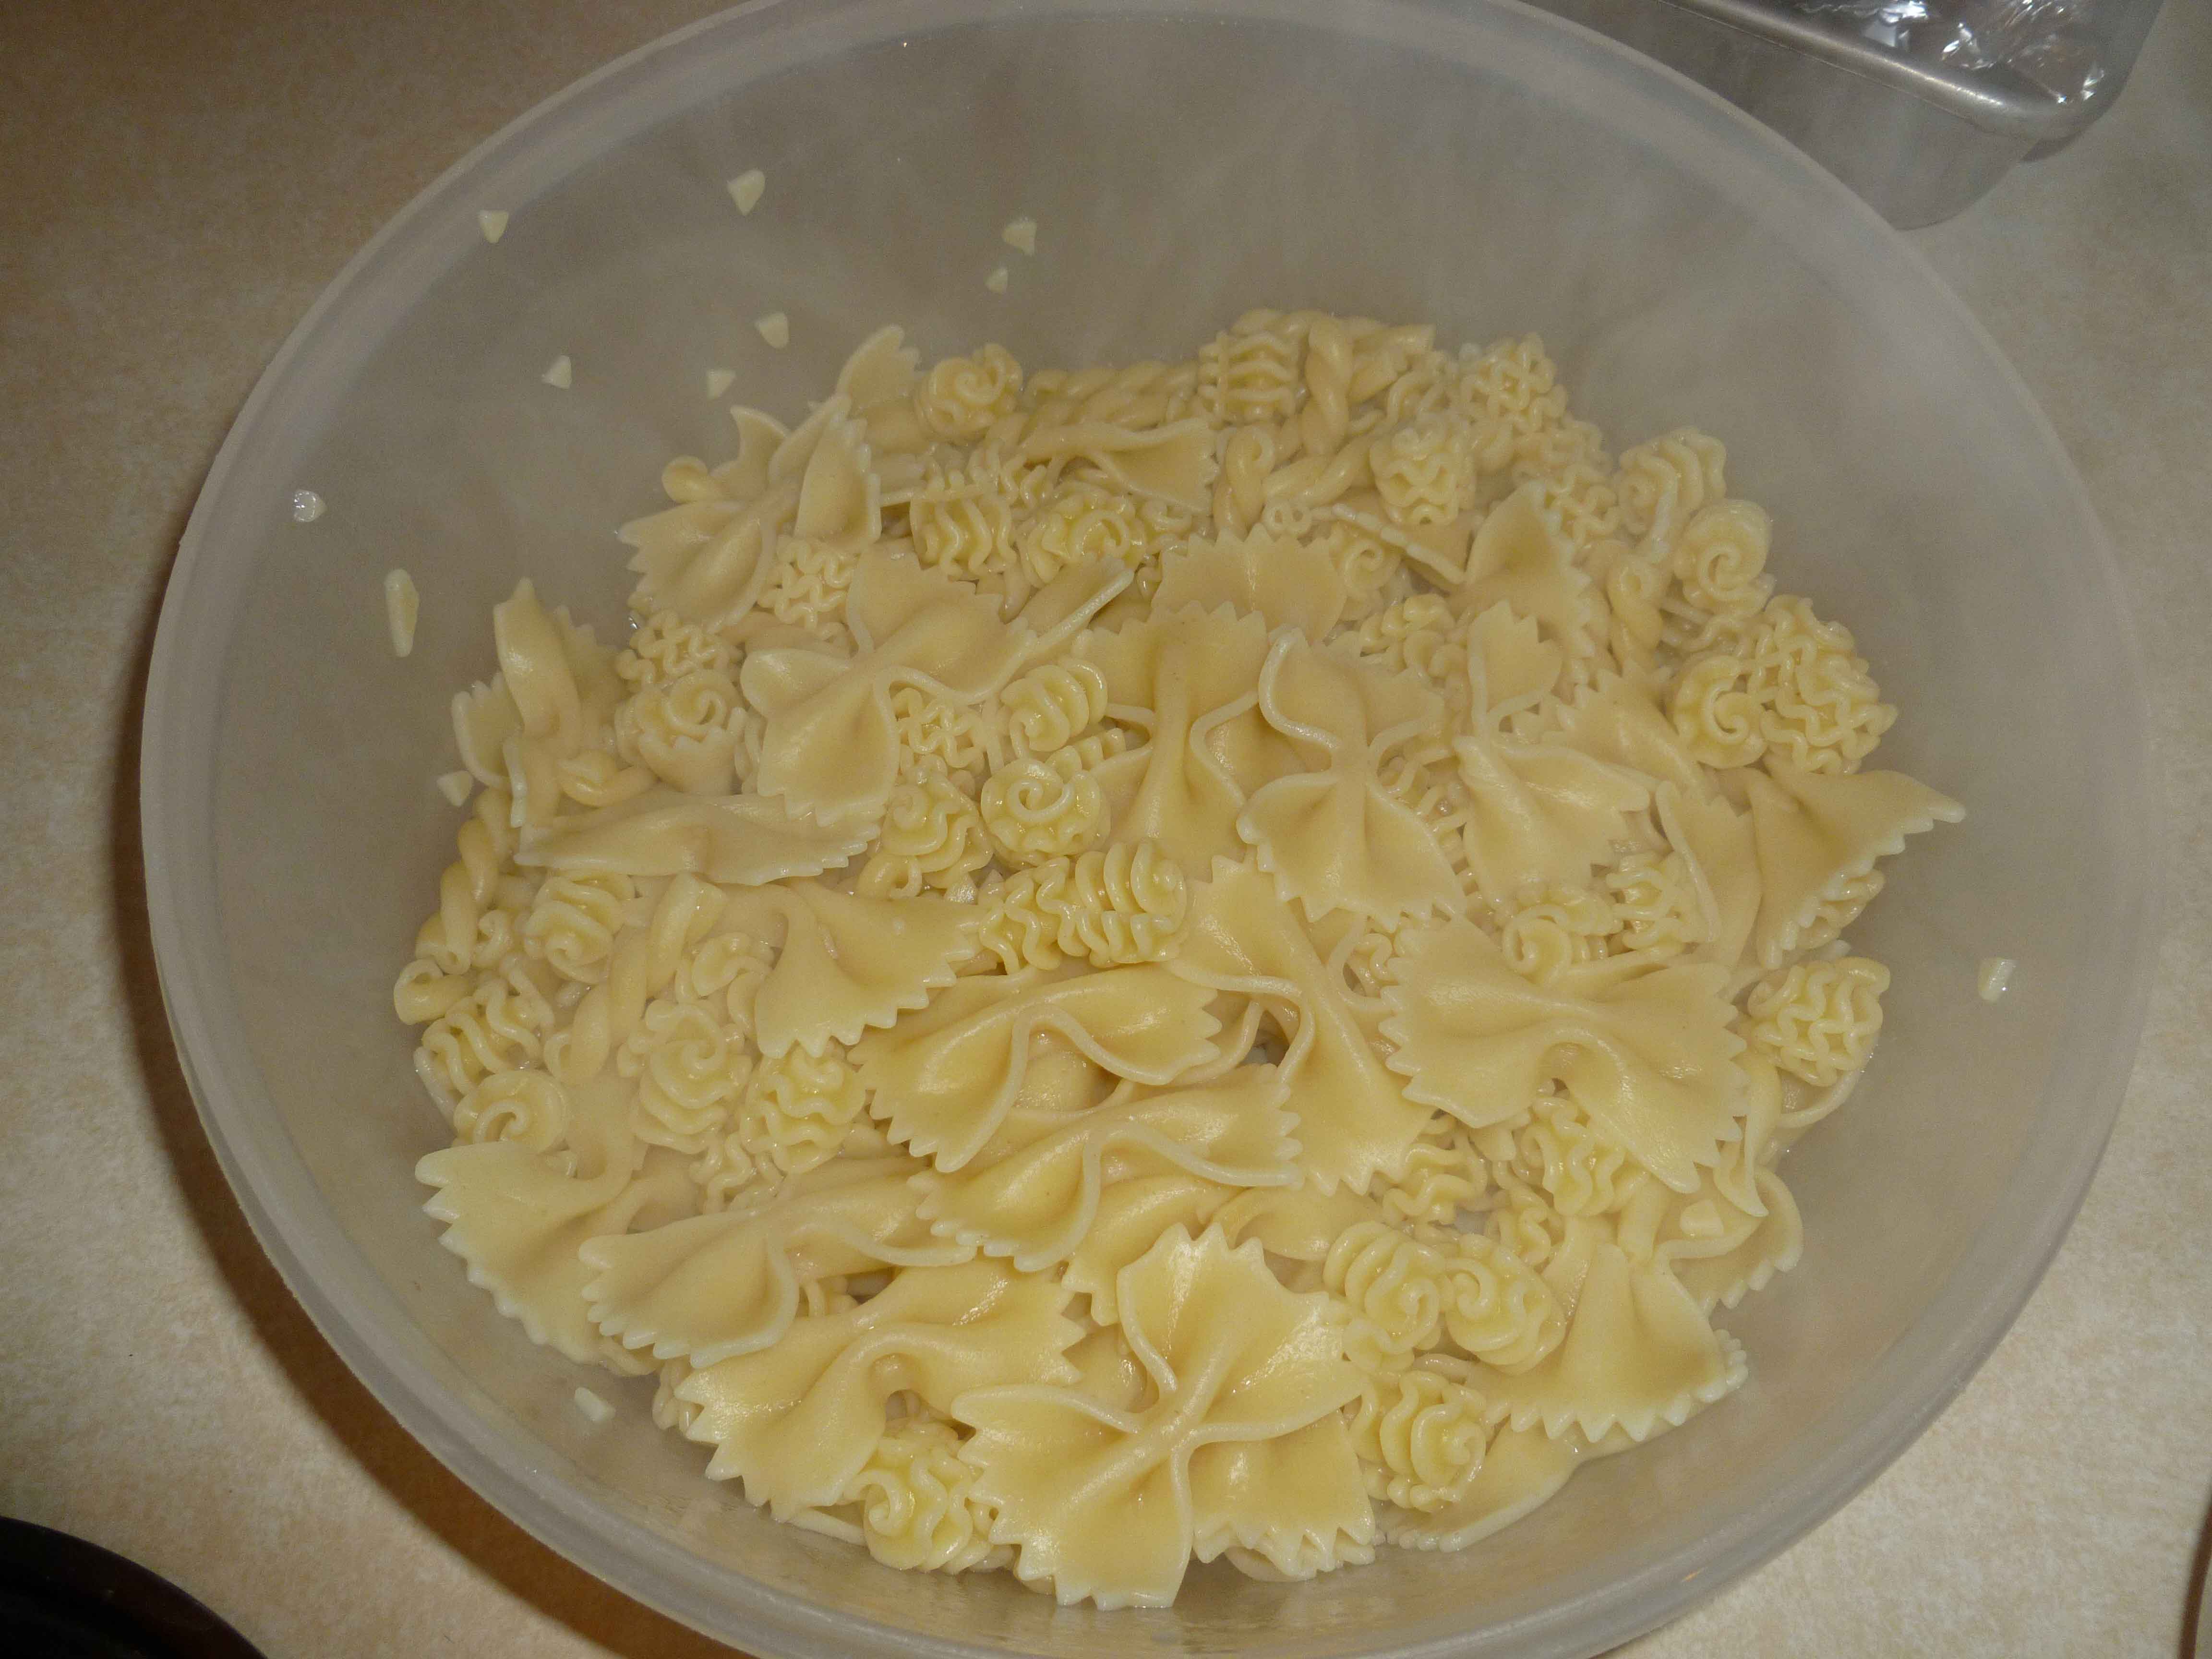
We were having Garlic Chicken Farfalle for dinner (SO GOOD!) so I decided to use all 3 kinds of pasta. But I didn’t want to be cooking them in different pots. So read the back of the boxes and start cooking the pasta that takes the longest.
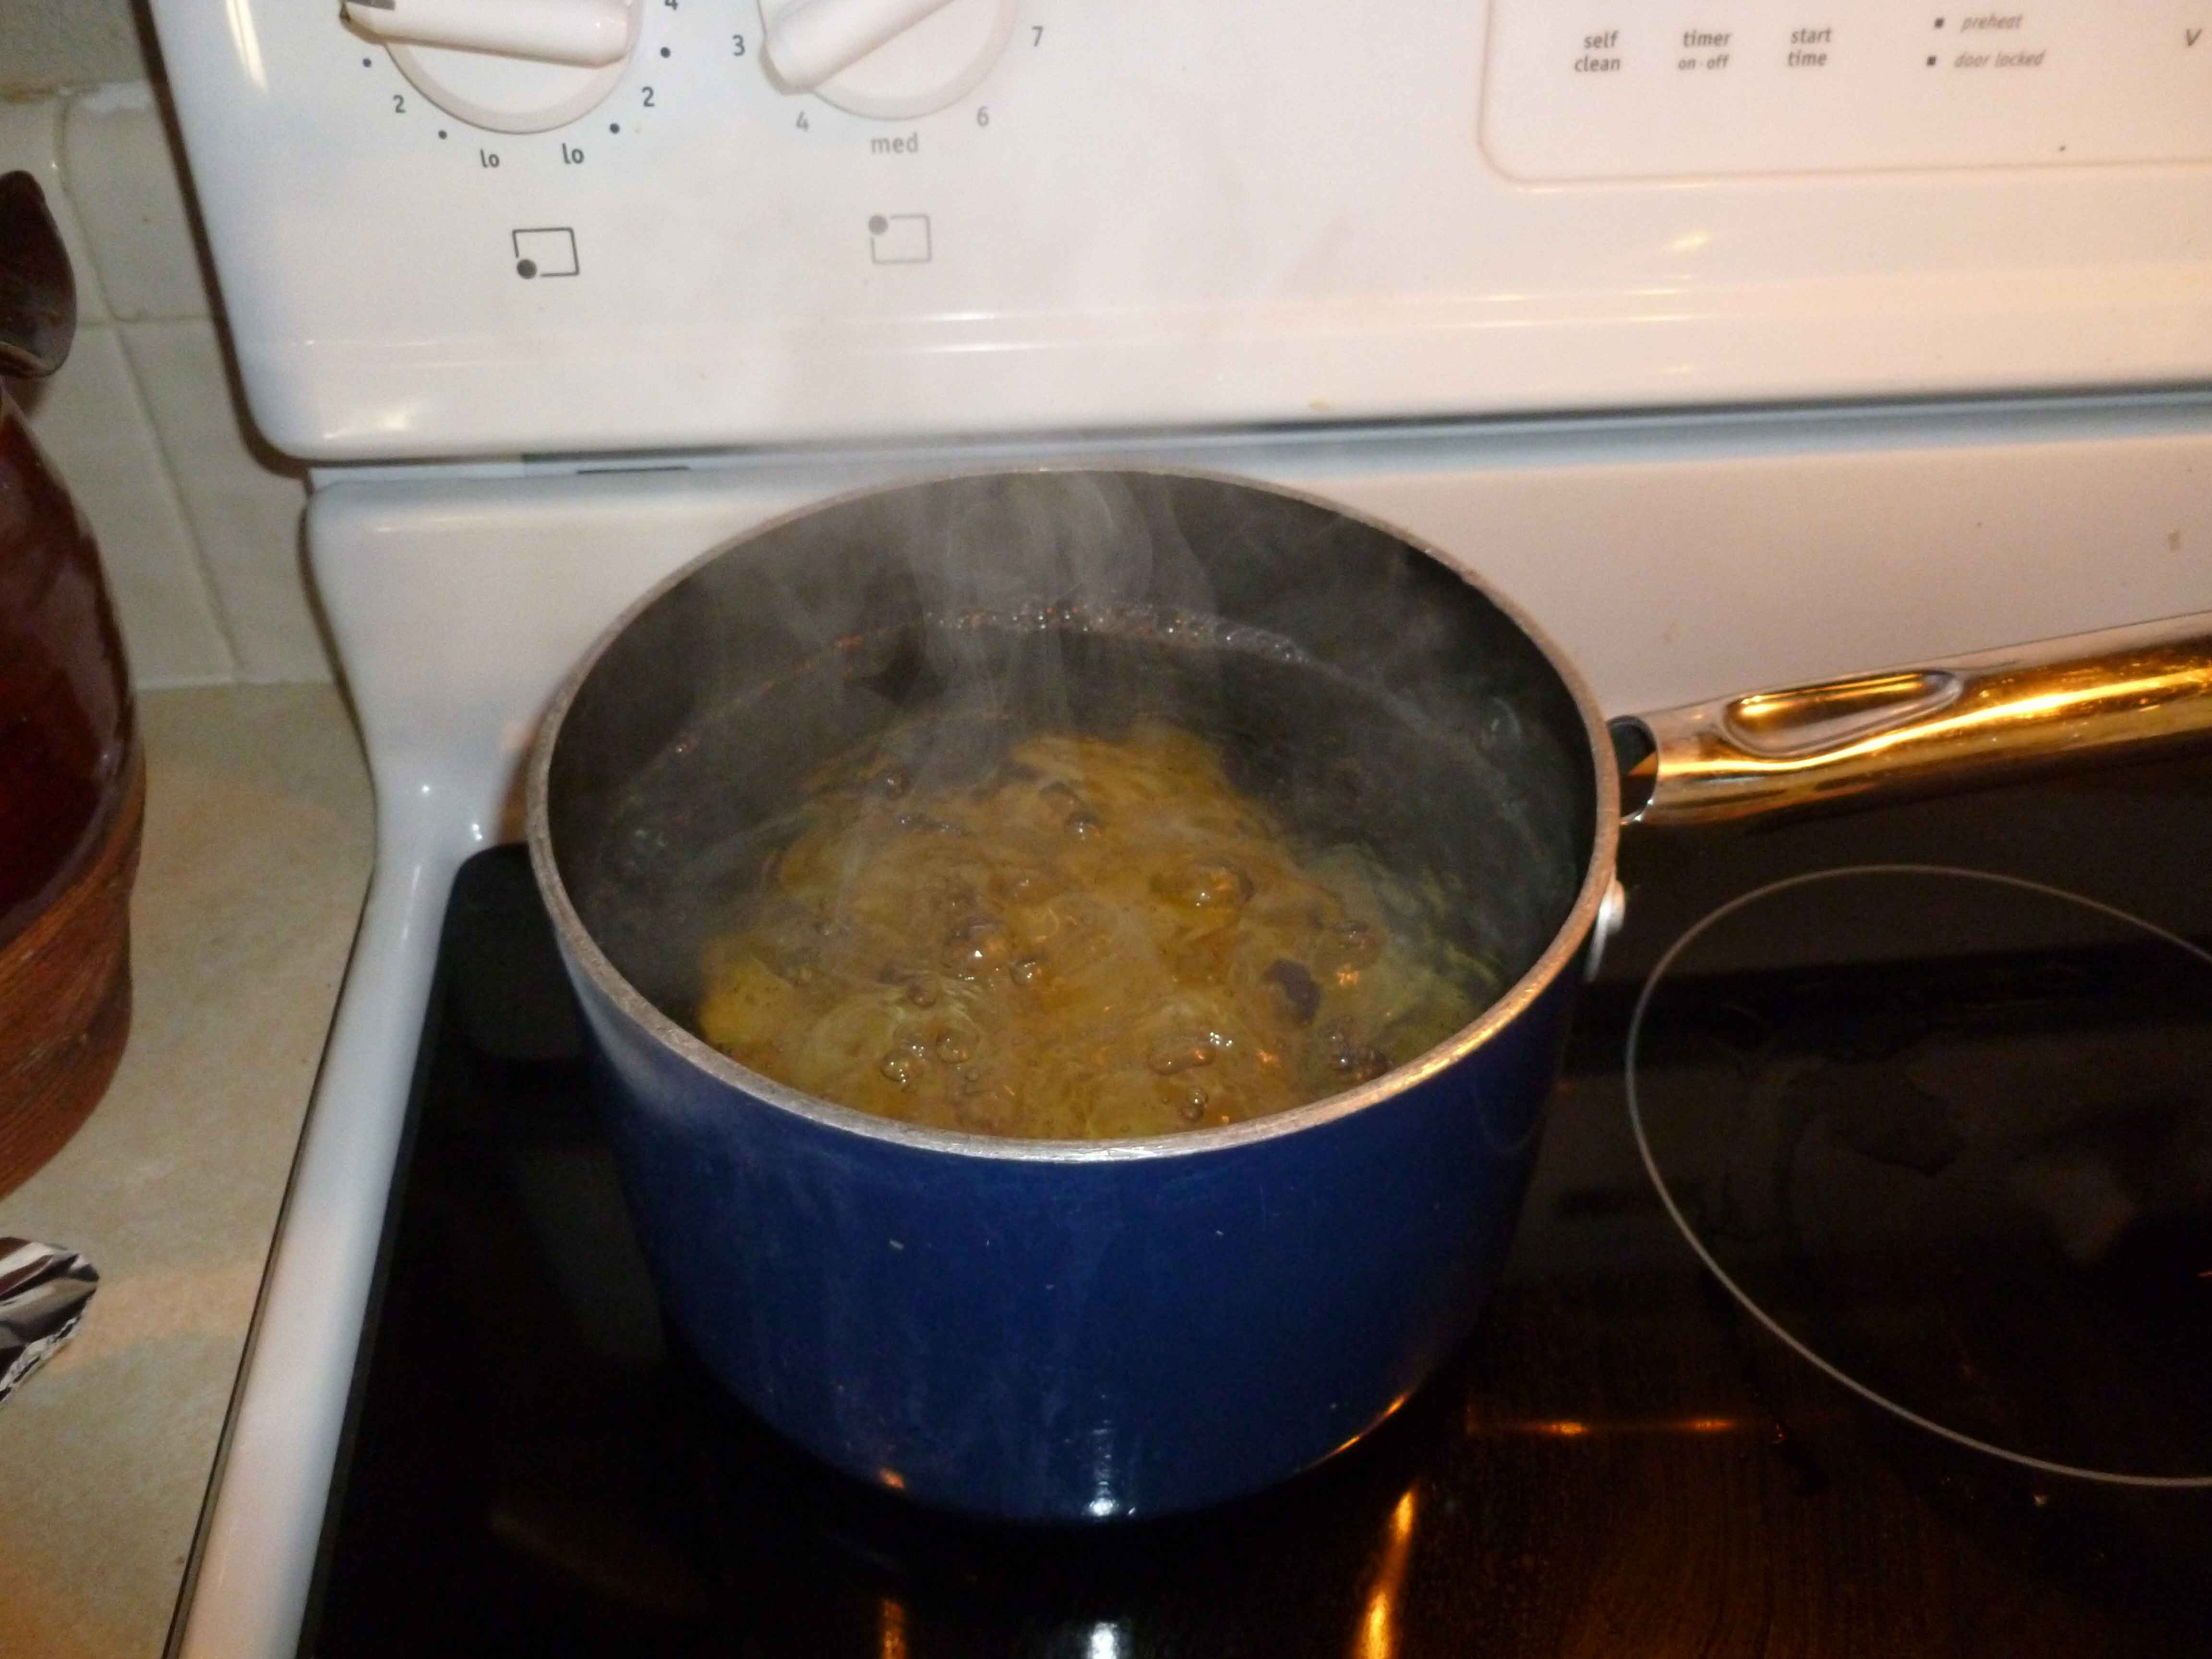
Then I set the timer and added the next pasta four minutes later, then the last pasta 1 minute later. Each pasta cooked for the right amount of time, and I was able to cook them all at once. I ended up with a nice batch of pasta for dinner!
What do you do with your small amounts of pasta?
Rachael Ray EVOO Oil Bottle – $15.29!

Eligible for free shipping on $35+ orders or on ANY order with Amazon Prime.
Don’t have a Prime membership? Get a one month free trial! Click here for details!
Deal of the Day – 33% or More Off Select Aquasana Water Bottles, Sleeves and more!

Deal of the Day – 33% or More Off Select Aquasana Water Bottles, Sleeves and Filtration Systems
Enjoy filtered water at home and on the go while minimizing waste. Bottles and sleeves are dishwasher-safe, reusable, and BPA-free. Filtration systems feature easy installation and easy-change filters.
LINK to Gold Box Deals at Amazon
Eligible for free shipping on $35+ orders or on ANY order with Amazon Prime.
Don’t have a Prime membership? Get a one month free trial! Click here for details!
Masterbuilt 30″ Electric Smokehouse – $139.00!

Masterbuilt 30″ Electric Smokehouse
List Price: $199.00
You Save: $60.00 (30%)
$139.00
Shop the Value of the Day and Grab It Before It’s Gone at Walmart.com!
Free in store pick up!
A PYP Best Blog! Yummy Recipe: Apple Pie Bars!
Just in case you missed this article on making apple pie bars the first time we shared it a couple of years ago, we are republishing it. After Marne wrote this blog originally, we got an awesome response. This is one of the PYP Best Blogs!
Even though Spring is coming, I think there is still enough chill in the air for a winter dessert like this. If you like apple pie, you can get your fill without the fuss! I can my own apple pie filling each year and if you do too, this is a great way to use it up! My family says these apple pie bars taste better than apple pie! You make them and be the judge.
I found this recipe online a few years ago and altered it to meet my families needs. This recipe make half a baking sheet. So if you want to make a full sheet (or jelly roll pan size) then double this recipe.

Apple Pie Bars
Crust:
3/4 c. butter, softened
6 Tbl. sugar
1 1/2 c. all purpose flour
1/8 tsp. nutmeg
1/4 tsp. cinnamon
1/4 tsp. salt
Topping:
1 1/2 c. quick oats
1 c. all purpose flour
3/4 c. light brown sugar
1/2 tsp plus 1/8 tsp cinnamon
1/4 tsp baking soda
1/4 tsp salt
3/4 c. cold butter, cut into small cubes
Prepare the crust: Preheat oven to 375 degrees. Line a 13×9.5 jelly roll pan with foil or parchment paper. Using an electric mixer, beat the butter and sugar until light and fluffy, about two minutes. At low speed, beat in the flour, spices, and salt until a soft dough forms. Press the dough over the bottom of the prepared pan. Bake in the center of oven for about 15 minutes or until golden and set. Set on wire rack to cool slightly.
Prepare the topping: In a large bowl, mix the oats and the flour, brown sugar, cinnamon, baking soda and salt. Using your fingers or a pastry tool, put the butter cubes into the oat mixture and crumble together until the mixture resembles a coarse meal. Press the mixture into clumps.
Dump on the quart bottle of your apple pie filling and spread evenly over the crust. Scatter the crumb topping on top, pressing it lightly into the mixture. There will be a lot of topping, don’t worry. It will fit. Bake for 30 minutes or until the topping begins to look slightly crispy on top. Let cool and enjoy!