
A PYP Best Blog! Make Your Own Brownie Mix!
Just in case you missed this DIY article on making your own brownie mix the first time we shared it a couple of years ago, we are republishing it. After Marne wrote this blog originally, we got an awesome response. This is one of the PYP Best Blogs!
With one recipe of this homemade mix, I figure it is like having about 4-5 box mixes from the store. You can make several batches of things with one mix recipe. Besides brownies, you can also make fudge sauce and crinkle cookies. I made the brownie crinkle cookies yesterday and got 3 dozen cookies. With the cost of the ingredients figured in, I estimate the cost for a batch of brownies with this mix to be approximately about .30 cents . Not too bad, eh?
Plus, you are getting the satisfaction of knowing you are making something that you feel good about. You know what goes in there. There is so much crap in those box mixes, so much stuff that is really bad for us.
8 cups sugar (I do less, but that is just me)
4 cups all-purpose flour
4 tsp. baking powder
4 tsp. salt
2 1/2 c. baking cocoa
2 cups shortening
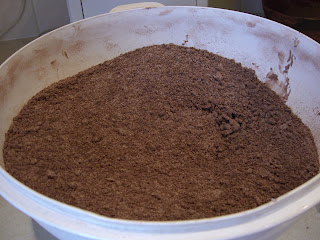
In a large bowl, combine the sugar, flour, cocoa, baking powder, and salt. Cut in shortening until the mixture resembles coarse crumbs, like this:
Store in an airtight container in a cool dry place for up to 6 months. I put mine in Tupperware, label it like so and stick it in my fridge in the garage. Yield: 18 cups.
Here are the recipes for the other treats from this mix:
Fudge Sauce
1 c. Brownie mix
2/3 c. water
In a saucepan, bring the brownie mix and water to a boil. Reduce heat, simmer for 1-2 miinutes or until thickened. Serve over ice cream.
Brownie Crinkle Cookies
4 c. Brownie Mix
2 eggs
2 tsp vanilla extract
In a mixing bowl, combine the brownie mix, eggs, and vanilla and mix well. Drop by tablespoonfuls 2 inches apart onto greased baking sheets. Bake at 375 degrees for 8-10 minutes or until the tops are cracked. Cool 2 minutes before removing from pans to wire racks to cool. Makes 3 dozen.
Walnut Brownies
4 c. Brownie Mix
4 eggs
2 tsp vanilla extract
1 1/3 cups chopped walnuts
1 c. semi-sweet chocolat chips
In a mixing bowl, combine the brownie mix, eggs, and vanilla; mix well. Fold in the walnuts and chocolate chips. Pour into a greased 9×13 pan. Bake at 350 degrees for 35 minutes or until a toothpick inserted near the center comes out clean. Cool on a wire rack. Makes 2 dozen.
BELLA 6 Quart Programmable Slow Cooker – $24.99!

BELLA 6 Quart Programmable Slow Cooker, Stainless
was 49.99
Save 50%
$24.99
•Seals in moisture and slow cooks for healthy, tasty meals
•Locking lid lets you transport meals with no spills
•Programmable timer for 30 minutes to 20 hours of cooking
FREE Shipping to store!
A PYP Best Blog! Preserving & Freezing Fresh Corn!
Just in case you missed this article on preserving & freezing fresh corn the first time we shared it a couple of years ago, we are republishing it. After Marne wrote this blog originally, we got an awesome response. This is one of the PYP Best Blogs!
We love corn on the cob at our house. LOVE it. We look forward to August each year so we can chow down! Each year we also find a great deal on corn and cook and freeze it for later. Then we can enjoy the fresh taste of summer all winter long!
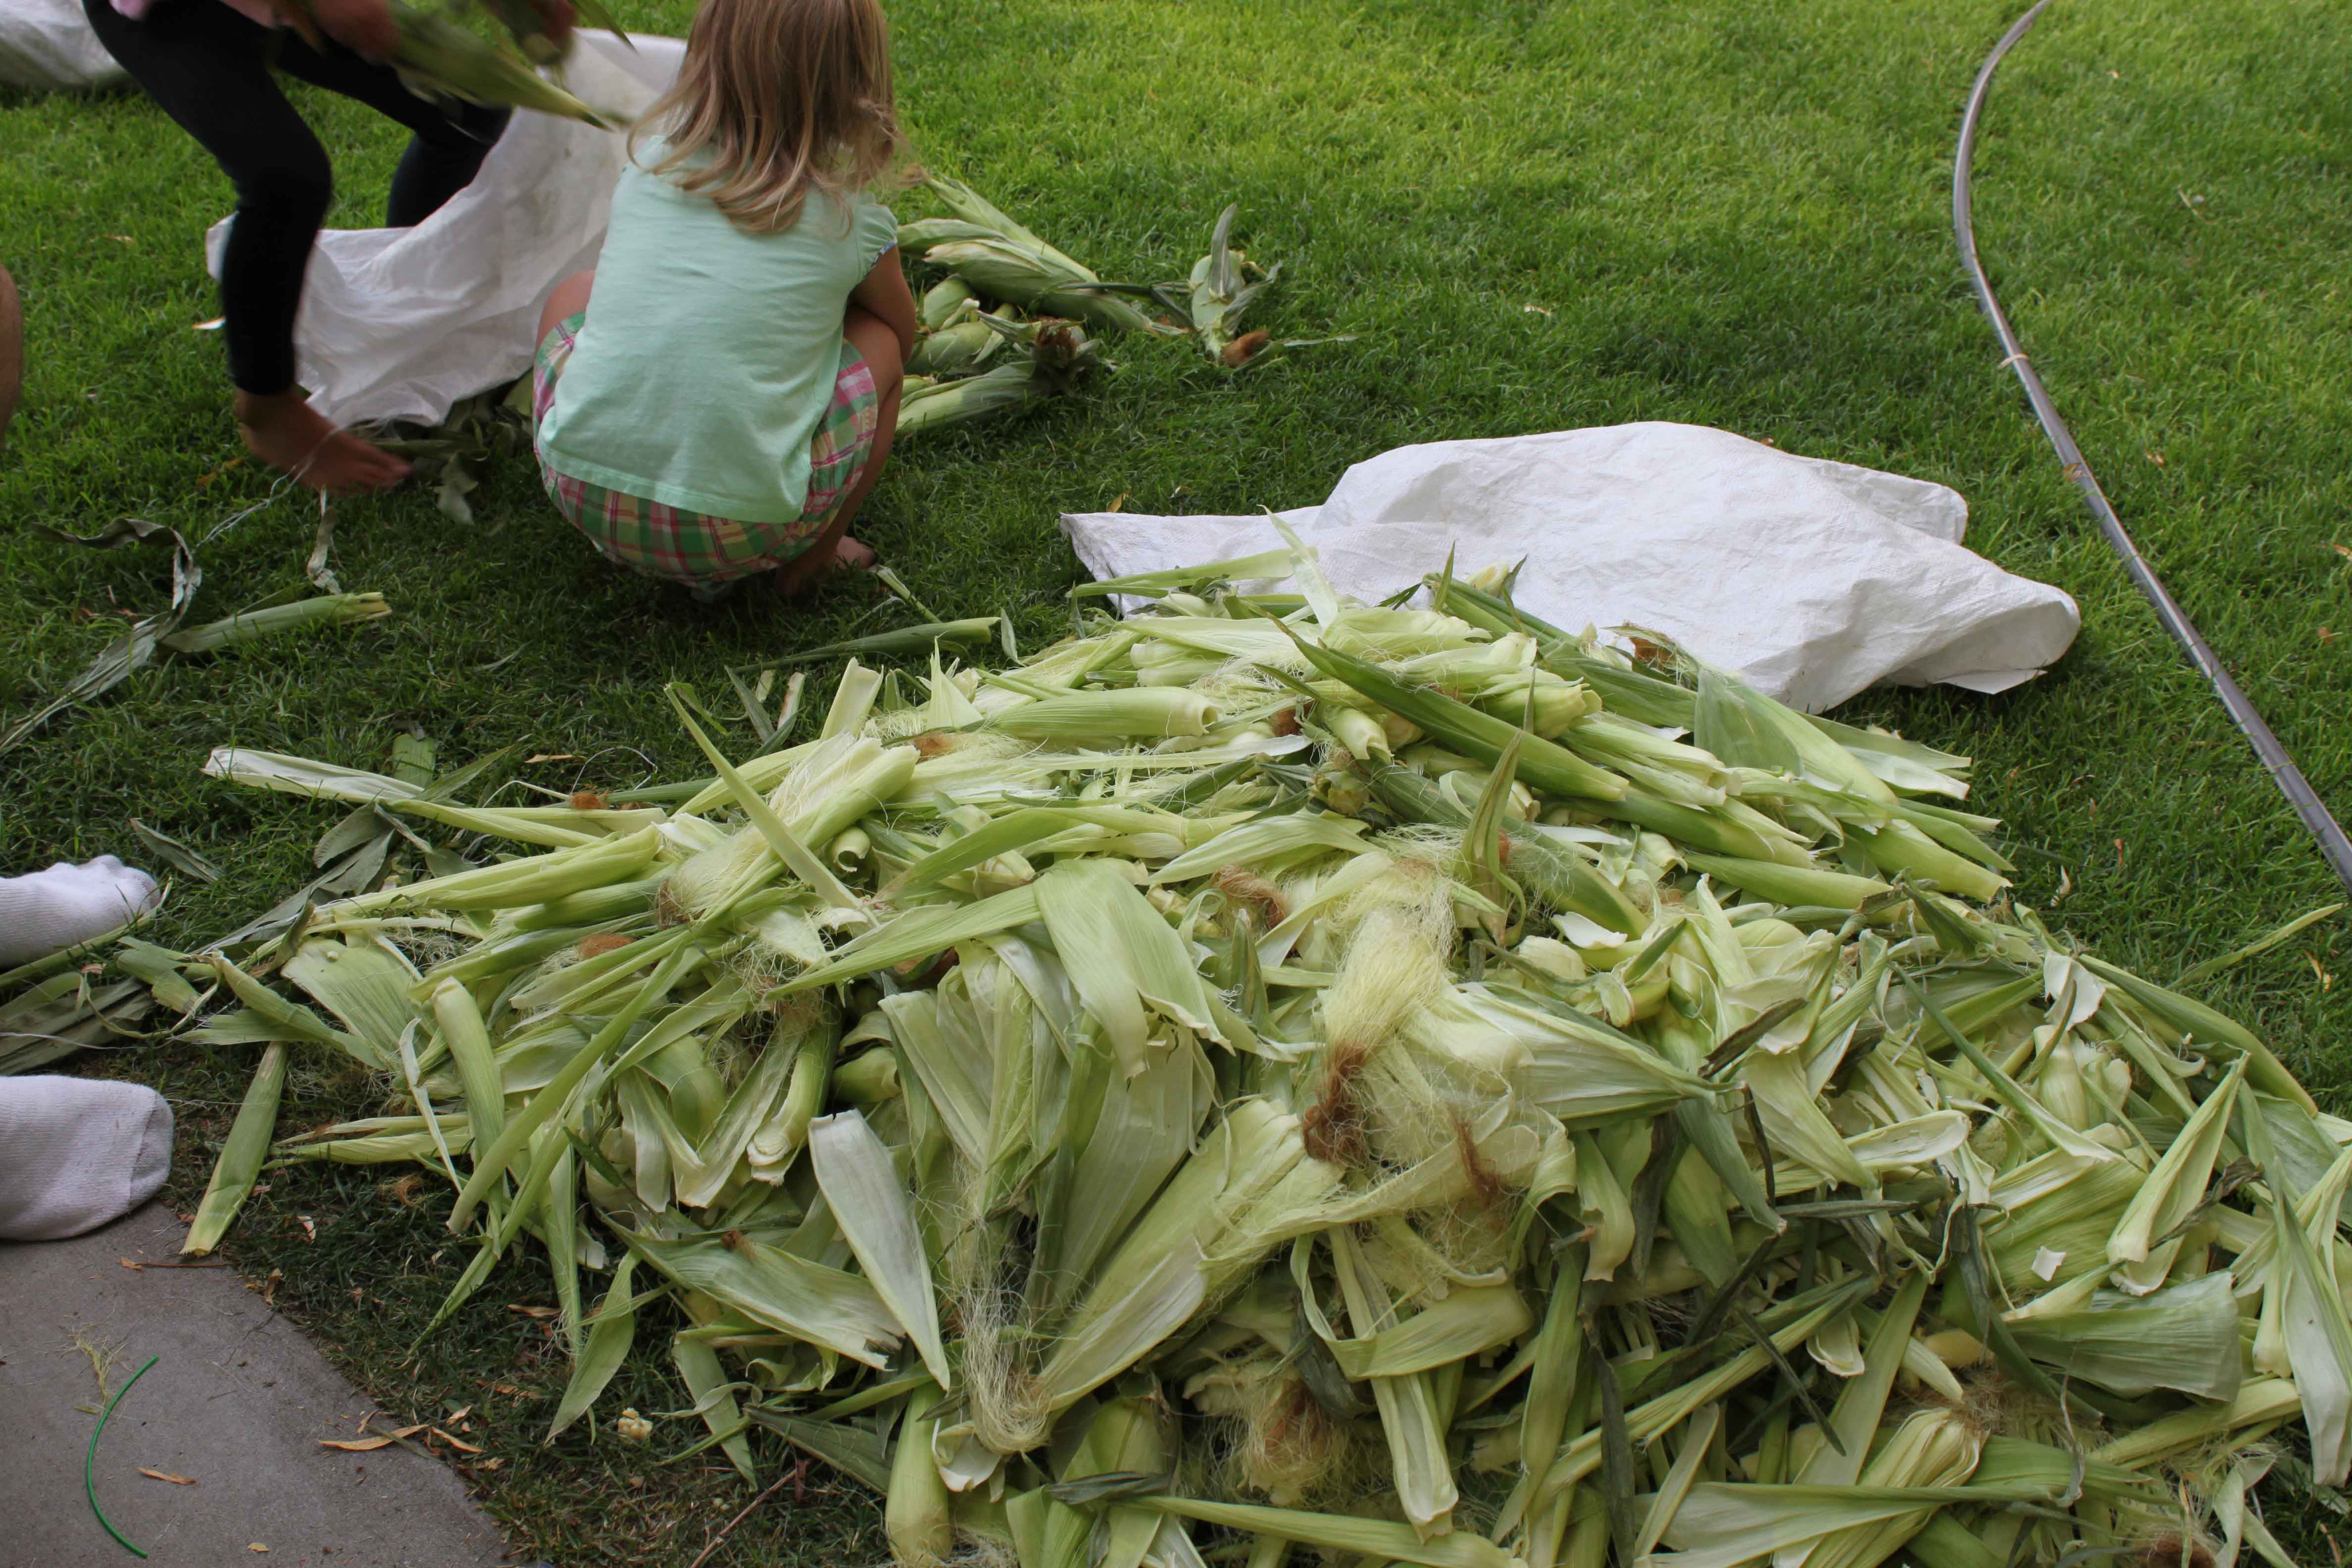
First….obviously…shuck your corn. Last night we had a fun family night teaching the kids about the importance of hard work and self-reliance while doing all this corn. We had 9 dozen to shuck. They had a good attitude about it!
After shucking the corn, we bring it in the house and wash it, then boil it for about 3 minutes each.

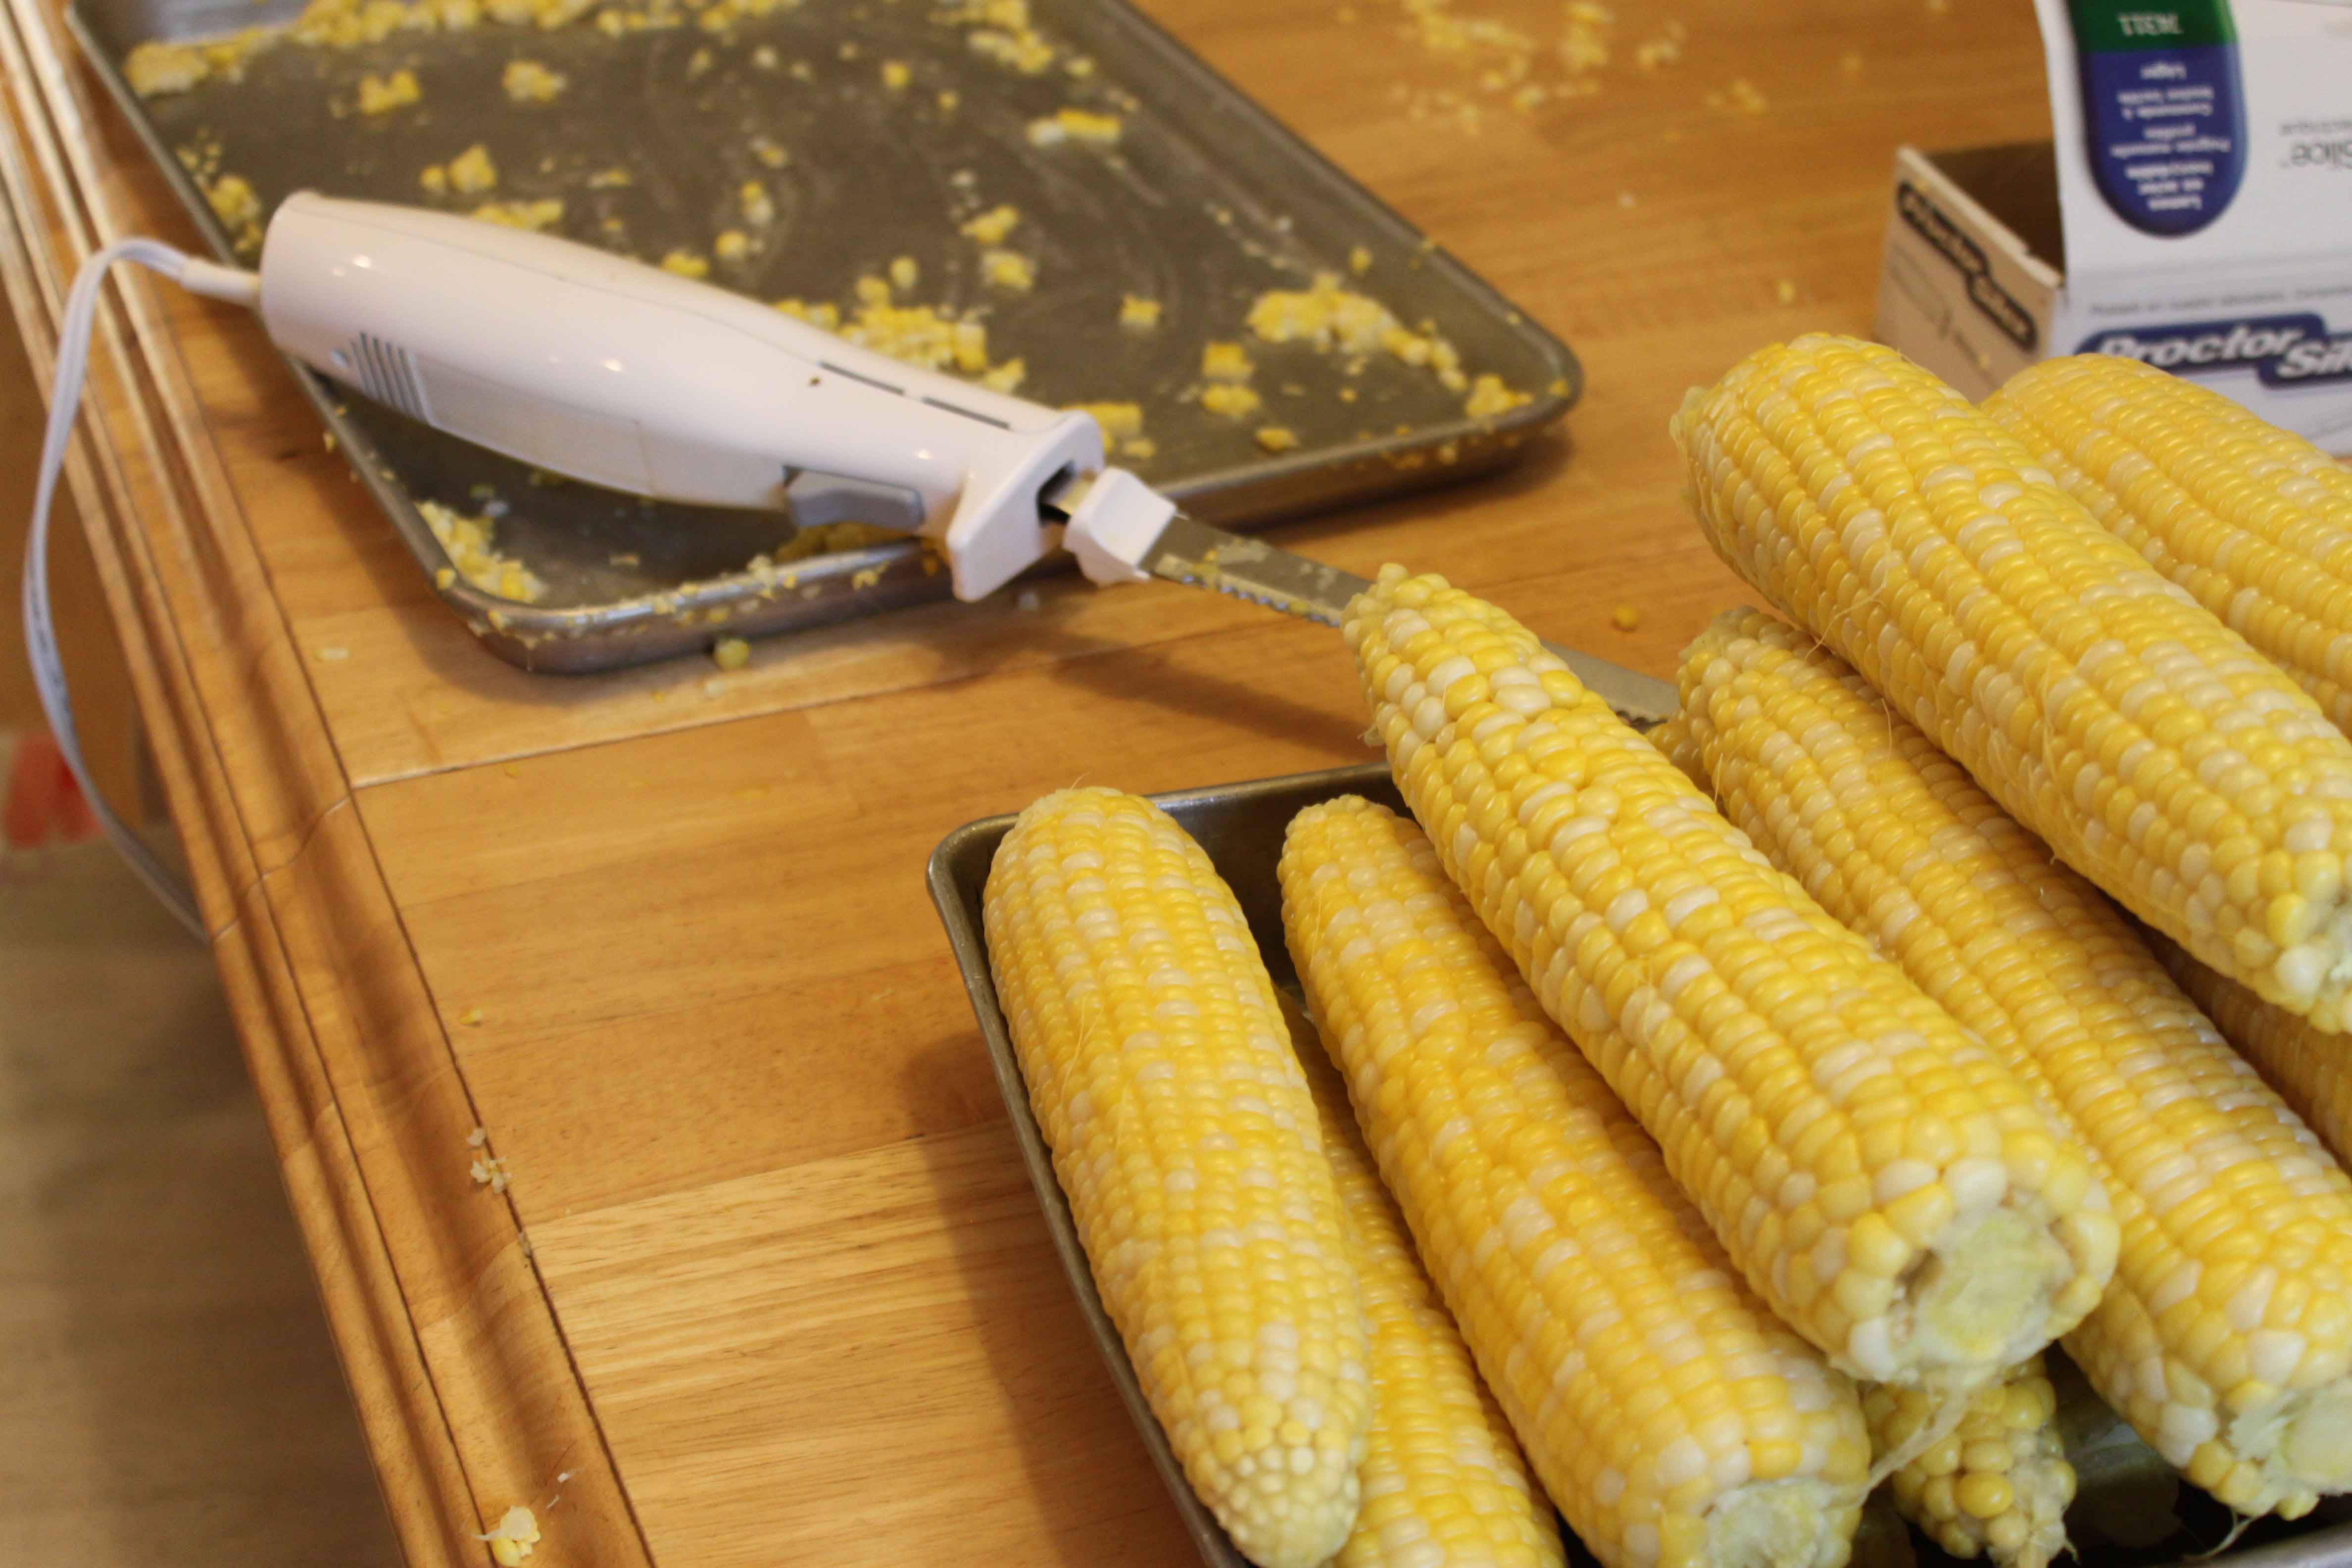
After they cool a bit where we can handle it, we cut the corn off the cob with our electric knife. Cooling the corn not only makes it better to touch, but it makes it easier to cut off the cob as well. This is my husband’s job…he is really good at it.
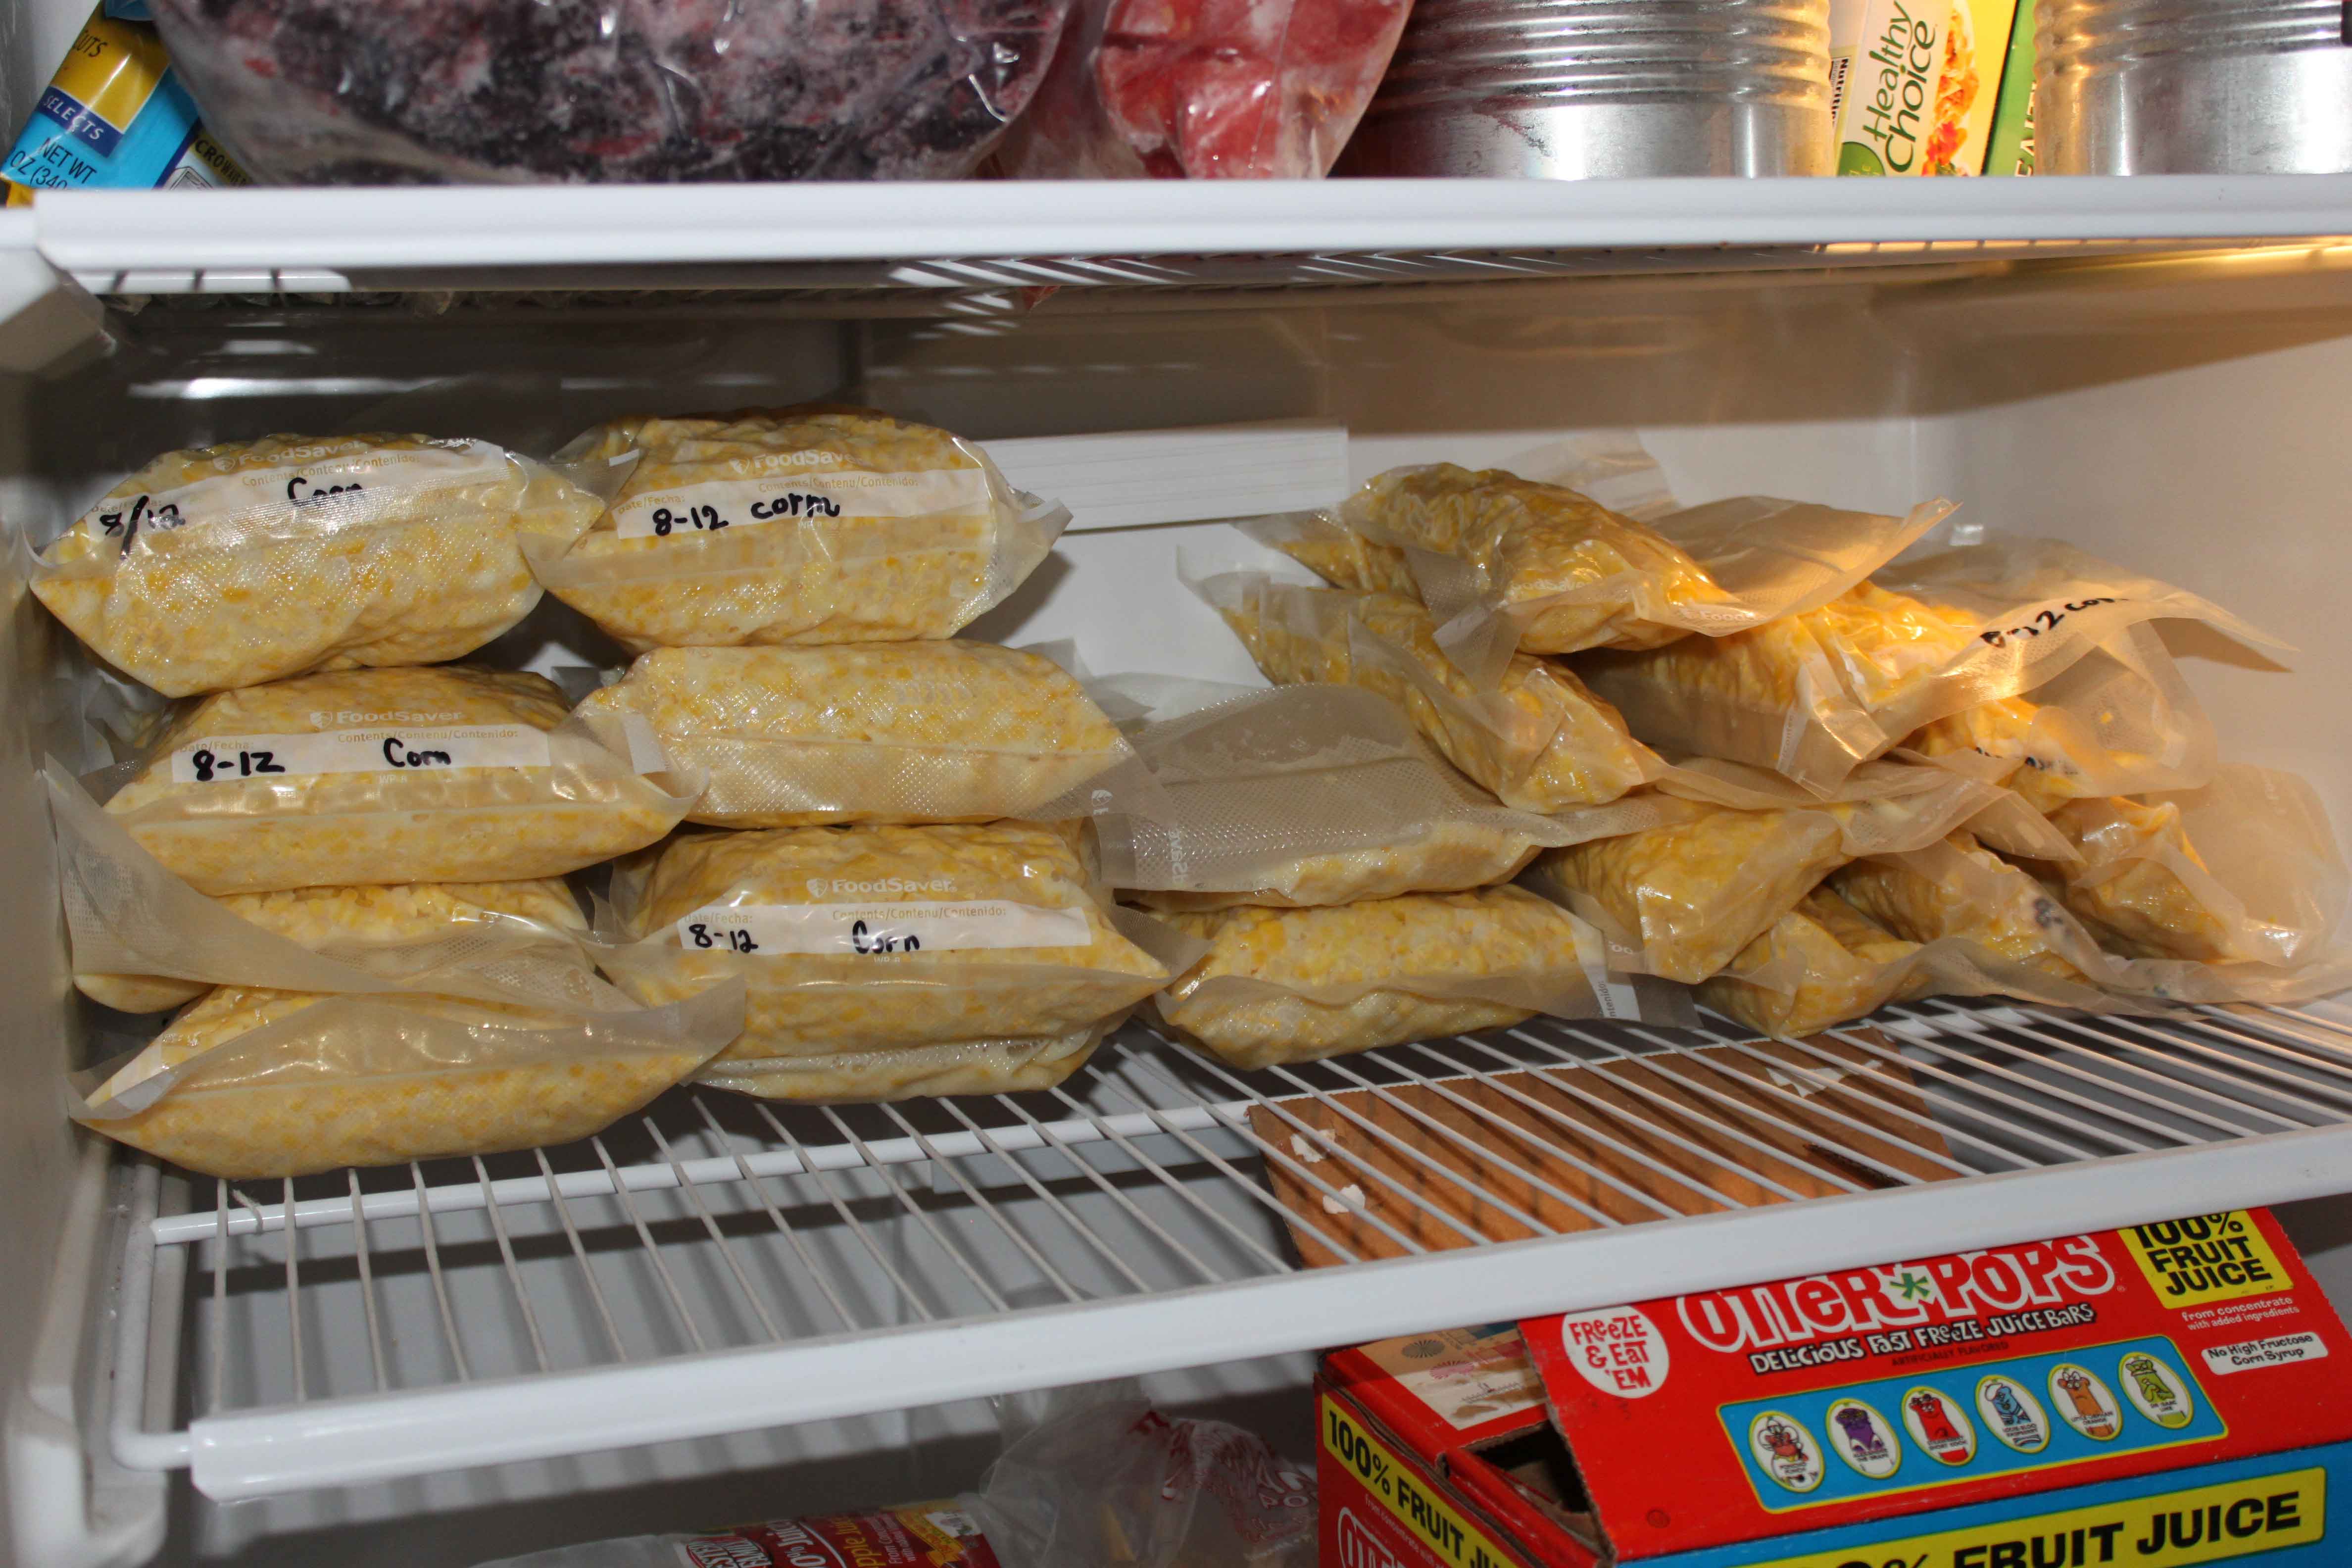
After cutting the corn off the cob, we fill the Foodsaver bags and seal up tight! I love my Foodsaver. It keeps the food fresh for a long time in the freezer. I have a large bag of Foodsaver bags that I buy at Costco, you get the best price there that I have found anywhere.

My kids did a great job helping us last night cook and freeze all this corn! Here is what 9 dozen look like in my freezer. It is nice to have that done and know that this winter, we will have some yummy corn to eat!
A PYP Best Blog: Make Your Own Butter
Just in case you missed this article on DIY an update on making your own laundry detergent the first time we shared it a couple of years ago, we are republishing it. After Candi wrote this blog originally, we got an awesome response. This is one of the PYP Best Blogs!
There are many reasons why you might want to learn how to “churn” your own butter – self-reliance, avoiding preservatives, just for the fun of it, etc. 🙂
It’s actually pretty easy (although not necessarily any cheaper than buying it already made). Anyone remember doing this as an experiment in elementary school – passing around the glass jar with the cream and having everyone shake it until it turned into butter?
This is only my second time doing my own butter, but I thought I would take some pictures through the process in case it might help anyone else.
Here’s the skinny on the butter-making. The basic instructions? Take your cream and whip (churn) it until you can no longer do so. That’s it. 😉
I did mine in my KitchenAid, but you could also use a handheld mixer, or even do it by hand or in a glass jar (add marbles) if you wanted to. The instructions below will assume you are using a mixer of some kind. (If you’re doing it in a glass jar, just shake until you can’t shake any more.)
Start with this, just as if you were going to make whipped cream (but do not add any sugar or vanilla):

(I had actually whipped this for about a minute before I stopped to take a picture)
You’ll get to what they call the soft-peak stage:

Then the stiff-peak stage:

You’ll go through those first steps quite quickly. Just keep whipping…
Then the cream will start to turn from white to a pale yellow:

It will start to look like really thick whipped cream (clotted cream anyone?) and will start to cling thickly to the sides of your bowl:

Keep going. (You might want to stop every few minutes to scrape down the sides of your bowl.) As you continue, you’ll start to see it turn a little grainy:

…and get grainier:

…and grainier. And you’ll start to see a little bit of “shine” on the top – it will begin to look “wet”:

(you can sortof see little spots of “shine” in the picture – that is the liquid being squeezed out as the fats and proteins coagulate)
It will start to look almost like bread crumbs or cottage cheese or when you cut-in butter to a crumb topping:

At this point you’ll want to turn your machine down a bit (I turned mine down from 10 to about 7 or 6) because it will start to spit liquid at you. [These last steps happen very quickly, and you’ll go from the crumb topping look to a big chunk of butter in a puddle of buttermilk in about 5 seconds, literally. If you’re machine is still zipping away at highest speed, you’ll slosh buttermilk all over the kitchen before you have time to turn it off.]
You’ll start to see more and more liquid accumulate on the top:

Keep going for another minute or two, at a medium speed, and watch carefully because in a matter of about 5 seconds it will go from the picture above, to THIS:

It will clump up all together in your whip attachment and you wont be able to whip it any longer. You’re now done (with the churning part, that is)!
You can now either pour off the buttermilk and save it (think cornbread, buttermilk pancakes, buttermilk biscuits, etc.) or you can just discard it.
With clean hands, press all of the butter solids into a ball. Squeeze it a little to get more buttermilk to drain out.
You can put it in a container in the refrigerator at this point, but I’ve read that it can still have buttermilk in it and that can tend to make it go rancid, so many places suggested to wash it.
I filled my mixed bowl with cold water (if you use warm you’ll melt the butter) and then kneaded it a few times under the water. Pour off the water, and repeat one more time, or until you feel like you’ve gotten most of the buttermilk out.
You’ll then end up with this:

I started with 2.5 pints of whipping cream, and ended up with 11.2 ounces of butter and just under 2 cups of buttermilk. If you use heavy whipping cream (with a higher fat content) you’ll get slightly more butter.
The half-pints of whipping cream were .50 each on clearance after Christmas. I used 5 of them, for a total of $2.50. Extrapolating that out would give me the equivalent of 1 lb of butter for $3.63, definitely not cheaper than just buying it already made at the store. BUT, I also got buttermilk out of it, so I think when you add in that I’d have to buy that at the store as well, I think I come out about even, maybe just a little higher than the store-bought option.
If you have a source where you can get shelf-stable boxed whipping cream (Ultra High Temperature pasteurized), like through Gossner’s here in Utah, you can use that in place of the fresh stuff from the store, with the same results. However, you cannot use whipping cream that has been previously frozen (it denatures the proteins and fats and they will no longer coagulate or “whip” once thawed).
Have any of you ever tried making your own butter? What advice would you give to us newbies? Does anyone make specialty butters this way by adding additional ingredients? I’d love to hear about some of the possibilities!

Simple and Delicious Magazine Just $7.46 for 1 Year!

Deal of the Day – Simple and Delicious Magazine Just $8.99 for 1 Year!
Take an additional 17% off with coupon code 17OFF.
Simple and Delicious is a spin-off food publication for busy people from the folks at Taste of Home magazine, featuring 150+ fail-proof mouth-watering recipes and meal planning tips every month.
Insignia – Personal Blender – Stainless-Steel – $12.49!
Insignia – Personal Blender – Stainless-Steel
Regular Price: $24.99
You Save: $12.50
$12.49
Free shipping on $35 orders! Free in store pick up!
A PYP Best Blog! Making apple pear butter!
Just in case you missed this article on making apple pear butter the first time we shared it a couple of years ago, we are republishing it. After Marne wrote this blog originally, we got an awesome response. This is one of the PYP Best Blogs!
My family love apple butter, but this year I had extra pears and was tired of making pearsauce, so I made apple pear butter. I combined a few different methods and the result was fabulous! Best part about this recipe….NO PEELING OR CORING REQUIRED! Yes, it’s true! So easy. Let’s get started.
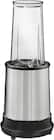
Start by cutting up all your pears and apples. DON’T peel or core them! I know…sounds weird, but bear with me here!
After cutting them up, mix them up with the sugar and spices. Dump everything into a crockpot. It will all break down in the next day or so then you can blend it up. By leaving on the skin & not coring you leave lots of vitamins and fiber that will be in the butter! I used a mixture of Gala & Macintosh apples in mine. Doesn’t it look pretty?
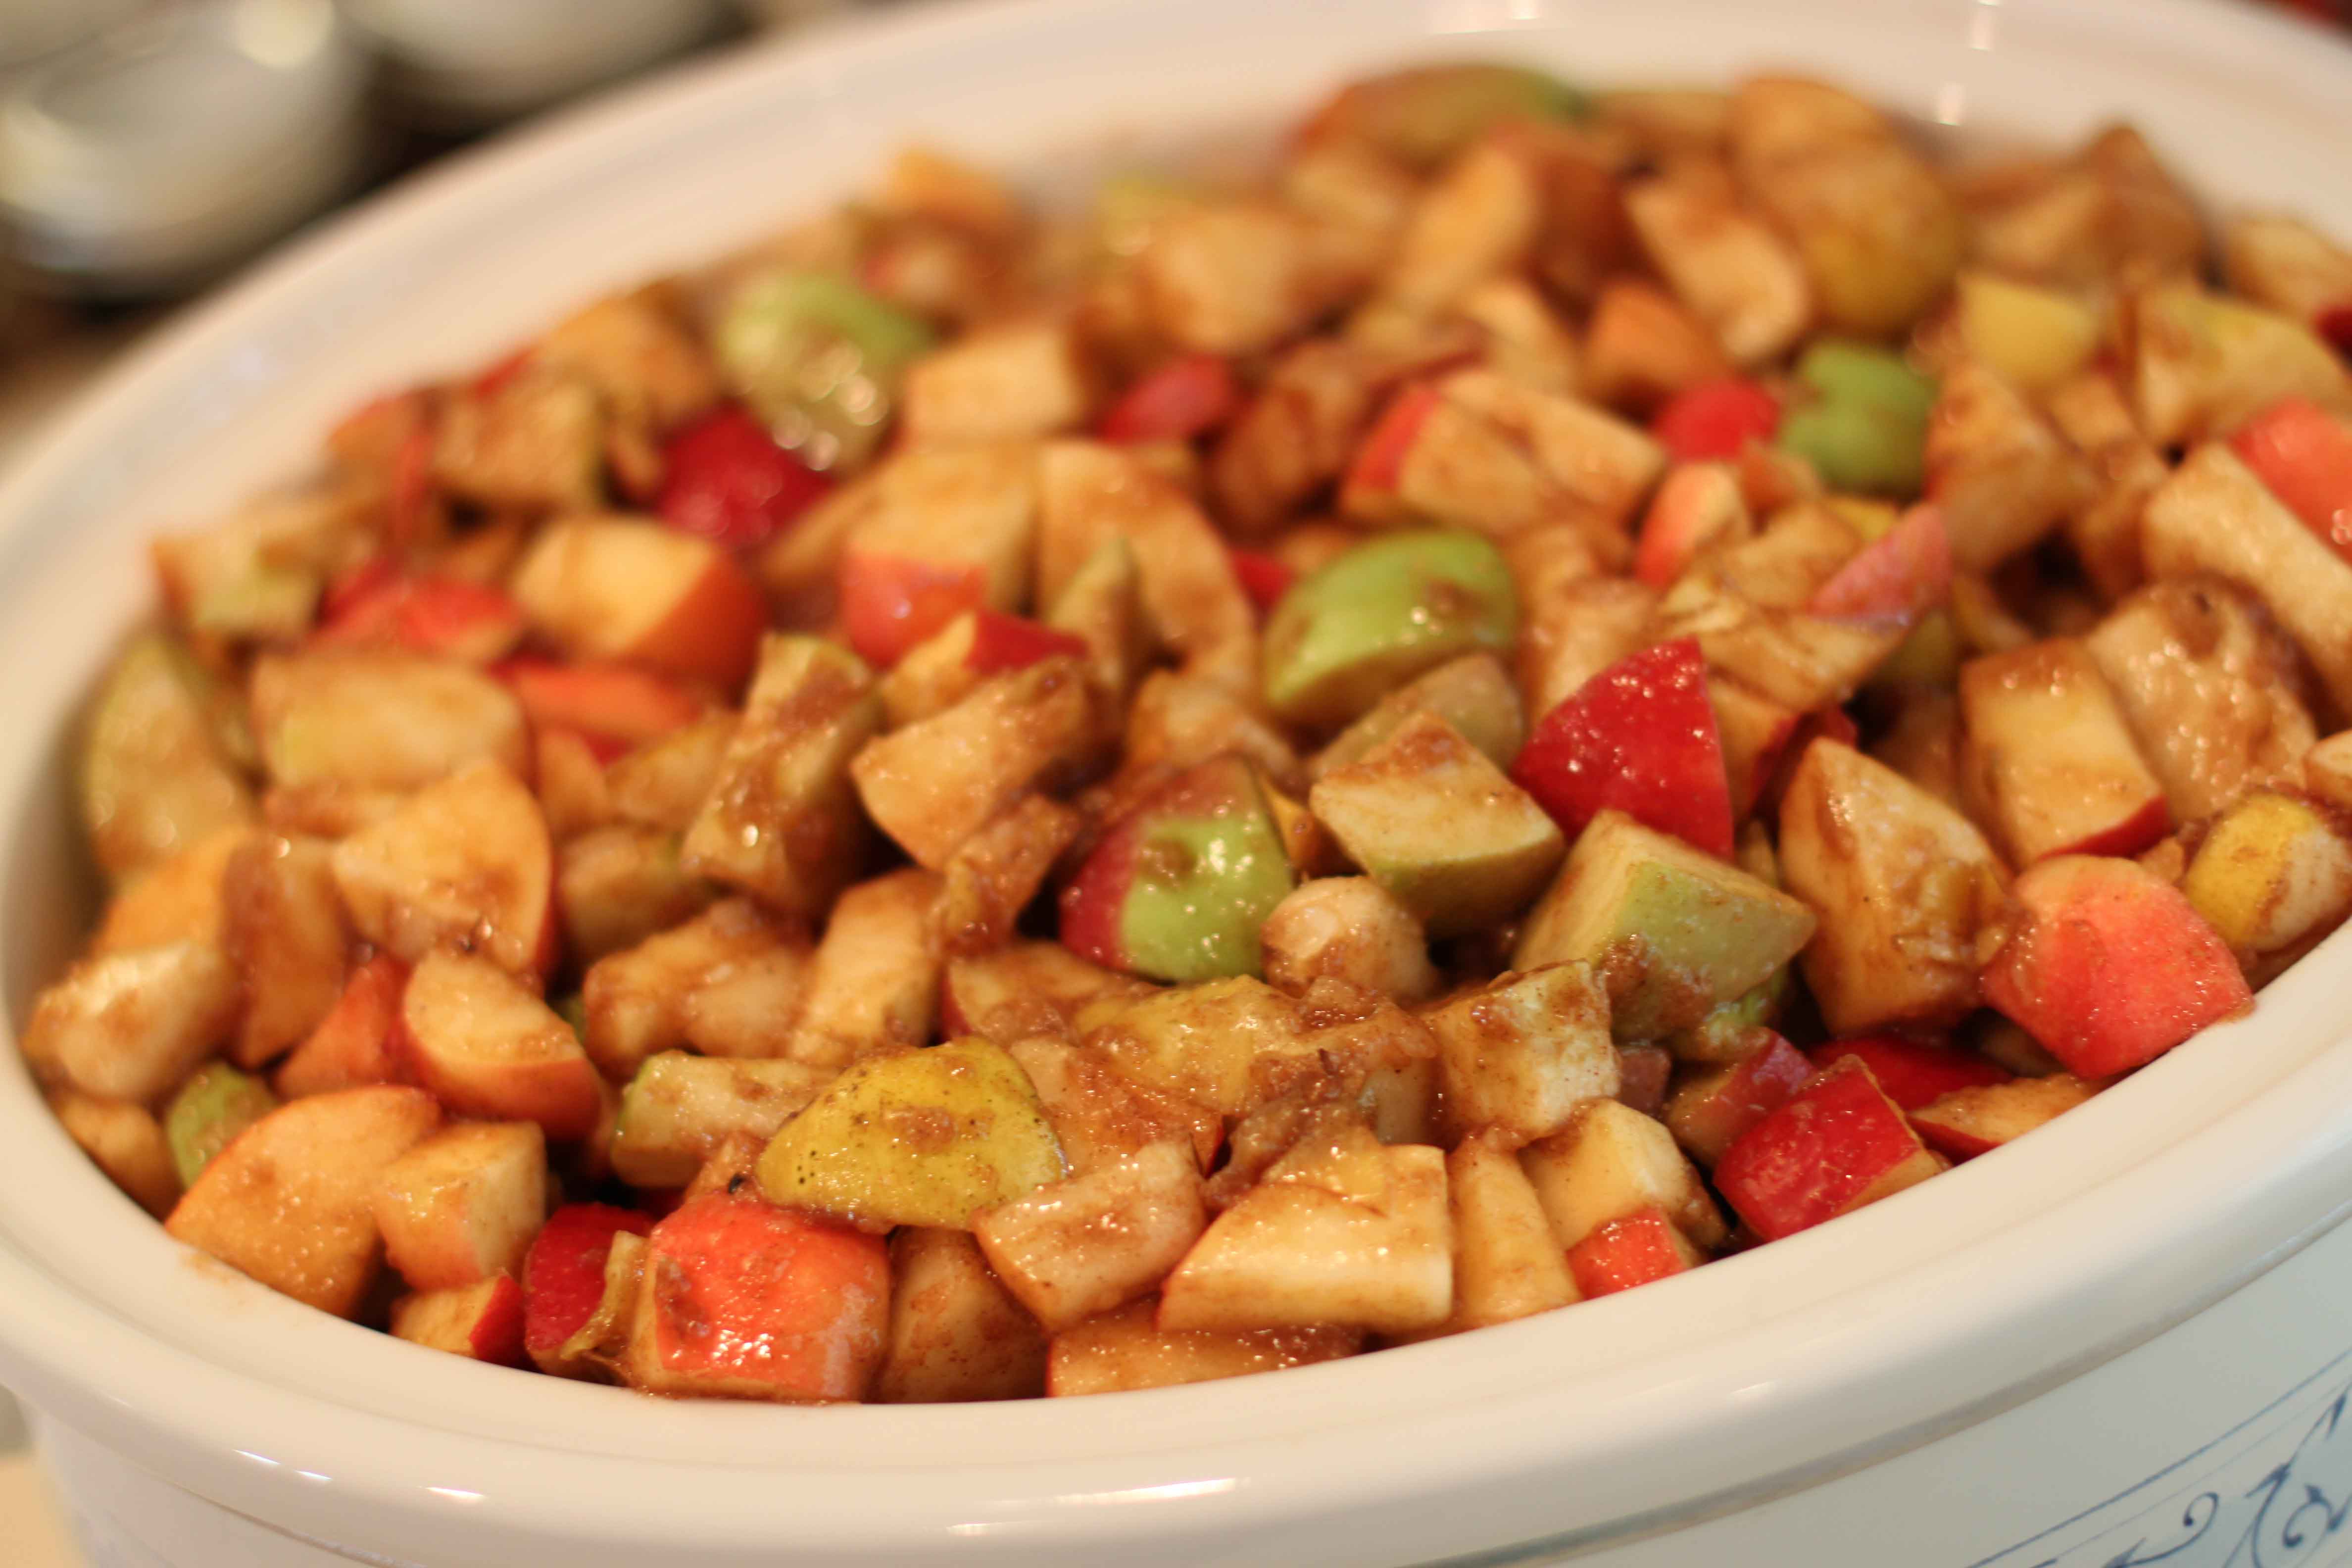
Cover and let it cook for 24 hours on low. By this time, it will look like this, and your house will smell INCREDIBLE.
At this point I like to take the lid off and let it cook for about an hour or so like that to let some extra moisture evaporate. Now all you do is use blender or food processor to blend it up nice and smooth!
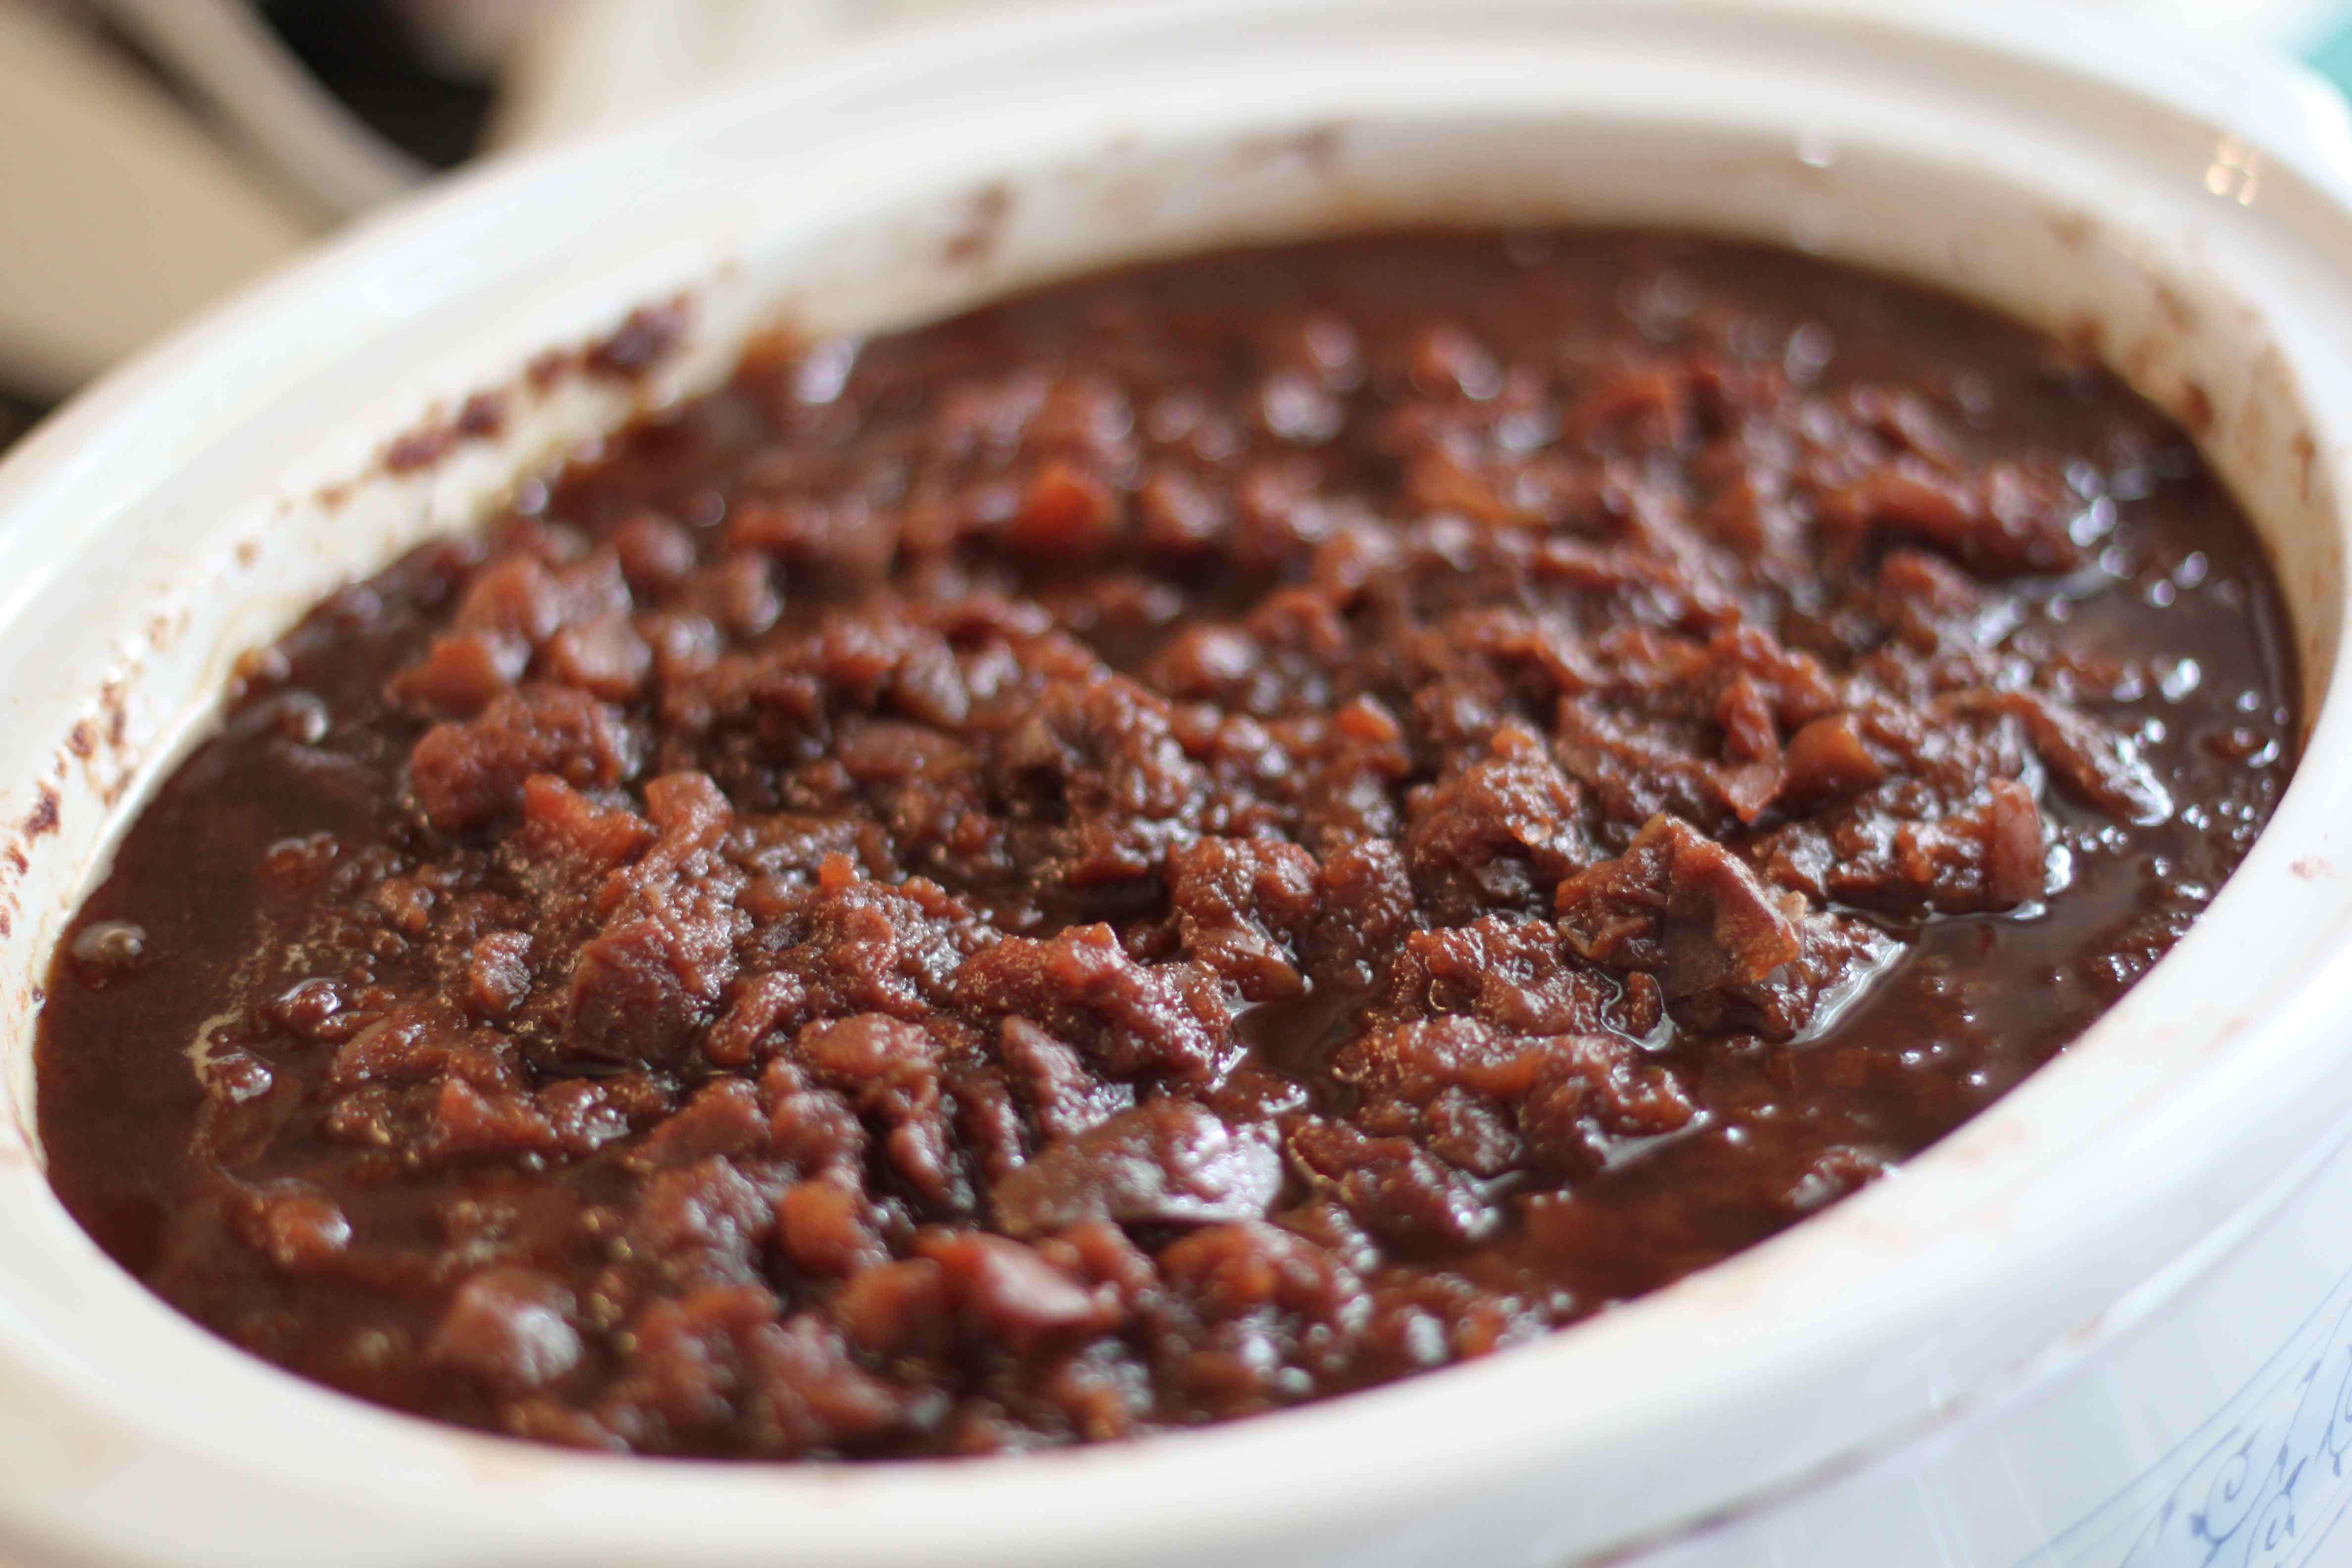
I canned mine in half pint jars. Looks so pretty, eh? Delicious too. Our favorite way to eat apple pear butter is on toast, pancakes, and even peanut butter sandwiches!
(See that applesauce in the back of the photo? Check out my post I did last year on making homemade applesauce to learn how.)
NOTE: Make sure your pears are nice and ripe, or your butter will be grainy.
Apple Pear Butter
(recipe adapted from Ball Complete Book of Home Preserving)
4 lbs apples, chopped up, NOT peeled or cored
2 lbs pears, chopped up, NOT peeled or cored
1 cup sugar (you can add more for super sweet but 1 c. is fine really)
1 Tbl. cinnamon
1/2 tsp. cloves
1/2 tsp. ginger
Place all ingredients into a large bowl and stir to incorporate. Dump into a crockpot and set on low. Cook on low for around 24 hours, stirring a few times. When nice and thick, blend up smooth.
To can your apple pear butter, prepare your canner, jars, and lids. If you are new to canning, read the basic here. Ladle the hot butter into the jars, making sure to leave about 1/4 inch headspace for expansion. Remove air bubbles with a knife. Clean the rim of the jar with a wet paper towel, and place hot lids on the jar and screw the band down. Place jars in a water bath canner and process for 20 minutes.
(Check your elevation for processing time. This is my elevation time. It is important to process according to your elevation in order to safely preserve your food).
This butter also freezes well if you do not wish to can it. Recipe makes approx. 4 pints.
SodaStream Source Home Soda Maker Starter Kit, Red with Bonus $10 Gift Card – $59.99!

SodaStream Source Home Soda Maker Starter Kit, Red with Bonus $10 Gift Card
List Price: $79.00
You Save: $19.01 (24%)
$59.99
Shop the Value of the Day and Grab It Before It’s Gone at Walmart.com!
Free in store pick up!

Jelly Belly – Dual Ice Shaver – Multicolored – $17.99!
Jelly Belly – Dual Ice Shaver – Multicolored
Regular Price: $34.99
You Save: $17.00
$17.99BestBuy LINK
Free shipping on $35 orders! Free in store pick up!
Hamilton Beach 6-Speed Classic Hand Mixer – Just $19.99!
Convenient mixing features including QuickBurst button and Bowl Rest. Attachment set includes traditional beaters, wire beaters and whisk. Snap-on storage case for instant storage – no more lost beaters!
 Hamilton Beach 62650 6-Speed Classic Hand Mixer, Silver
List Price: $39.99
You Save: $20.00 (50%)
Price: $19.99
Eligible for free shipping on $35+ orders or on ANY order with Amazon Prime.
Don’t have a Prime membership? Get a one month free trial! Click here for details!
KitchenAid 5-Qt. Stand Mixer – 9 Colors $239.99
 KitchenAid 5-Qt. Stand Mixer – 9 Colors
$239.99 (Reg $349.99 31% off List Price)
$5 flat rate shipping
Tailgate Ready? Crock Pots are 20% off! Online from Target!
Tailgate Ready? Crock Pots are 20% off! Online from Target!
Deals like…
 Crock-Pot® Trio – Black Crock Pot $39.99 sale Reg: Original Price $49.99 |
|
 Crock-Pot® Round Electric Slow Cooker – Stainless Steel(3 Quart) Sale Price $15.99 Reg: Original Price $19.99 |
Free Shipping + 5% off with Red Card
Eating Well Magazine Just $6.14 for 1 Year!

Deal of the Day – Eating Well Magazine Just $7.49 for 1 Year!
August 29th Only – Use Coupon Code SAVE18 and Save an Additional 18%!