
Babycakes Mini Donut Maker or Mini Cake Pops Maker – Just $9.43!


Babycakes Mini Donut Maker or Mini Cake Pops Maker
was $17.99
$9.43
Free in store pick up!
Minden Anytime Grill & Maxi Dresses Just $15 + Lots More from Tanga Today!
 Minden Anytime Grill – As Seen on TV REG PRICE: $49.95 DEAL PRICE: $14.99 SHIPPING: $3.99 |
 Maxi Dress With Lace Back REG PRICE: $39.99 DEAL PRICE: $14.99 SHIPPING: $1.99 |
Plus lots more!
Rachael Ray 6-piece Square Little Dipper and EVOO Vinegar Set $24.98 CLEARANCE

Rachael Ray 6-piece Square Little Dipper and EVOO Vinegar Set
Sale price $24.98
CLEARANCE
reg: Regular price $49.99 – Save $25.01 (50%)
Free Shipping + 5% off with Red Card!
Set of 4 Jumbo 18oz Wide-mouth Soup & Cereal Ceramic Coffee Mugs – $8.95!
Includes 4 Jumbo Mugs. FDA Certified Lead Free, Made in China. Dishwasher and Microwave Safe!
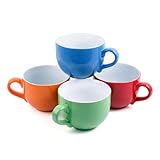 Set of 4 Jumbo 18oz Wide-mouth Soup & Cereal Ceramic Coffee Mugs
List Price: $39.95
You Save: $31.00 (78%)
Price: $8.95
Eligible for free shipping on $35+ orders or on ANY order with Amazon Prime.
Don’t have a Prime membership? Get a one month free trial! Click here for details!
Rachael Ray Orange 15-pc. Cookset – $104.98 CLEARANCE

Rachael Ray Orange 15-pc. Cookset
Sale price $104.98
CLEARANCE
reg: Regular price $149.99 – Save $45.01 (30%)
Free Shipping + 5% off with Red Card!
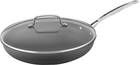
Cuisinart Bakeware Set or Skillets – $39.99! Today only!
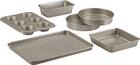
Cuisinart – 6-Piece Nonstick Bakeware Set
Cuisinart – Chef’s Classic 2-Piece Skillet Set – Stainless-Steel
Cuisinart – Chef’s Classic 2-3/4-Quart Skillet – Black
Cuisinart – Chef’s Classic 2-3/4-Quart Skillet – Stainless-Steel
Original: $99.99-$136.99
Today: $39.99
Free shipping on $25 orders! Free in store pick up!
A PYP Best Blog! How to pressure can chicken!
Just in case you missed this article on how to pressure can chicken the first time we shared it a couple of years ago, we are republishing it. After Candi wrote this blog originally, we got an awesome response. This is one of the PYP Best Blogs!
I first learned about canning meats when I was watching a show about surviving in Alaska, and the participants were catching salmon and canning it. Up until that time, for some reason it had just never even occurred to me that one could can meats, even though I had seen canned meats in the store plenty of times. My mother would can peaches and pears when I was little, but she never did pressure canning.
A year or so after watching that show, my local church asked me to help put together some ideas and plans for emergency preparedness for those who might be interested. I have to confess that I was not exactly an example of preparedness at the time. So I had to kinda learn it all from scratch. Some of the preparations we worked on involved having some food stored away in case of an emergency. And so I did more research on canning meats, and talked with a few people who had done it, and found it was a lot easier than I expected it to be. (Note: By “easy” I mean ‘not overly complicated’ rather than easy as in ‘quick’. Just want to throw that out there right now.)
I have since found that I really enjoy having canned meats around – they have been so helpful on nights when I need a quick and easy meal!
I usually can chicken when I can find it on sale in the 40lb boxes for about $1.30-$1.50/pound. Since we’ve had a few of those sales where I live recently, and with the Zaycon chicken deals being introduced into some new states and areas, I wanted to give you guys another option for storing/preserving all that chicken!
Now, I’m not going to go through all of the specific details for the actual canning part, because that will differ based on your particular model of pressure canner. So be sure to read through your canner’s instruction manual for the specifics. And for those who are new to pressure canning, please note that a pressure CANNER is different from a pressure COOKER (although a pressure canner can be used to pressure cook, a pressure cooker cannot usually be used to pressure can unless the manual specifically states that it is approved) – totally clear as mud?
For canning chicken using the raw-pack method (meaning that you don’t have to pre-cook the chicken), start by gathering all your supplies. You will need:
- pressure canner (this is NOT the same as a pressure cooker)
- chicken
- approved canning jars
- canning lids and rings (lids must be new, rings can be used)
- salt, preferably pickling salt if possible
- boiling water, chicken broth or chicken bouillon
You’ll also want to have some tools handy. Here’s what I use:
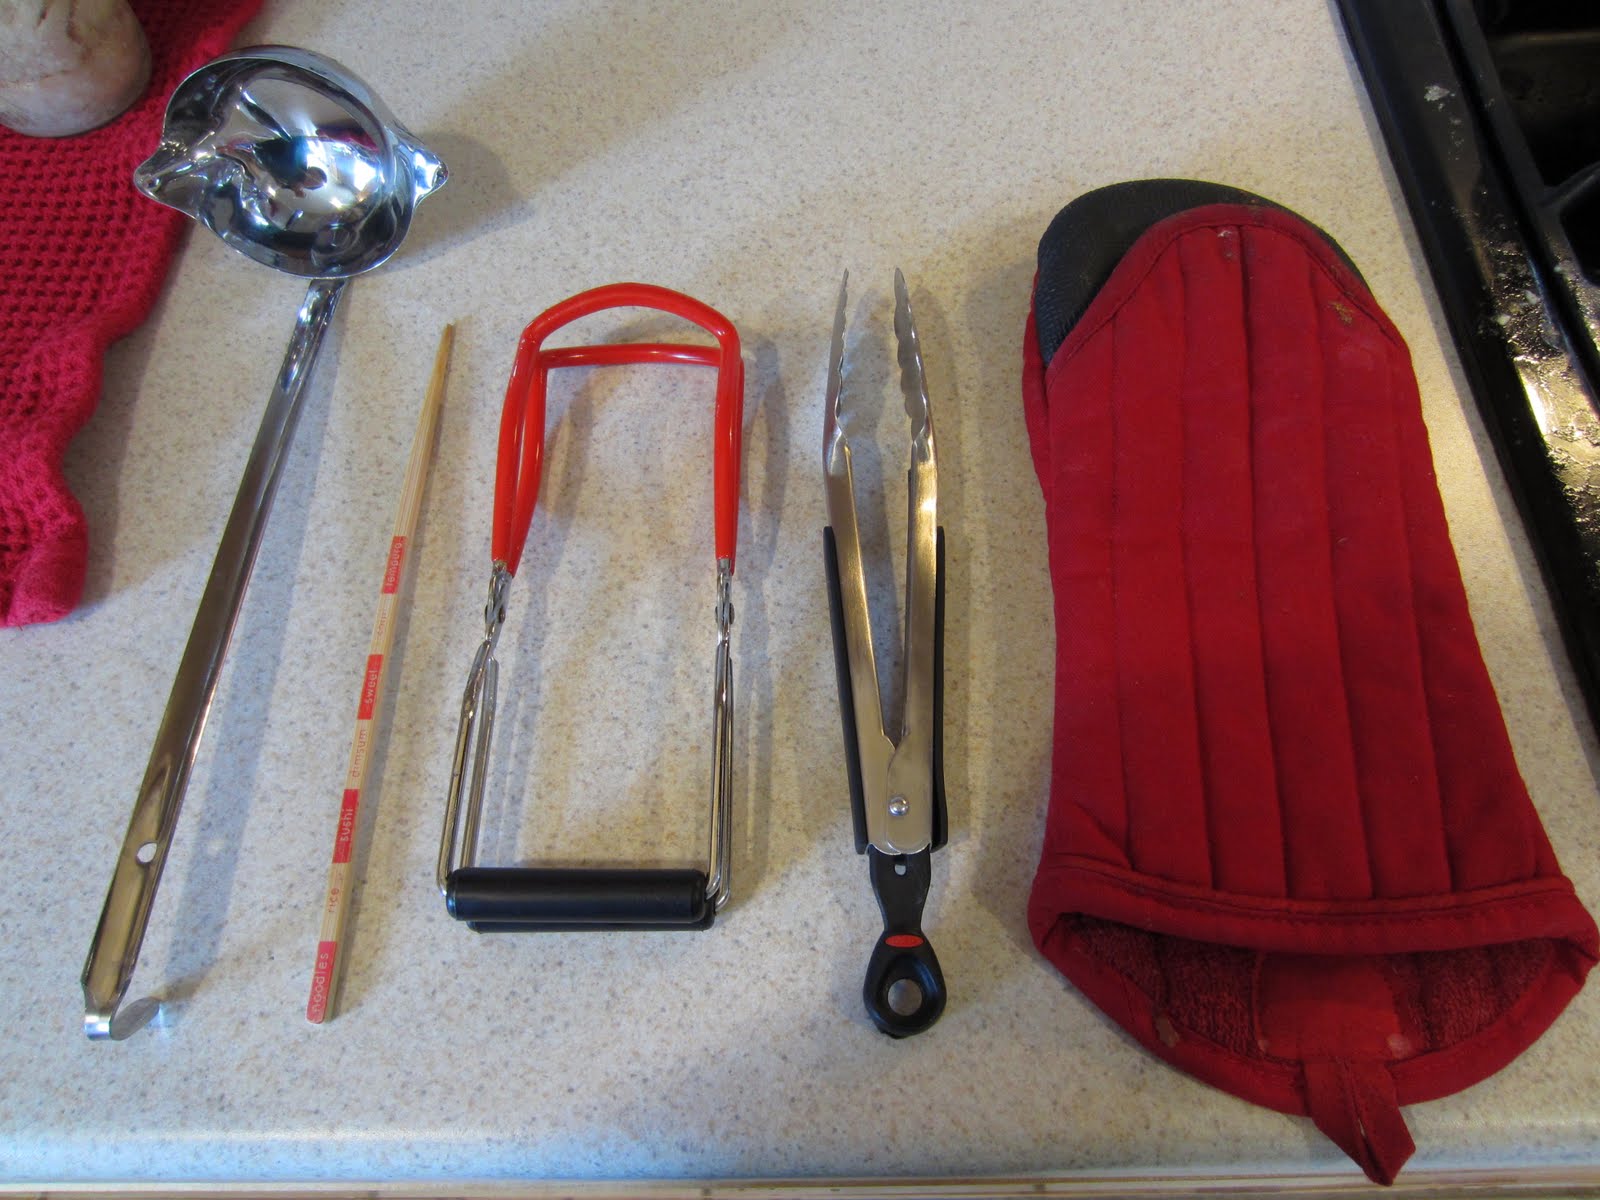
- ladle (for filling jars after chicken is in)
- wooden chopstick (for removing air bubbles from jars)
- jar lifter (for moving jars into and out of hot canner)
- tongs (for taking lids out of simmering water)
- hot pads or hot mitts
Start by preparing your jars. Wash and dry them. For chicken, I add 1/2 tsp of salt to each jar. (The official instructions say to use pickling salt, but I’ve used regular kosher salt in the past with no problems.)

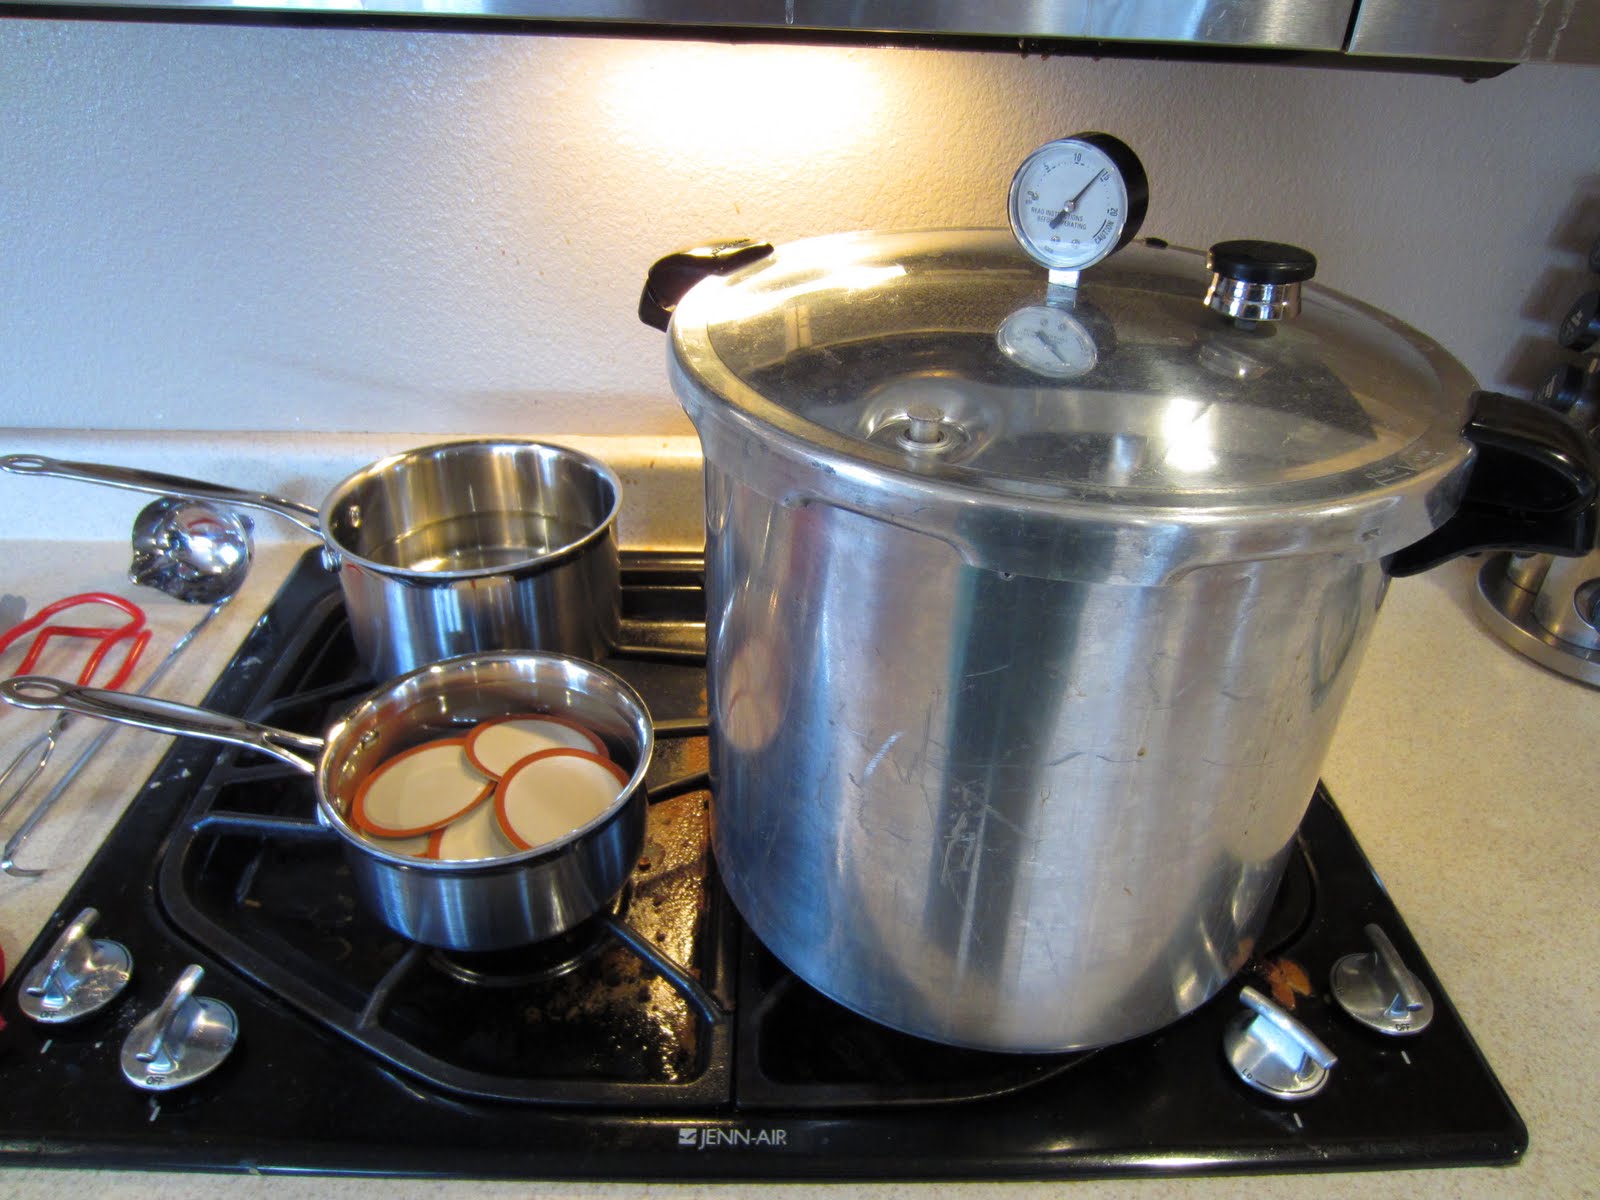
Then get your stove and pots all situated. You will need your pressure canner with the appropriate amount of boiling water (and vinegar to help reduce water spotting) – check your canner’s instructions for how much water you need. You will need another pot with boiling water (for adding to the jars), and a smaller pot with simmering water so you can heat the lids.
Here’s what my stovetop looks like on chicken-canning day:
Next, time to prep the chicken!
The big 40lb boxes pf boneless, skinless chicken breasts come with 4 bags inside. The breasts are butterflied, and have a little bit of fat on them which you’ll need to trim off.
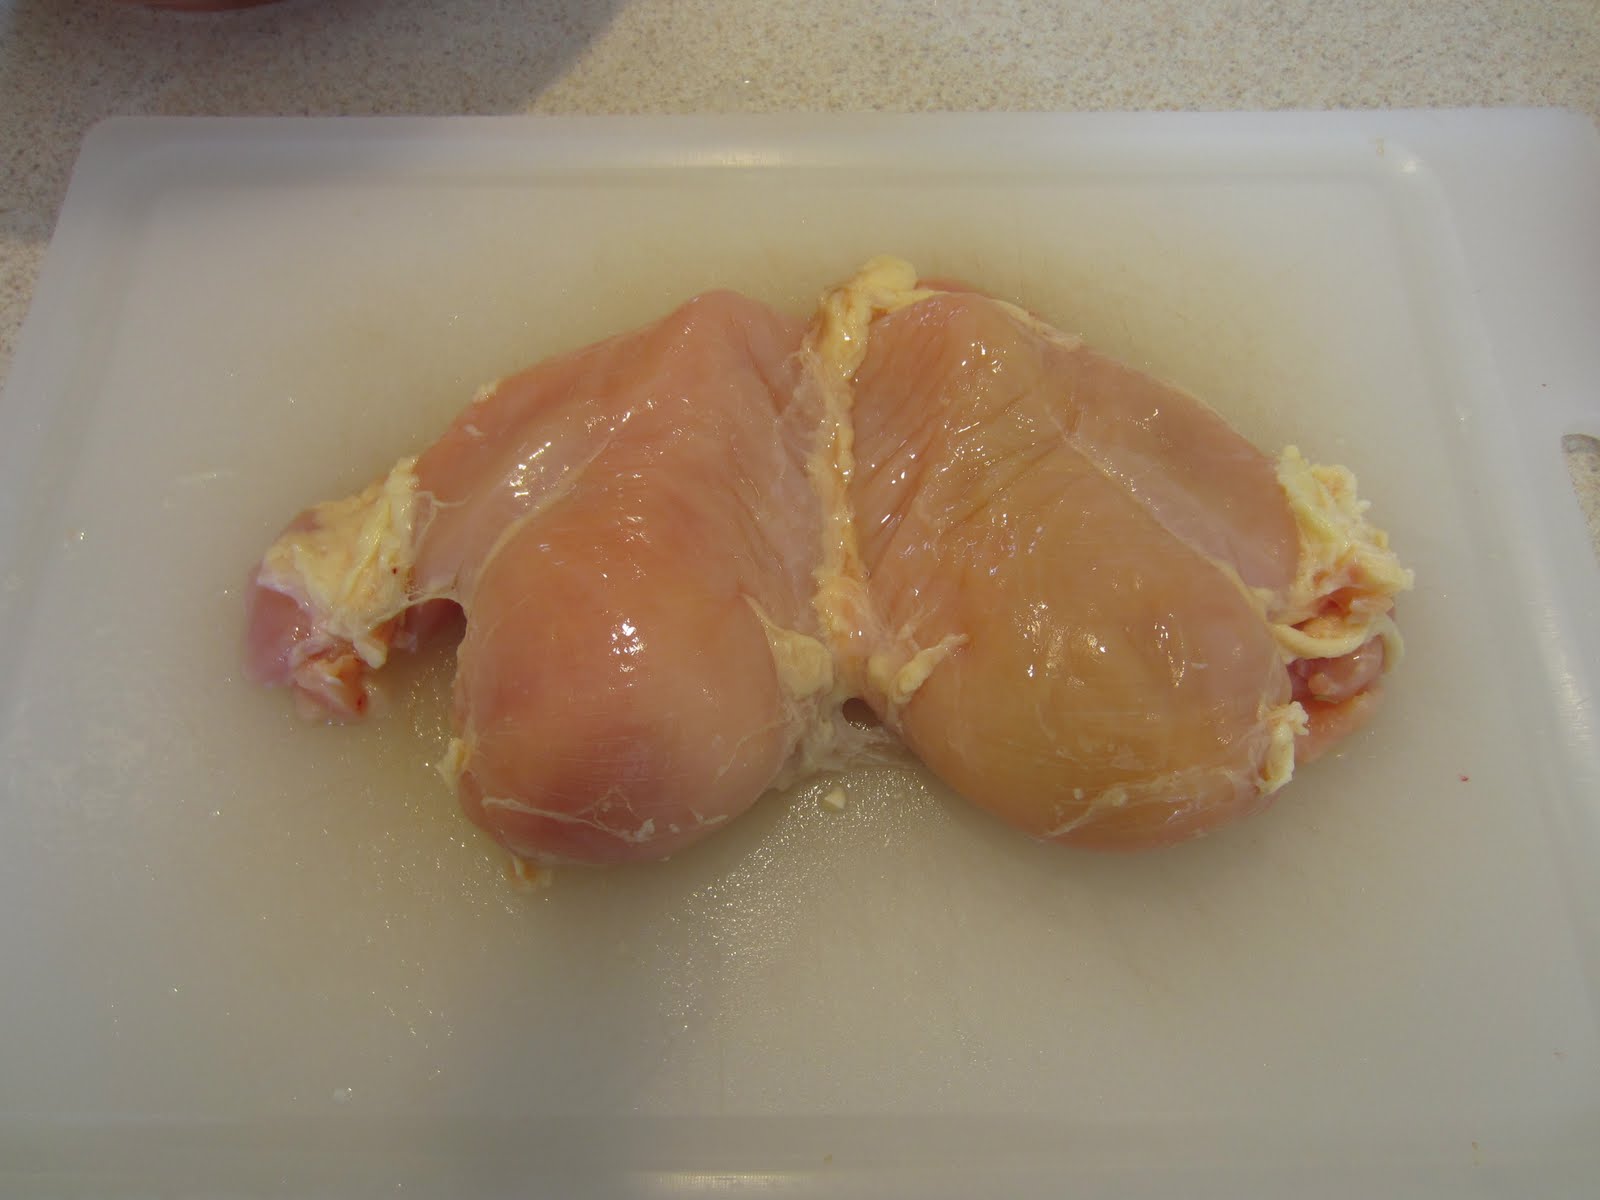
Cut the breast halves apart and trim any remaining fat. Keep the fat and trimmings in a separate bowl (you can use them to make chicken stock).
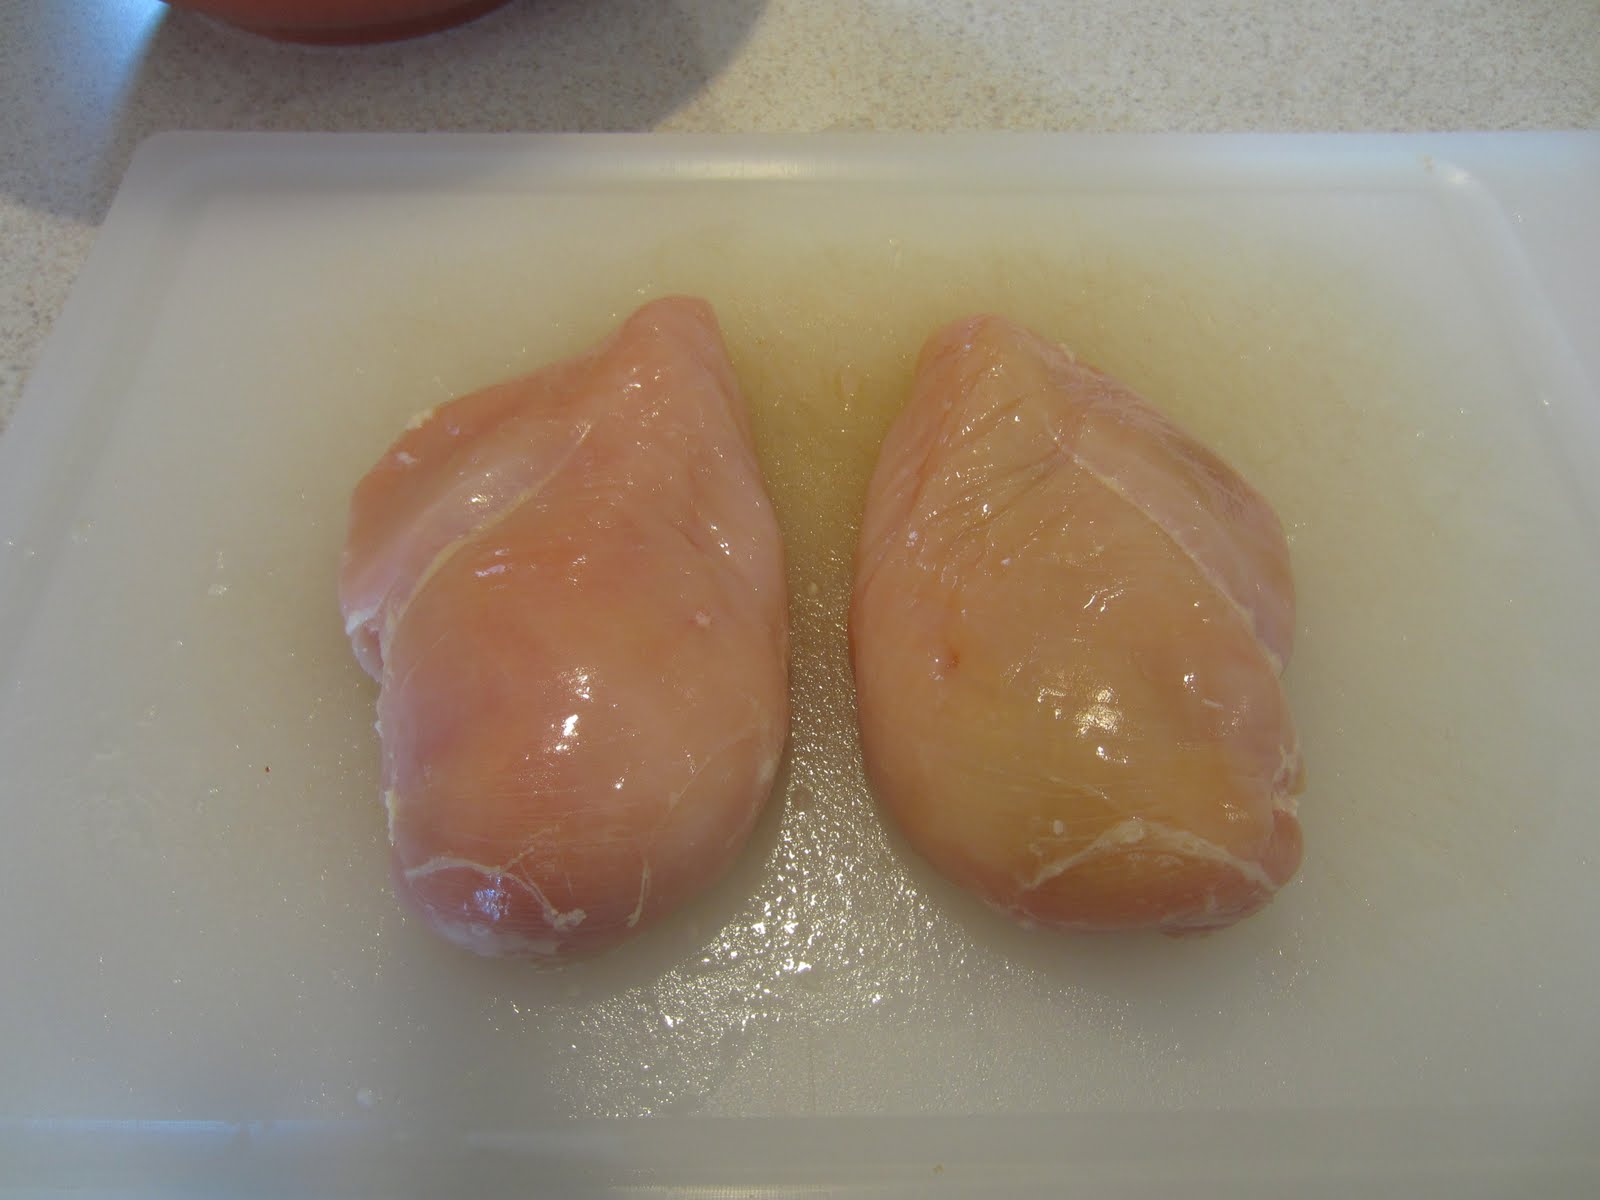
Cut each chicken breast into smaller chunks – doesn’t have to be precise, just so they are easier to stuff in the jars.
Pack the chicken pieces semi-loosely into the jars, leaving 1-inch of space between the top of the chicken and the top rim of the jar.
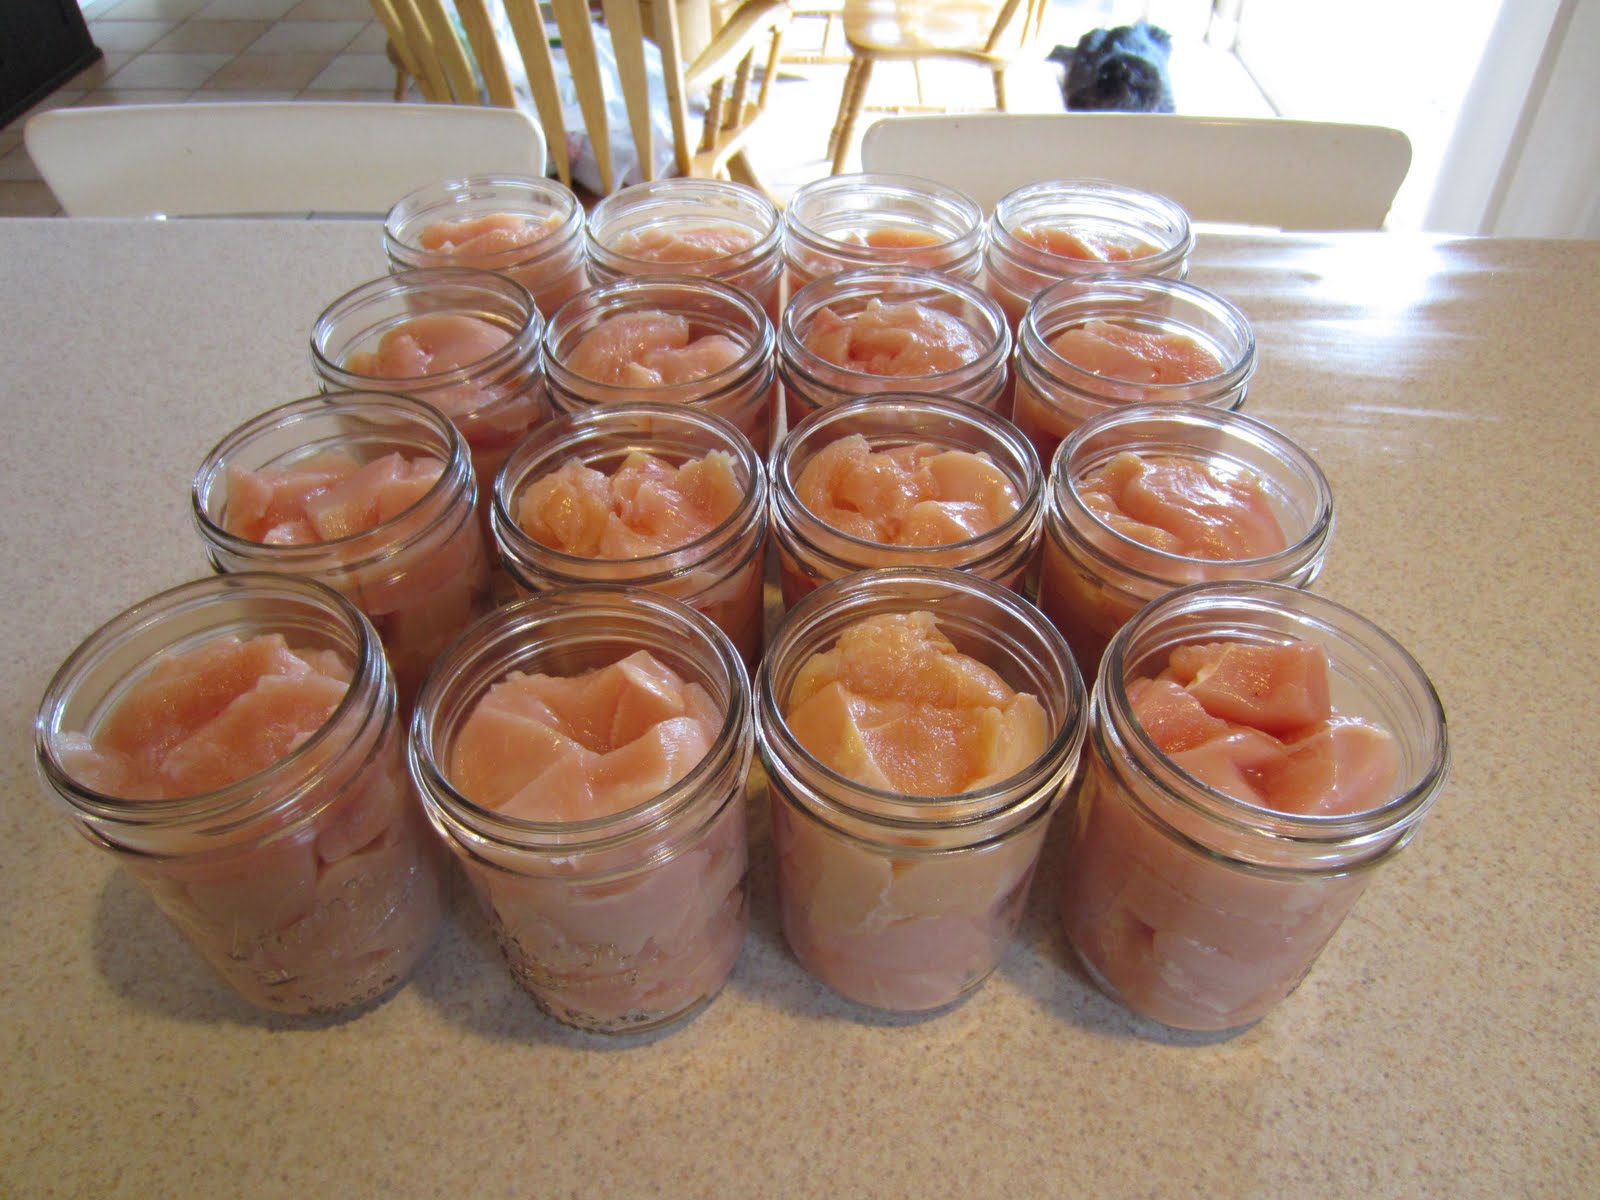
You don’t want a lot of big empty spaces, but you don’t want to smash it flat beyond recognition, either. The chicken will expand while processing, and then shrink. If you pack it too full, you may prevent the lid from being able to seal (more on that later).
Next, add boiling water (or you can use chicken broth if you’d like) to within 1-inch of the top rim of the jar. Pour some water in, poke around the sides with a spatula, plastic knife or chopstick, to help remove air bubbles, and then fill a little bit more if the water has settled below that 1-inch mark.
Once filled, take a clean wet rag or towel and wipe the rims of each jar to make sure they are clean and there is nothing there to impede the seal. Take a hot lid from your simmering pot, and place it on the jar, make sure it is centered, and then put on your ring.
Because the pressure canner uses steam that fills the entire container, you can double stack your jars in a pressure canner. Make sure the water in your canner is now at boiling. Place your jars in your canner according to the manufacturer instructions. Mine says to place the second layer of jars offset by half a jar, so the top jar rests on the edges of two bottom jars.
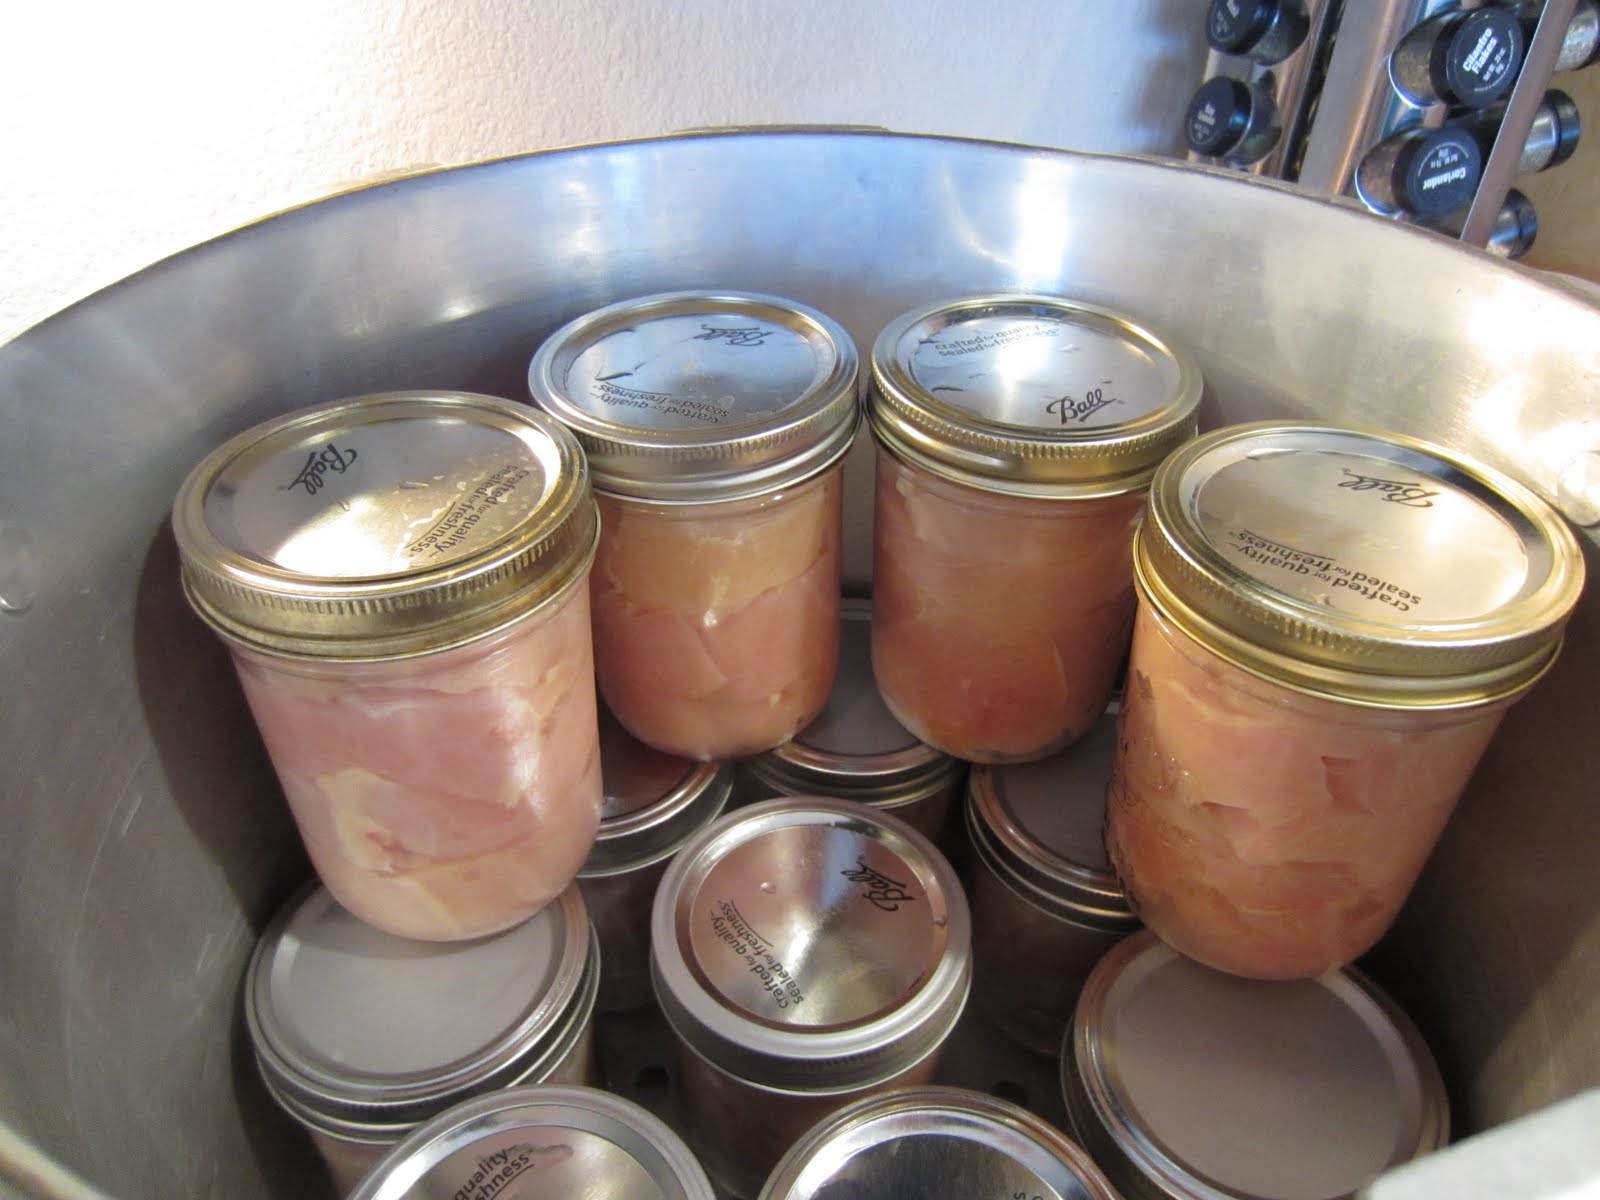
My particular model of canner can fit 16 pints jars at a time.
Once all your jars are in, put on the lid and process according to the instructions. (It’s basically a process of: create steam, let it vent for 10 minutes to get all extra air out, put on stopper/weight, bring to pressure, then hold at pressure for specified time, turn heat off after time is up, let pressure reduce to zero naturally, wait ten minutes, then open the lid and carefully remove jars.)
For chicken, the processing time is 75 minutes for pints, and 90 minutes for quarts. (One pint jar holds about 1lb of chicken, and a quart jar holds about 2lb.) You’ll need to look up in a canning book or in your canner manufacturer’s instructions to find out what pressure to can at – here where I live it is 13 psi. You must keep your pressure at that amount (or higher) throughout the processing time – if it dips below that, you’re supposed to start the time all over again. Because of that, I usually end up processing at 14 psi, because for the first little while the pressure will fluctuate as you get the heat settings figured out, and that way I have a few moments to adjust the heat before dipping below the 13 mark.
Once the jars are in, and you’ve vented the canner and brought it to pressure, there isn’t much to do but sit and wait. I usually bring a book with me and just sit in the kitchen so I can keep an eye on the pressure. You will need to adjust your burner settings periodically, as the heat and steam builds up and the pressure increases. I start out at high for getting to a boil, venting and getting to pressure. Once at pressure, I can turn down to med-high, then turn it down little by little every 10-15 minutes or so, until by the end I’m down to med-low for the last half hour or so.
Once your jars are out of the canner, leave them alone for 12-24 hours and then test for seal. Press the middle of the lid – if it flexes down, it isn’t sealed. If you can barely move it, then you’ve got a good seal. Any jars that don’t seal can be reprocessed (with a new lid) or moved to the refrigerator to be used soon. After 24 hours, you can remove the rings, wash the jars, label them with the date, and store them away!
[For specific instructions on the actual canning process, which I have not gone into here, I recommend the Ball Blue Book or the National Center for Home Preserving’s web site at https://www.uga.edu/nchfp/.]
Note: The canned chicken works best in recipes calling for diced/chopped or shredded chicken.
Shopko Lowest Prices of the Season + Crazy Lows!
 Lowest Prices of the Season + Crazy Lows!
Shopko.com LINK
Deals like…
- Coleman 3-In-1 Red Cooler Set- $28.88
- Seiki 32″ LED HDTV- $174.88 + Free Shipping
- Madison Blackout Window Panel- $7.88
- Bissell Easy Sweep Rechargeable Sweeper- $17.88
- Bissell Feather Weight Stick Vacuum Cleaner- $17.88
- Neu Home 30 Liter Stainless Steel Wastecan W/ Bonus 5 Liter- $17.88
- Cosco Topside Booster Car Seats- $11.88
- Kids Primary 12 Bin Organizer- $38.88
- Aerospeed Basic Box Fan- $14.88
- Bissell Cleanview Upright Vacuum- $68.88
- Anchor Hocking 4 Piece Bake N Take- $9.88
- Gibson 24-pc Flatware Set- $9.88
- Tabletops 16 pc Porcelain Dinnerware Sets- $18.88
- Aqua Force Balloon Pumper- $4.88
- As Seen On TV Pocket Hose Ultra 50′ – $18.88
- Dyson DC41 Animal Bagless Vacuum- $349
- Dyson DC44 Animal Cordless Vacuum- $299
- Dyson DC50 Animal Vacuum- $299
Kohls Codes! New Stacking Codes! New Clearance Codes! Spend Kohls Cash!
Codes:
Take an extra 20% off everything, with your Kohls card – JUNE20 – exp 6/19
Take an extra 20% off everything, with your Kohls card – EXCLUSIVE20 – exp 6/19
Take an extra 20% off everything, no Kohls card needed – SHOPNOW – exp 6/17
Take an extra 15% off everything, no Kohls card needed – CELEBRATE – exp 6/17
Can stack with this code, no Kohls card needed:
20% off Clearance Men, Women, and Kids Apparel – CLEARANCE20 – exp 6/18
20% off Dresses for Women, Juniors, and Kids (select styles) – DRESS20 – exp 6/19
20% off TekGear for Women (select styles) – TEK20 – exp 6/18
20% off Candies for Apparel – CANDIES20 – exp 6/18
15% off Nunn Bush Shoes & Sandals – NUNNBUSH15 – exp 6/23
$1 off Sugar My Lashes Are Sealed – LASHES – exp 7/1
Free Shipping on $75. No code required.
Spend your Kohl’s Cash 6/9-6/21.
Cuisinart 11-Piece Cookware Set $99.99 (reg $199.99)
 Cuisinart 11-Piece Cookware Set
$99.99 $199.99 50% off List Price
$5 flat rate shipping
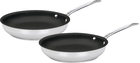
Meyer Cookware 71229 Skillet Set, Stainless Steel, 8 & 10-In. – $16.99!
 Meyer Cookware 71229 Skillet Set, Stainless Steel, 8 & 10-In.
List Price: $29.99
Price: $16.99
Eligible for free shipping on $35+ orders or on ANY order with Amazon Prime.
Don’t have a Prime membership? Get a one month free trial! Click here for details!
Rubbermaid Lunch Blox – Sandwich Kit – $9.96!
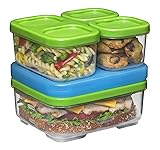 Rubbermaid Lunch Blox – Sandwich Kit
List Price: $15.99
Price: $9.96
Eligible for free shipping on $35+ orders or on ANY order with Amazon Prime.
Don’t have a Prime membership? Get a one month free trial! Click here for details!
KitchenAid Artisan Series All Metal 5 Qt. Tilt Head Stand Mixer – $159.99! Ships free!

KitchenAid Artisan Series All Metal 5 Qt. Tilt Head Stand Mixer
Many Colors – Manufacturer refurbished
List Price $459.00
65% off list price
Sale Price $159.99
All eBay Daily Deals have FREE shipping!
Can meal planning help save your budget?
 Have you ever asked yourself how can meal planning save your budget?
Does this sound at all familiar? It’s 7:00 pm and you just got home from picking your daughter up from dance and you just dropped your son off at basketball. The phone is ringing, the baby is crying and your husband wants to know what’s for dinner. You have nothing planned, the meat is frozen and you already had pancakes the night before. There is a fast food restaurant just around every corner so you decide that on the way back from basketball you will swing through the drive-thru and pick up some burgers, fries and drinks. For $32 you feed your family a meal full of nothing nutritious and you have spent ¼ of your grocery budget for the week.
With some simple planning this situation can easily be avoided. Meal planning is easily accomplished and can save you lots of money and feed your family healthy food.
There are several ways to plan your meals.
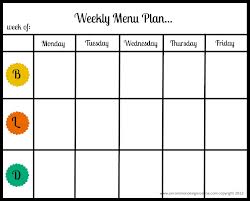
Most weeks in my house I have a chart of the wall with each day listed and what I am planning for dinner each day. I make my plan based upon 2 things: what is on sale at the grocery store this week and what I have on hand.
Another idea is to make a rotating schedule based upon what your family likes. Include your family in this plan. You can take a few minutes to devote to meal planning. Be sure to plan enough meals for a 2 week or 4 week rotation just by making a simple chart. Wouldn’t having a monthly plan help you at the grocery store? You would know exactly what you were eating and you would know exactly what to buy. This way when you see things on sale or you come across a coupon you can quickly decide if it’s worth it to you.
Have you ever thought of having “Taco Tuesdays?” If you’ve watched the LEGO Movie I am sure you know about Taco Tuesday! Every Tuesday you can have tacos. I am sure you can come up with a few “theme nights” of your own. My kids have come up with these ideas: “Meatball Monday” and “Waffle Wednesday.” Of course they don’t have to be fancy themes. Your meal planning could just be based on things like Chicken, Beef, Pasta, Crock pot, BBQ, etc… You know what your family’s needs are. Plan for leftovers too!
For me knowing what we are having and having it documented and posted somewhere that everyone can see is super helpful. I have found that when it’s planned and written down, we stick to it. My son who struggles with anxiety really liked it when he knows what is going on and this applies to meal planning too. AND if you are lucky enough your spouse and children might be able to help you!
One more note about meal planning. If I have a plan for meals it really helps me to be able to do a little prep work throughout the day. Then there is really no going back, because I refuse to waste the food!
Gold Box Deal of the Day: 40% Off Select KitchenAid Diamond Vortex Blenders!
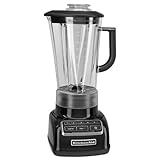
Gold Box Deal of the Day: 40% Off Select KitchenAid Diamond Vortex Blenders
KitchenAid Diamond Vortex 5 speed Blender- KSB1575OB
List Price: $179.99
You Save: $80.00 (44%)
Price: $99.99
LINK to Gold Box Deals at Amazon
Eligible for free shipping on $35+ orders or on ANY order with Amazon Prime.
Don’t have a Prime membership? Get a one month free trial! Click here for details!