I love a fun wreath for the front door!
Pre-made wreaths are expensive so I like to make my own. But even the wreath forms from the craft store are a few bucks just to get started. So I’m always looking for a creative way to cut even that cost down.
I’ve been seeing ideas on the internet for using pipe insulation from the hardware store to make a wreath form so I decided to give it a try.
I paid $2.50 for this package of four 3 foot lengths.
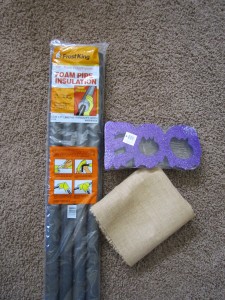
I used 2 pieces for my wreath because I like a nice big wreath. No dinky, hung too high wreaths for me!
Using duct tape I just taped the ends together to make one 6 foot length.
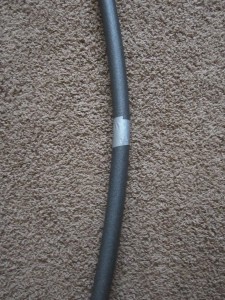
You could tape the other ends together now and complete the circle.
I had an idea to add some burlap to mine so I left the other ends untaped for now.
I took a yard of burlap and cut it into 4 nine inch wide strips, sewed those into tubes,
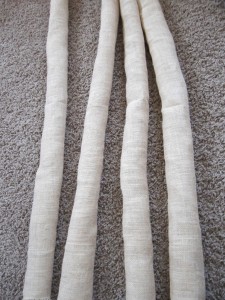
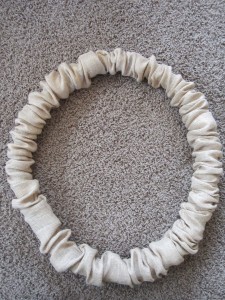
and threaded those onto the insulation, then taped the other ends together to close the circle.
I wanted this to be a Halloween wreath so I added a glittery BOO ($1 Target Dollar Spot), a ghost (made from on hand supplies), a big spider from my son’s toy box, and a bow ($2 spool of ribbon from Walmart). Total cost for my Halloween Wreath = $7.25
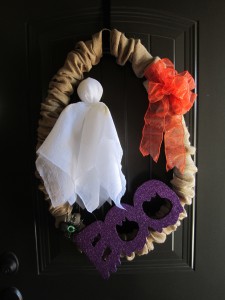
Final analysis: It worked! If I meant to add any heavy embellishments, I think I would add a wire coat hanger to the inside of the insulation for extra support. I purposely made my wreath oblong just because I like a different shape now and then. But the insulation alone held it’s round shape well enough for lightweight embellishments.
Pin It
