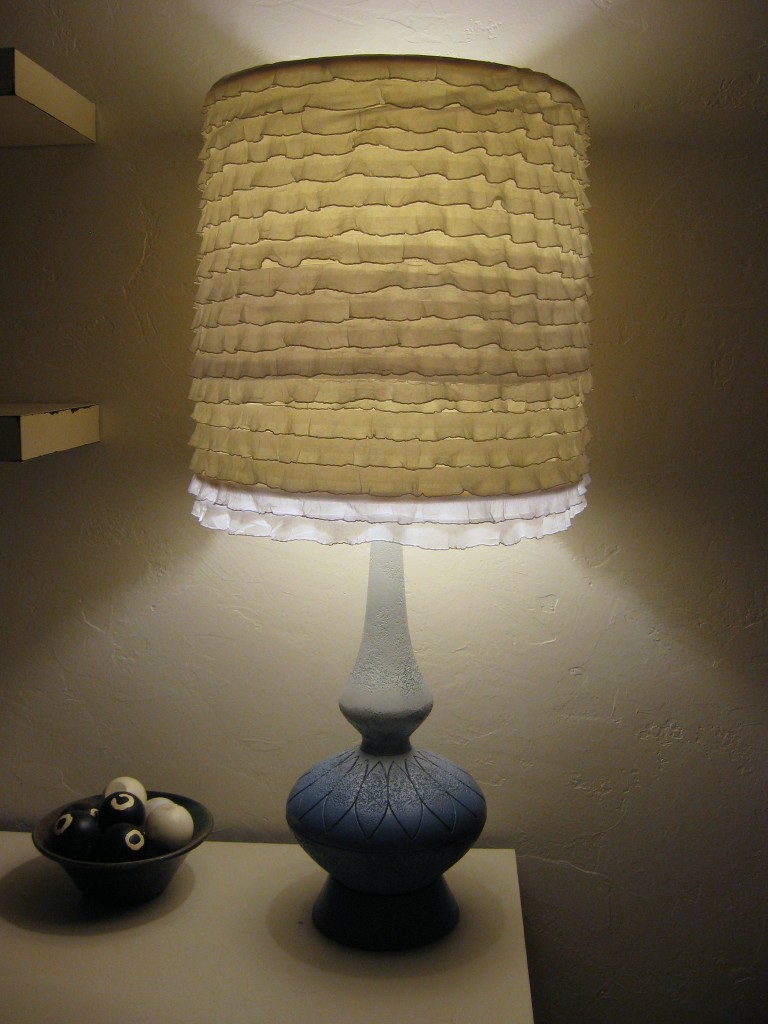
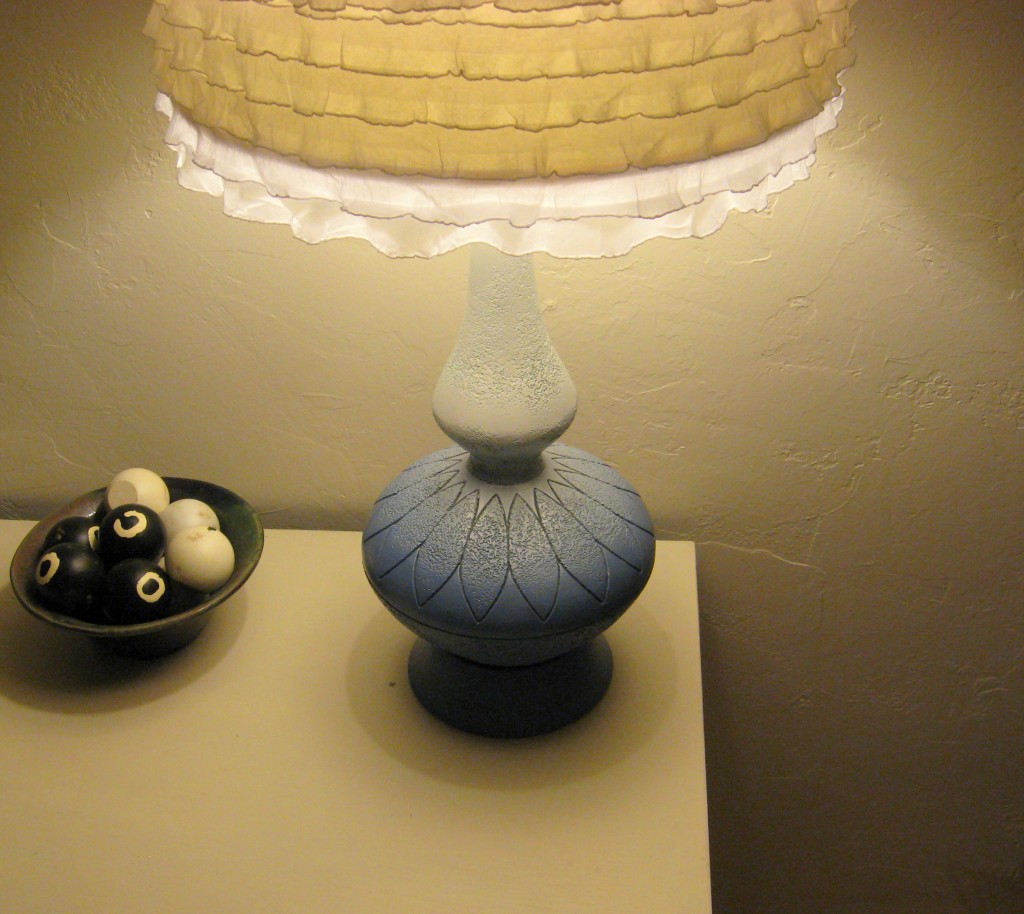
Just in case you missed this article on using spray paint to create an ombre effect on an old lamp the first time we shared it a couple of years ago, we are republishing it. After Sharon wrote this blog originally, we got an awesome response. This is one of the PYP Best Blogs!
This makeover tutorial is a perfect study in why it is important to be flexible when you DIY. This didn’t go AT ALL like I had planned it, but I kept going and I love the final result!
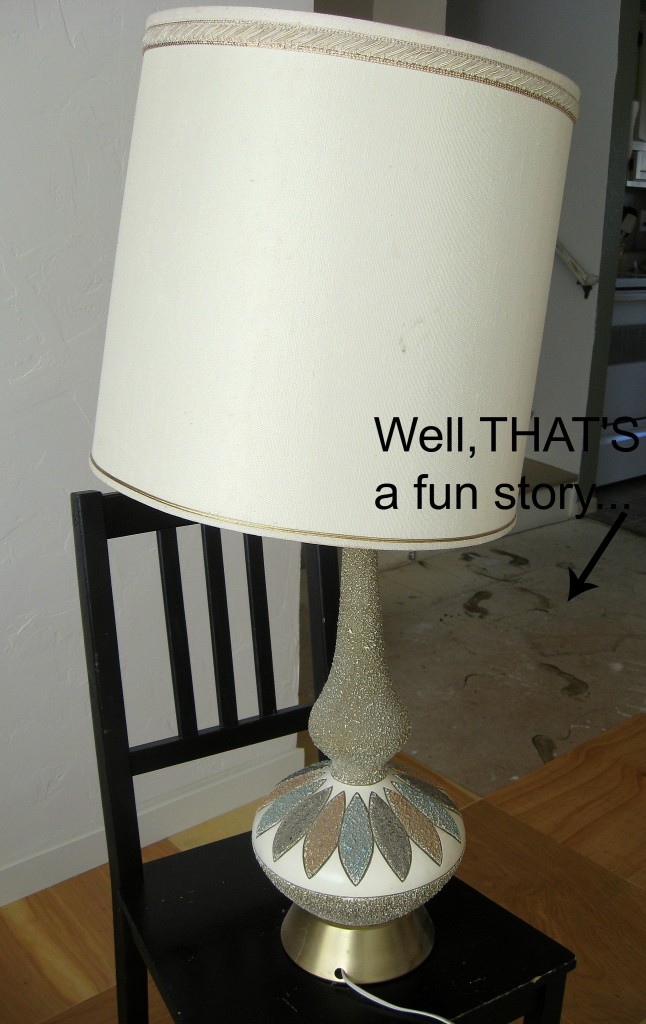
I came across this lamp as I was driving down the street one day past a house that had belonged to an elderly lady that had passed away. The family was cleaning out her garage, and there was a big pile of junk on the front lawn with a “FREE” sign. I asked them if the lamp worked, they said yes, and into my back seat it went.
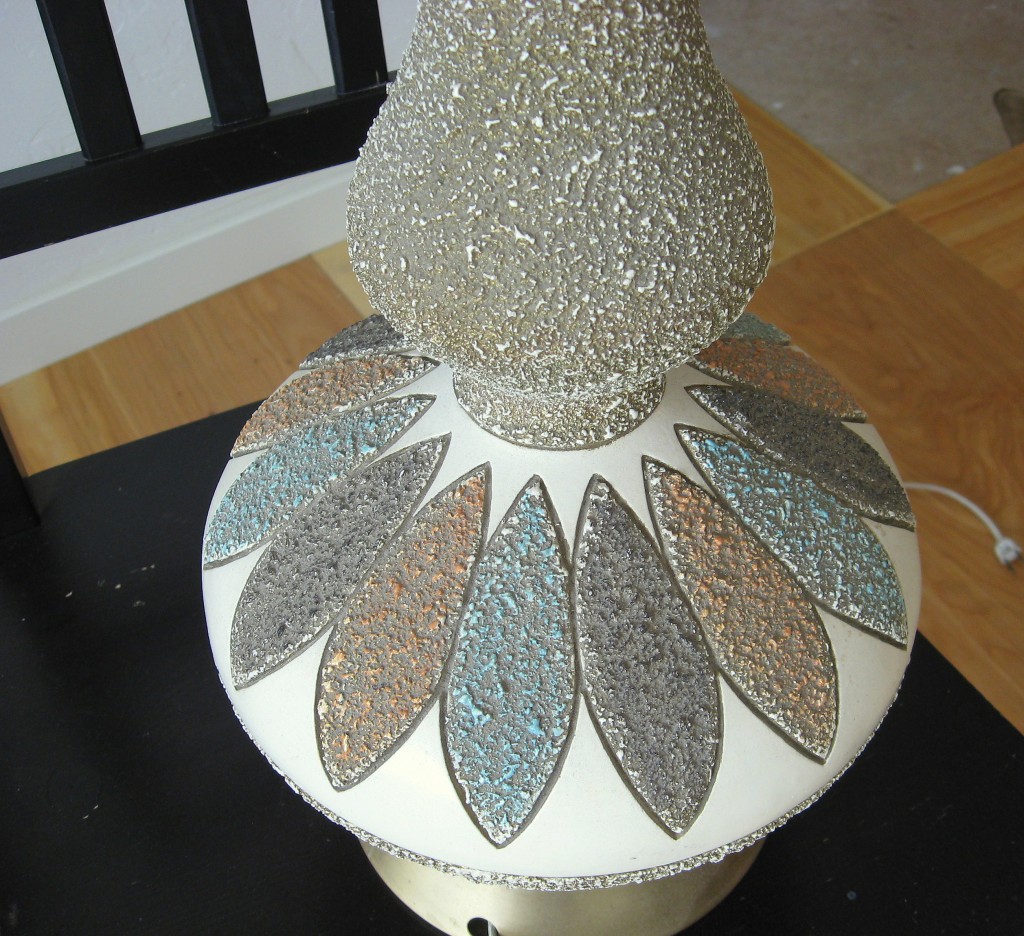
Here’s a close up shot of the funky texture.
Check out that horrible 70’s awesomeness! The shade was pretty gross too, but structurally it was in perfect condition.
My first thought with this lamp was that I could just spray paint ombre over the texture, so I tried it! The best thing about items you get for free is that you can attack them with a “what have you got to lose” attitude. If it doesn’t work? You’re only out the price of the spray paint, right?
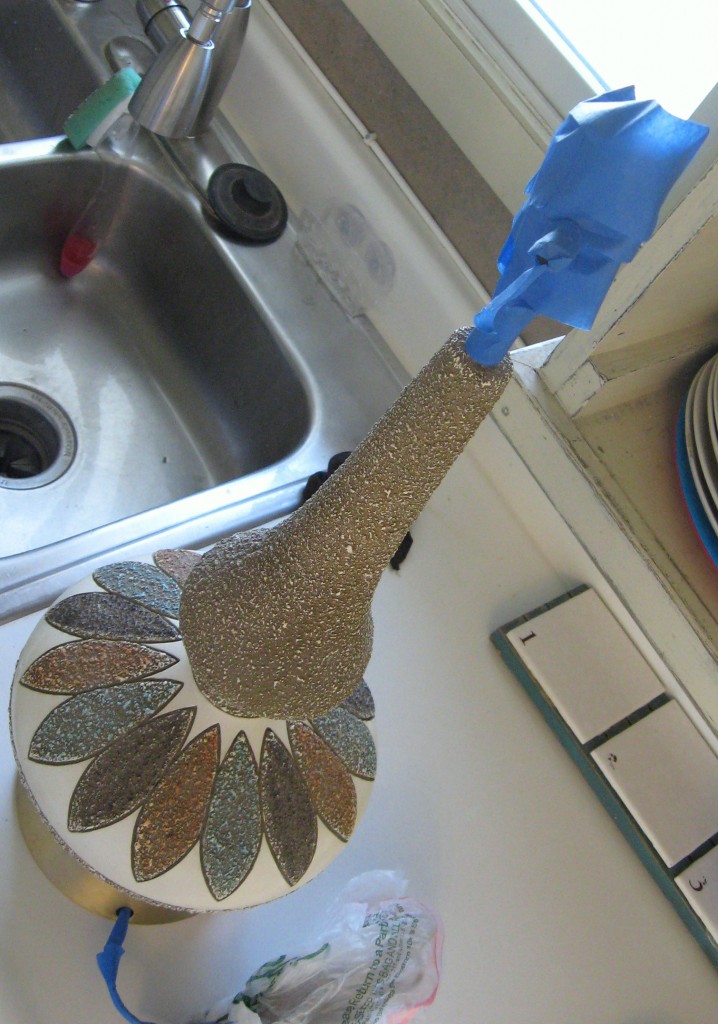
I pictured a faded ombre effect, starting with blue on the bottom and fading to a green on the top, so I grabbed the spray paint and went to work, taping off the cord and the light fixture at the top first.
And I hated it. Really hated it. The texture was so thick that the spray paint was having a hard time covering it, and the finished effect just looked trashy. I wasn’t ready to give up yet – the lamp is the perfect size and shape for my living room – so I let the spray paint dry, then used my small detail sander on the textured parts to sand them smooth. It was MESSY and dusty and smelly, but relatively easy to do. Once the majority of the texture was flattened, I cleaned the surface well and tried again.
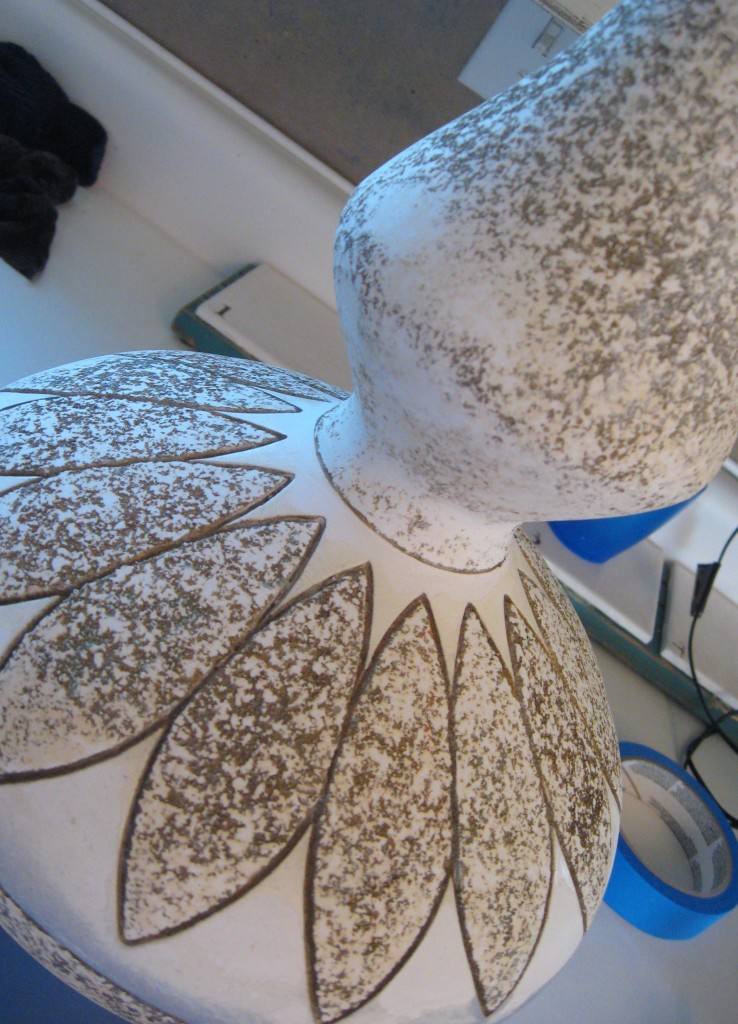
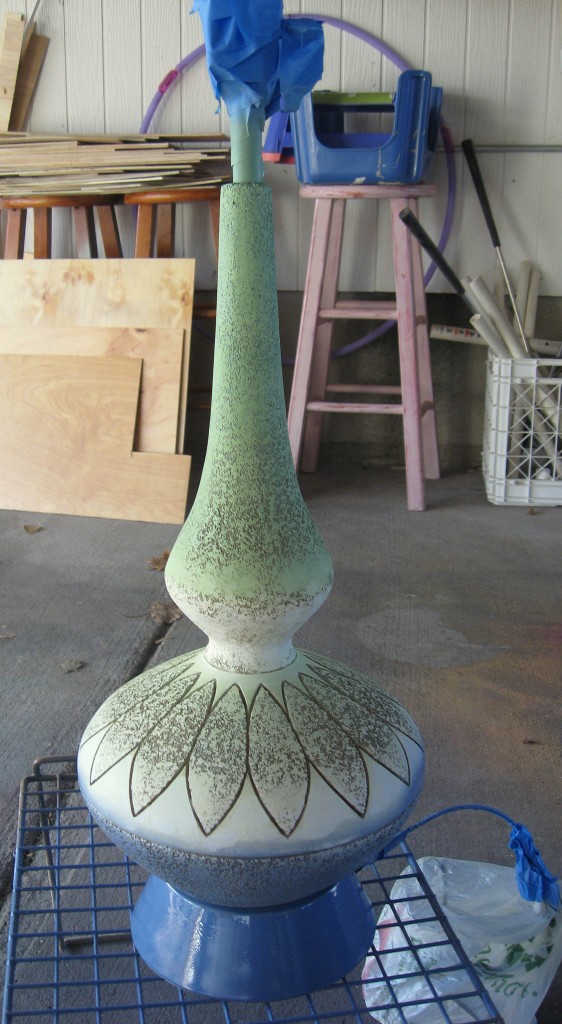
Getting an ombre effect with spray paint is pretty easy to do. I started at the bottom of the lamp with the blue and gave it several coats, each time going over what I’d already done, but going up just a little higher. I did the same thing with the green starting from the top. Once the top and bottom are solidly their respective colors, then spray each color in the middle – holding the can back a bit so that you get a misty-type spray that overlaps.
Problem #2 – I hated it again!! Before I had even finished , I knew that the blue/green ombre fade that looked so great in my head just did not look so great on the lamp. Still, I decided to have one more go at it before I gave up.
I grabbed a can of white spray paint and covered all the green, so now I had blue on the bottom, fading into white on the top. Perfect ombre! That was just what it needed.
As for the shade, I ripped off all the old fabric and trim (gag! Really should have been wearing a mask…) and cleaned the shade form underneath. Then I just purchased a half yard of white ruffled fabric and hot glued it on. SO easy and fast (and only $5 with my Hobby Lobby coupon!)

